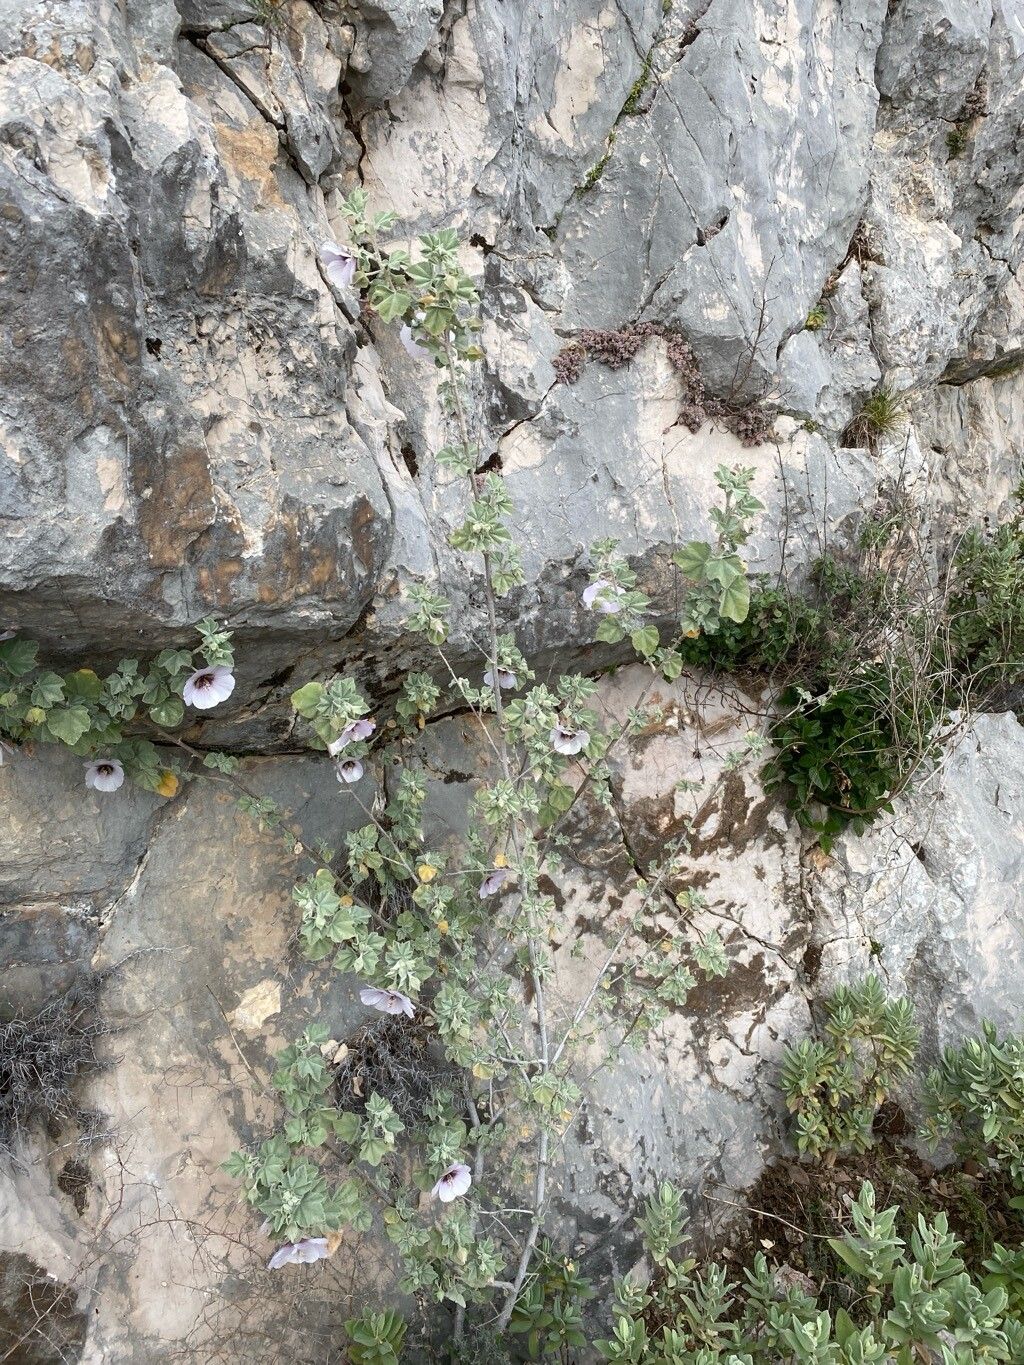
Oh, Malva subovata! Isn’t it a charmer? Those lovely, notched leaves and those delicate, saucer-shaped flowers that seem to just keep on blooming—it’s truly a delight in any garden. And the best part? Sharing that joy! Propagating it yourself is incredibly rewarding, and I’m thrilled you’re thinking about it. Good news for you: Malva subovata is generally quite forgiving, making it a wonderful plant for even beginner green thumbs to try their hand at.
The Best Time to Start
For me, the absolute sweet spot for propagating Malva subovata is late spring to early summer. This is when the plant is in its active growth phase, full of energy, and has plenty of young, pliable stems to work with. You’ll find you get the best results when you take cuttings from stems that are still somewhat soft and green, rather than old, woody ones.
Supplies You’ll Need
Gathering your tools beforehand makes the whole process so much smoother. Here’s what I always have on hand:
- Sharp Pruning Shears or a Craft Knife: Clean cuts are key for successful rooting.
- Rooting Hormone: While not strictly essential for Malva, it can give your cuttings a helpful boost. I prefer a powder.
- Small Pots or Seed Trays: Make sure they have drainage holes!
- A Light, Gritty Potting Mix: I like to use a blend of equal parts seed-starting mix and perlite or coarse sand. This ensures good drainage, which is crucial to prevent rot.
- Watering Can with a Fine Rose Attachment: To water gently without disturbing your cuttings.
- Plastic Bags or a Propagator Lid: To create a humid environment.
- Labels and a Marker: You’ll want to remember what you planted and when!
Propagation Methods
Malva subovata is a trooper when it comes to propagation, and stem cuttings are by far my favorite and most reliable method.
Stem Cuttings:
- Select a healthy, non-flowering stem from your established Malva subovata. Look for a stem that’s about 4-6 inches long.
- Using your sharp pruning shears or knife, make a clean cut just below a leaf node. A leaf node is where a leaf attaches to the stem. This is where the magic happens, where new roots are most likely to form.
- Gently remove the lower leaves from the cutting, leaving just two or three sets of leaves at the top. This reduces moisture loss and prevents leaves from rotting in the soil.
- If you’re using rooting hormone, dip the cut end of the stem into the powder, tapping off any excess.
- Fill your small pots with your prepared gritty potting mix.
- Make a small hole in the center of the soil with your finger or a pencil.
- Insert the cutting into the hole, ensuring that at least one leaf node is buried beneath the soil surface. Gently firm the soil around the stem.
- Water thoroughly using your fine-rose watering can. You want the soil to be moist but not waterlogged.
- Create a humid environment by either covering the pot with a clear plastic bag (propping it up with a small stick so it doesn’t touch the leaves) or by placing the pot inside a propagator with a lid.
- Place the pot in a bright location out of direct sunlight. A windowsill that gets bright, indirect light is perfect.
The “Secret Sauce” (Pro Tips)
Over the years, I’ve picked up a few little tricks that seem to give my Malva cuttings that extra edge:
- Bottom Heat is Your Friend: If you can, place your pots on a heated propagator mat. A gentle warmth from below really encourages root development. You don’t need it blazing hot, just consistently tepid.
- Don’t Be Afraid to Pinch: Once your cutting has rooted and you see new growth emerging, you can pinch off the tip of the main stem. This encourages branching and results in a bushier, more robust plant.
- Change the Water (If You Go That Route): While I prefer soil propagation for Malva, some people might try water propagation. If you do, make sure to change the water every couple of days to keep it fresh and oxygenated. And yes, absolutely don’t let the leaves touch the water! They’ll just turn into a mushy mess and invite rot.
Aftercare & Troubleshooting
Once you see new leaf growth emerging from your cutting, that’s a fantastic sign that roots have formed! Don’t rush to repot them just yet. Keep them in their humid environment for another week or two.
After that, you can gradually acclimatize them to drier air. This means slowly opening the plastic bag or propagator lid a little more each day over the course of a week. Once they seem happy with the ambient humidity, you can transplant them into slightly larger pots with your regular potting mix. Continue to water them regularly, but let the top inch of soil dry out between waterings.
The main sign of trouble you might encounter is rot. If your cutting suddenly turns black and mushy at the base, it’s likely succumbed to too much moisture and not enough air circulation. Don’t despair! It’s part of the learning process. Just start again with fresh cuttings and ensure your soil mix is nice and gritty.
A Encouraging Closing
Propagating plants is an exercise in patience and observation. Not every cutting will make it, and that’s perfectly okay. Celebrate the successes, learn from the setbacks, and most importantly, enjoy the magical process of growing something new with your own two hands. Happy propagating!
Resource: