Hello there, fellow plant enthusiasts! I’m thrilled to share a little bit of my gardening passion with you today. For those of you who adore those charming, sun-loving wildflowers, we’re going to dive into the wonderful world of Odontites luteus.
Why You’ll Love Propagating Odontites luteus
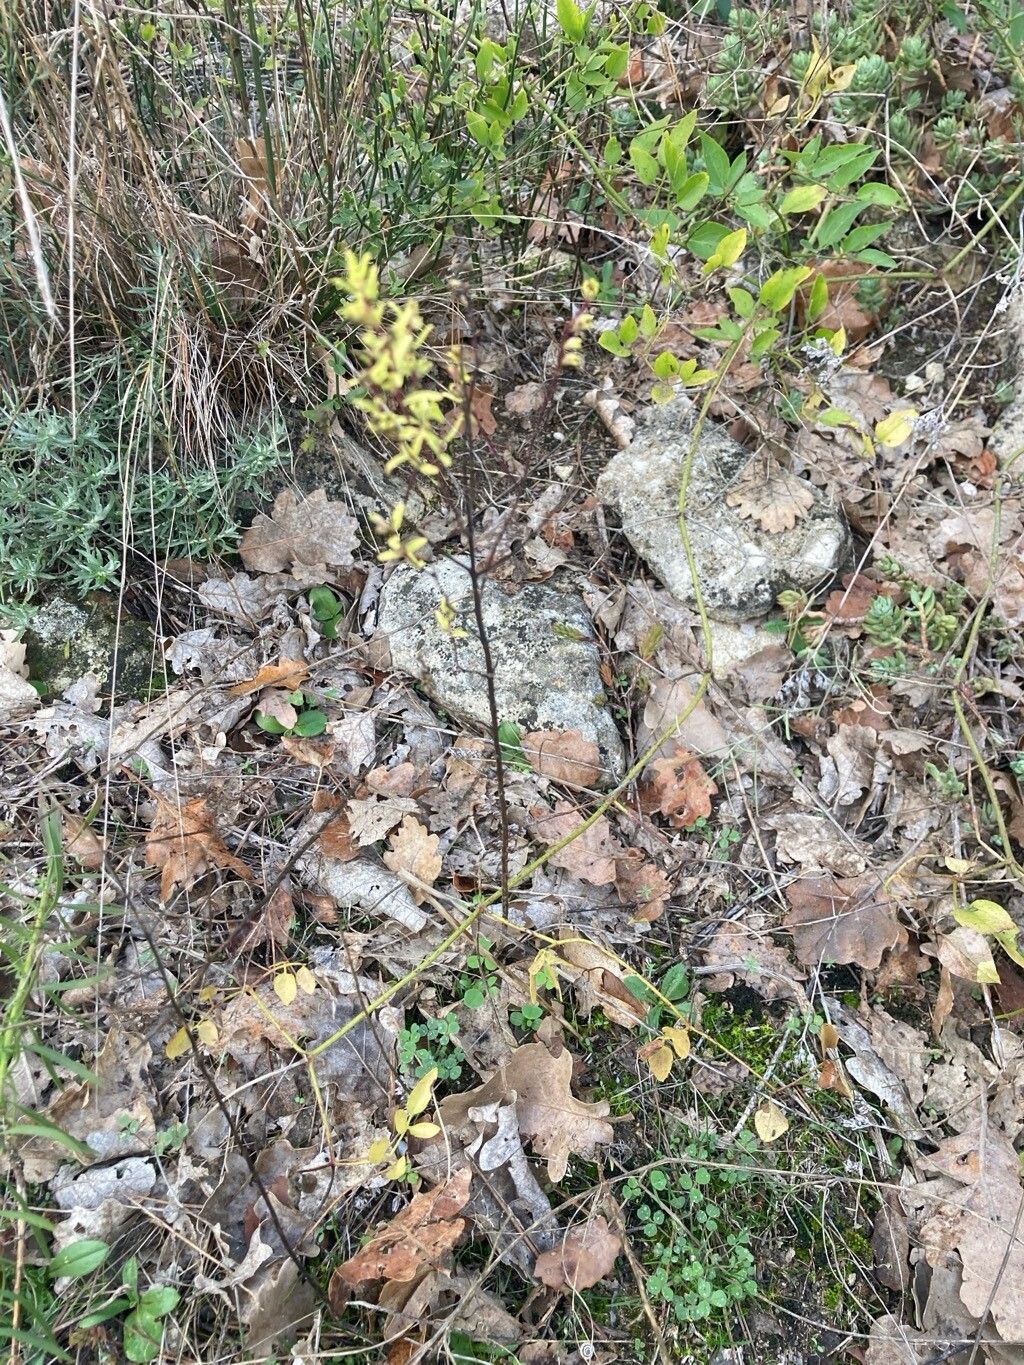
This little native beauty, with its delicate spikes of cheerful yellow flowers, is a real magnet for pollinators. It’s one of those plants that just makes you smile when you see it gracing a meadow or a sunny border. Propagating it yourself is incredibly satisfying. You get to fill your garden (or share with friends!) with more of its gentle charm, and it’s a surprisingly accessible plant to work with, even for those just starting out. Don’t be intimidated; we’ll make it easy!
The Best Time to Start
For the highest success rate with Odontites luteus, early spring is your golden ticket. Think about when the soil is starting to warm up, but before things get too hot and dry. You can also have good luck with late summer cuttings, especially if you have a protected spot for them. I tend to find that spring-started propagations have a bit more vigor.
Supplies You’ll Need
Gathering your tools beforehand makes the whole process so much smoother. Here’s what I always have on hand:
- A good quality seed-starting mix or a mix of peat moss and perlite (50/50 works beautifully).
- Small pots or seed trays with drainage holes.
- A clean pair of sharp pruning shears or a sharp knife.
- A spray bottle for misting.
- Optional: Rooting hormone (though Odontites luteus is quite good at rooting on its own).
- A clear plastic bag or a propagation dome to create a mini-greenhouse.
Propagation Methods
Odontites luteus is a joy to propagate, and I find that stem cuttings are my go-to method. It’s straightforward and yields excellent results.
- Taking the Cuttings: In early spring, look for healthy, non-flowering stems on a mature plant. Using your sharp shears or knife, take cuttings that are about 3-4 inches long. Make your cut just below a leaf node (where a leaf attaches to the stem).
- Preparing the Cuttings: Gently remove the lower leaves from the cutting, leaving just a few at the top. This prevents them from rotting when you pot them up. If you’re using rooting hormone, dip the cut end into the powder now.
- Planting the Cuttings: Fill your small pots with the pre-moistened seed-starting mix. Make a small hole in the center with your finger or a pencil. Gently insert the cut end of the stem into the hole, ensuring the node where you removed the leaves is below the soil surface. Firm the soil gently around the cutting.
- Creating a Humid Environment: Water the soil lightly. Then, cover the pot with a clear plastic bag or place it under a propagation dome. This will help maintain high humidity, which is crucial for cuttings to develop roots.
The “Secret Sauce” (Pro Tips)
Here are a few little tricks that have helped me over the years:
- Don’t Over-Water: This is a big one. While humidity is important, soggy soil is the enemy of cuttings. Your soil should be moist but not waterlogged. I always use pots with excellent drainage.
- Location, Location, Location: Place your cuttings in a spot that receives bright, indirect light. Avoid direct, harsh sunlight, as this can scorch the tender cuttings and dry out the humidity dome too quickly. A bright windowsill is often perfect.
- Patience is a Virtue (and Bottom Heat Helps!): While Odontites luteus isn’t notoriously difficult, some cuttings might take a little longer to root. If you have them, placing your pots on a gentle heat mat can significantly speed up root development.
Aftercare & Troubleshooting
Once your cuttings have started to root – you’ll know this when you see new growth appearing or feel a slight resistance when you gently tug on the stem – it’s time to transition them.
- Gradual Acclimation: Begin opening the plastic bag or propagation dome for increasing periods each day. You want to gradually introduce them to the drier air of your home.
- Watering: Water them when the top inch of soil feels dry. As they grow, you can transplant them into slightly larger pots.
- Watch for Rot: The most common issue is stem rot, which looks like a mushy, dark, or wilting base. This is usually a sign of too much moisture and not enough air circulation. If you see this, unfortunately, that cutting is likely lost. Remove it quickly to prevent it from spreading. Yellowing leaves can sometimes indicate overwatering, but new growth should eventually emerge if the roots are healthy.
Happy Gardening!
There you have it! Propagating Odontites luteus is a rewarding journey that brings even more of nature’s sweetness into your garden. Don’t be discouraged if your first few attempts aren’t perfect; gardening is all about learning and experimenting. Just enjoy the process, be patient with your new little plants, and soon you’ll be surrounded by their sunshine-yellow blooms. Happy growing!
Resource:
https://identify.plantnet.org/k-world-flora/species/Odontites%20luteus%20(L.)%20Clairv./data