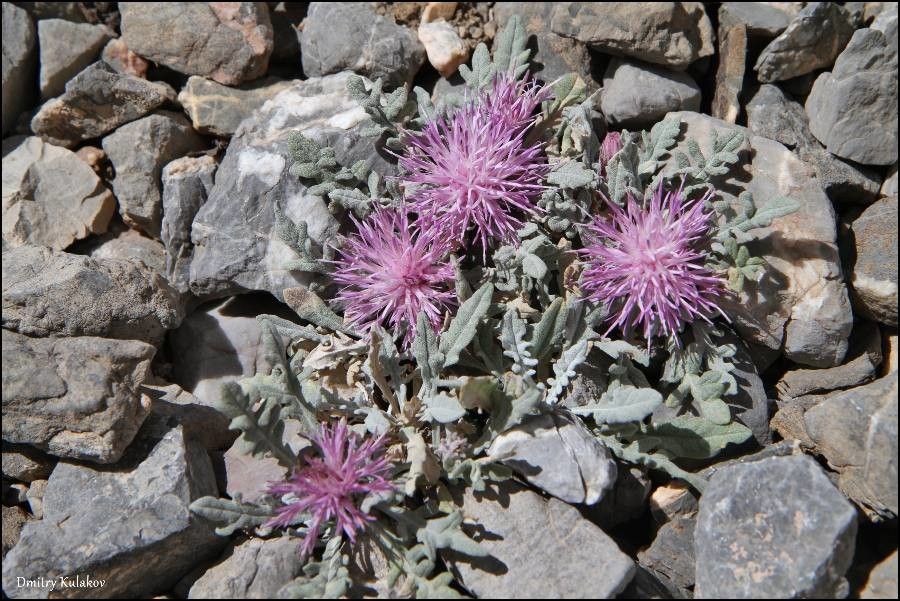
Oh, Jurinea algida! You’ve got yourself a truly special plant there. I remember the first time I saw one in full bloom, it was like staring at a burst of stardust kissed by the sun. Those delicate, thistle-like flowers, often in shades of soft pink, purple, or sometimes even a vibrant magenta, have a way of drawing you in. And the best part? They often have this lovely, almost wispy foliage that adds a unique texture to the garden.
If you’re looking for a project that brings a real sense of accomplishment, propagating Jurinea algida is a fantastic choice. Now, I’ll be honest with you, it’s not the absolute easiest plant to start from scratch if you’re brand new to gardening. It requires a bit of patience and keen observation, but with my guidance, I’m confident you’ll find success. Think of it as graduating into a slightly more advanced, but incredibly rewarding, gardening club!
The Best Time to Start
For Jurinea algida, your best bet for propagation success is generally late spring to early summer. This is when the plant is actively growing, pushing out new shoots, and has plenty of energy to spare. You want to catch it at this vigorous stage, before it gets too stressed by the peak heat of summer or slows down heading into autumn. Look for healthy, young stems that are not yet flowering. If you’re considering division, the early spring, just as growth begins, is also a prime time.
Supplies You’ll Need
Before we get our hands dirty, let’s gather our tools and materials. Having everything ready will make the process so much smoother!
- Sharp Pruning Shears or a Craft Knife: For clean cuts.
- Small Pots or Seed Trays: Clean ones, please!
- Well-Draining Potting Mix: A blend of good quality potting soil with perlite or coarse sand is ideal to prevent soggy roots.
- Rooting Hormone (Optional but Recommended): This little helper can significantly boost your success rate.
- Clear Plastic Bag or a propagator lid: To create a humid environment.
- Watering Can with a Fine Rose: For gentle watering.
- Labels: So you don’t forget what’s what!
- Patience! It’s the most important tool in the garden.
Propagation Methods
Jurinea algida is most commonly and successfully propagated through stem cuttings and division. Let’s walk through each one.
Stem Cuttings
This is my go-to for increasing my stock of many plants, and it works beautifully for Jurinea.
- Take Cuttings: In late spring or early summer, select healthy, non-flowering stems. Using your clean pruning shears or craft knife, take cuttings that are about 4-6 inches long. Make a clean cut just below a leaf node (where a leaf attaches to the stem).
- Prepare the Cuttings: Gently remove the lower leaves from your cuttings, leaving just a few at the top. You can even carefully trim the remaining leaves in half if they’re very large to reduce water loss.
- Apply Rooting Hormone (Optional): Dip the cut end of each stem into your rooting hormone. Tap off any excess. This step really encourages those roots to form!
- Plant the Cuttings: Fill your small pots with your well-draining potting mix. Make a small hole in the center of the soil with a pencil or your finger. Insert the cut end of the stem into the hole, ensuring the leaf nodes you stripped of leaves are buried. Gently firm the soil around the cutting.
- Create a Humid Environment: Water the soil gently. Then, cover the pot with a clear plastic bag or place it inside a propagator with a lid. This traps humidity, which is crucial for cuttings to form roots before they dry out. You can prop the bag up with a couple of skewers if needed.
- Provide Light and Warmth: Place the pots in a bright spot out of direct sunlight. A little gentle bottom heat from a heat mat can really speed things up, but it’s not strictly necessary.
Division
If your Jurinea algida is already established and looking a bit crowded in its pot or bed, division is a wonderfully effective method.
- Prepare for Digging: Ideally, do this in early spring as new growth emerges, or in early autumn when the plant is finishing its bloom. Water the plant thoroughly a day or two beforehand, making it easier to handle.
- Carefully Excavate: Gently dig around the plant, taking care not to damage the roots. Lift the entire root ball out of the soil.
- Separate the Divisions: You’ll often see that the plant naturally forms clumps or has multiple crowns. You can gently tease the root ball apart with your hands or use a clean trowel or even a knife to carefully separate it into smaller sections. Each section should have healthy roots and at least one or two shoots.
- Replant Immediately: Plant the divisions into their new locations or into pots filled with your well-draining potting mix. Ensure the crown – where the stems emerge from the roots – is at soil level. Water them in well.
The “Secret Sauce” (Pro Tips)
Here are a couple of little tricks that have helped me over the years.
- Don’t Let the Leaves Touch the Water (for cuttings): If you’re considering trying water propagation (though cuttings in soil are generally more reliable for Jurinea), make sure none of the leaves are submerged. Leaves sitting in water will quickly rot, and that’s the opposite of what we want!
- Bottom Heat is Your Friend: For stem cuttings, placing your pots on a gentle heat mat can significantly accelerate root development. It mimics the warmth of summer soil and gives those tiny root nubs a real boost. Keep the temperature around 70-75°F (21-24°C) for best results.
Aftercare & Troubleshooting
Once your cuttings have rooted, or your divisions are planted, it’s time for the nurturing phase.
- Rooted Cuttings: You’ll know your cuttings have rooted when you see new leaf growth appearing at the top or feel a slight resistance when you gently tug on the stem. Once they’re well-rooted, you can gradually acclimate them to drier air by slowly opening the plastic bag or propagator lid over a few days. Then, transplant them into their own individual pots. Continue to keep them consistently moist but not waterlogged.
- Divided Plants: Water them in well and keep them well-watered during their establishment period, especially if the weather is hot. You might see a bit of wilting initially, which is normal as they adjust.
Troubleshooting: The most common issue you’ll face, especially with cuttings, is rot. This usually happens when the soil is too wet and there isn’t enough airflow. If you see a cutting turning mushy or black at the base, unfortunately, it’s likely a goner. Prevention is key here: use that well-draining soil, avoid overwatering, and ensure good air circulation around your cuttings.
A Little Note of Encouragement
Propagating plants is a journey, and Jurinea algida is a wonderful companion on that path. Don’t get discouraged if your first attempt isn’t perfect. Every gardener has had their share of cuttings that didn’t take or divisions that struggled. Just observe, learn, and try again. The joy of nurturing a new plant from a tiny cutting or a piece of a larger one is truly unmatched. So, get your hands in the soil, embrace the process, and happy gardening!
Resource:
https://identify.plantnet.org/k-world-flora/species/Jurinea%20algida%20Iljin/data