Hey there, fellow plant lovers! It’s so wonderful to connect with you all again. Today, we’re diving into something truly special: propagating Blighia sapida, or as many of us affectionately call it, the Ackee tree.
Why Propagate Ackee?
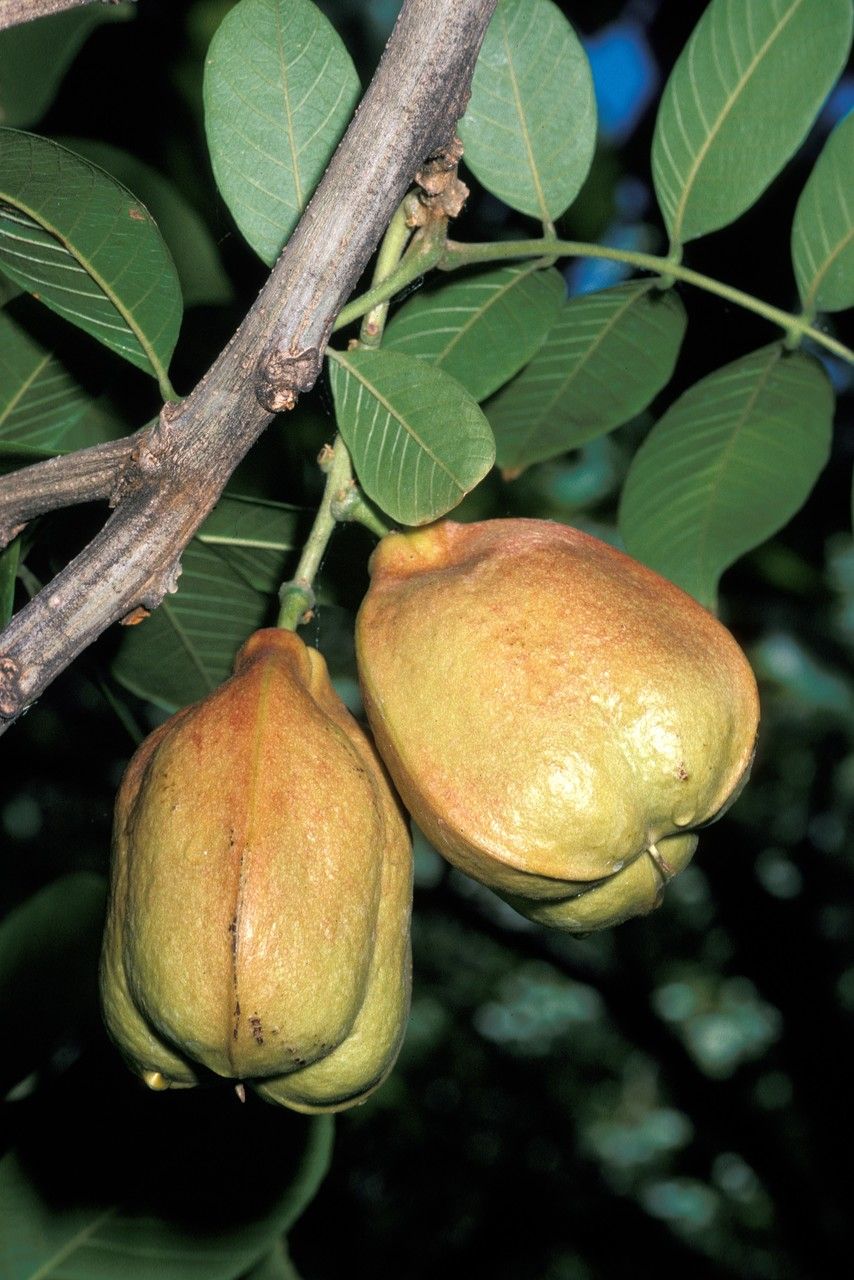
Ackee is such a fascinating plant. It’s not just about its unique, edible fruit (though that’s certainly a draw for many!), but also its beautiful, lush foliage and elegant form. Growing your own Ackee from scratch feels incredibly rewarding. It’s like unlocking a little bit of horticultural magic.
Now, I won’t sugarcoat it – Ackee can be a bit of a discerning plant when it comes to propagation. It’s not the absolute easiest for a complete beginner’s first go, but with a bit of patience and the right approach, it’s absolutely achievable. Think of it as a plant that really appreciates your focused attention!
When is the Best Time to Start?
For the highest chance of success, I’ve found that aiming for late spring or early summer is your best bet. This is when the plant is actively growing and has plenty of energy to put into developing new roots. You’re looking for semi-hardwood cuttings – those stems that are a bit mature, firm but still flexible. Avoid anything too soft and new, or too old and woody.
What You’ll Need
Getting your supplies ready before you start is key to a smooth process. Here’s a handy list:
- Sharp Pruning Shears or a Knife: Cleanliness is crucial here to prevent disease.
- Rooting Hormone: This is your best friend for encouraging strong root development. Look for one formulated for semi-hardwood cuttings.
- Well-Draining Potting Mix: A mix of perlite, peat moss, and a bit of compost works wonders. You want something that doesn’t hold too much moisture.
- Small Pots or Trays: Clean pots with drainage holes are a must.
- Clear Plastic Bag or Humidity Dome: To create that essential humid environment.
- Water: For misting.
- Optional: Heat Mat: For encouraging root growth from below.
Propagation Methods: Let’s Get Our Hands Dirty!
The most reliable method for Ackee is definitely stem cuttings. Here’s how I like to do it:
- Take Your Cuttings: Select healthy, vigorous shoots from your parent Ackee plant. Using your sterilized shears, cut sections that are about 4-6 inches long. Make sure each cutting has at least two sets of leaves. Remove the lower leaves, leaving only the top set. This prevents leaves from rotting in the soil.
- Prepare the Cutting: Dip the cut end of each stem into your rooting hormone, ensuring it’s well-coated. Tap off any excess.
- Plant Your Cuttings: Fill your clean pots with your well-draining potting mix. Make a small hole in the center of the soil with your finger or a pencil. Gently insert the coated end of the cutting into the hole. Firm the soil around it to ensure good contact.
- Water Gently: Lightly water the soil. You want it moist, but not waterlogged.
- Create a Humid Environment: Place the pots into a clear plastic bag or cover them with a humidity dome. Seal it up, but poke a few small ventilation holes. If you’re using a humidity dome, you might also want to place the pots on a heat mat set to a gentle warmth.
The “Secret Sauce” – My Insider Tips
Here are a few things I’ve learned over the years that really make a difference for trickier propagations like Ackee:
- Don’t Let Leaves Touch the Water: If you’re doing any water propagation (though cuttings are usually better for Ackee), or even just misting your cuttings, be absolutely sure no leaves touch the water level. This is a surefire way to invite rot.
- Bottom Heat is Your Friend: I can’t stress this enough – a bit of gentle warmth from below, via a heat mat, really kickstarts root formation. It mimics what happens when a plant has a strong root system developing naturally. It makes a huge difference, especially in cooler conditions.
- Be Patient with the Misting: You want consistent humidity, but you don’t want the surface of the soil to dry out or become soggy. Mist your cuttings lightly every day or two, especially if you see the leaves starting to look a little less perky. This keeps the humidity up.
Aftercare and Troubleshooting
Once your cuttings have been planted and tucked into their humid little homes, it’s time for the art of waiting. Keep them in a location with bright, indirect light. Avoid direct sun, as this can scorch the delicate leaves.
You’ll know your cuttings are happy when you start to see new leaf growth. This is a strong indicator that roots are forming! It can take anywhere from 4 to 8 weeks, or even longer, so don’t get discouraged if you don’t see immediate results.
What if things go wrong? The most common culprit is rot. If your cutting turns black and mushy, or if you see fuzzy mold on the soil surface, it’s a sign of too much moisture and not enough airflow. Sadly, a rotted cutting is usually a lost cause. The key is to find that sweet spot between moist and waterlogged. If you notice the soil looking too wet, open up your bag or dome for a few hours to allow it to air out.
Keep Growing!
Propagating Ackee is a lesson in patience and observation. It’s about understanding the plant’s needs and giving it the right conditions to thrive. Don’t be afraid to experiment a little, and most importantly, enjoy the process. Seeing those first tiny roots emerge is a feeling like no other. Happy propagating!
Resource:
https://identify.plantnet.org/k-world-flora/species/Blighia%20sapida%20K.D.Koenig/data