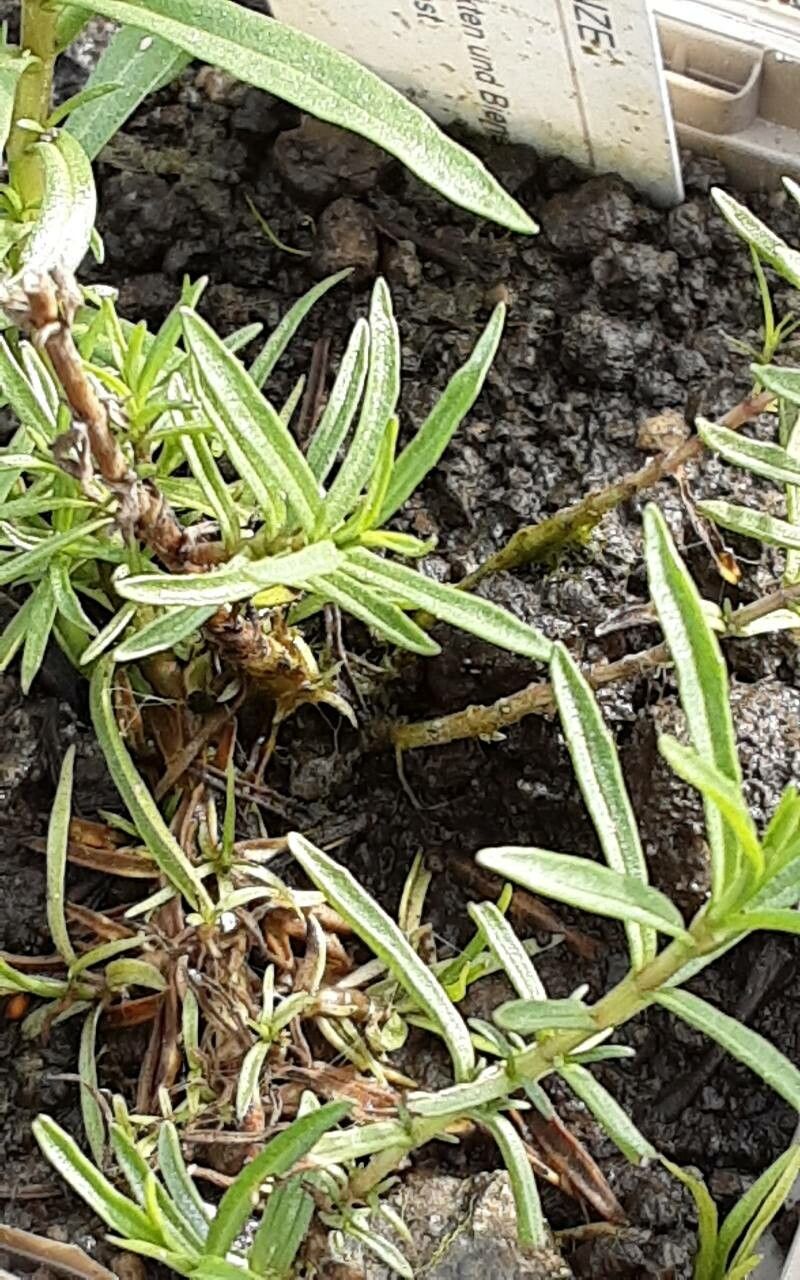
Oh, how I love a good mint! And Mentha cervina, or Hart’s Pennyroyal, is a real gem. It’s got this delicate, almost ethereal beauty with its tiny, rounded leaves and a scent that’s just divine. It’s a bit different from your usual spearmint or peppermint, and that’s part of its charm. Propagating it yourself is such a rewarding feeling, like coaxing a little bit of its magic into your own garden. And the best part? It’s wonderfully forgiving, even for those just dipping their toes into the world of plant propagation.
The Best Time to Start
For Mentha cervina, I find the sweet spot is late spring to early summer. This is when the plant is actively growing and has plenty of energy to dedicate to new roots. You’re looking for stems that are firm and green, not woody and old, but also not overly soft and brand new. Think of it like a healthy, enthusiastic teenager – full of life and ready to take on the world!
Supplies You’ll Need
Here’s what you’ll want to have on hand:
- Sharp Pruning Shears or Scissors: Clean cuts are key for quick healing.
- Small Pots or Trays: Anything that can hold your cuttings and a bit of soil.
- Well-Draining Potting Mix: A standard peat-based mix with perlite or vermiculite added works wonderfully. You want it light and airy.
- Rooting Hormone (Optional but Recommended): A little dip can speed things up.
- Watering Can with a Fine Rose: For gentle watering.
- Plastic Bag or Humidity Dome: To create a mini greenhouse.
Propagation Methods
Mentha cervina is a champion of reproduction, and stem cuttings are my go-to method.
Stem Cuttings
- Select and Cut: Find a healthy, non-flowering stem. Using your clean shears, cut a section about 4-6 inches long. Try to make the cut just below a leaf node (where a leaf emerges from the stem).
- Prepare the Cutting: Gently remove the lower leaves from the bottom 2-3 inches of the stem. This prevents them from rotting once planted.
- Apply Rooting Hormone (If Using): Dip the cut end of the stem into your rooting hormone, tapping off any excess.
- Planting: Fill your small pots with your potting mix. Make a small hole with your finger or a pencil and insert the prepared cutting. Gently firm the soil around the stem, ensuring it stands upright. You want at least one or two leaf nodes buried in the soil to encourage rooting.
- Water Gently: Water the soil thoroughly but gently, making sure the soil is evenly moist.
- Create a Humid Environment: Cover the pot with a plastic bag or a humidity dome. Prop it up with stakes or skewers if it touches the leaves. This keeps the humidity high, which is crucial for cuttings before they develop roots.
- Placement: Place the pots in a bright spot, but out of direct sunlight. A sunny windowsill that doesn’t get intense afternoon sun is perfect.
Water Propagation (A Simpler Route)
If you’re feeling a bit more hesitant, water propagation is a fantastic starting point.
- Prepare Cuttings: Follow steps 1 and 2 above for preparing your stem cuttings.
- Place in Water: Find a small jar or glass and fill it with clean water. Place the cuttings in the water, ensuring that the leaf nodes you’ve cleared are submerged.
- Change Water Regularly: Change the water every few days to keep it fresh and prevent bacterial growth.
- Location: Keep the jar in a bright location, away from direct sun.
- Transplant: Once you see tiny white roots (usually about an inch long), it’s time to carefully transplant them into pots with soil, following steps 4 and 5 from the stem cutting method.
The “Secret Sauce” (Pro Tips)
Here are a few things I’ve learned over the years that often make a big difference:
- Don’t Let the Leaves Touch the Water: If you’re water propagating, and a leaf dips into the water, it will likely rot and could take your whole cutting down with it. Always ensure leaves are above the waterline.
- Bottom Heat is Your Friend: For stem cuttings, a little warmth from below can really speed up rooting. A seedling heat mat is ideal, but even placing pots on top of a gently warmed appliance (like an older, barely warm router) can help. Just be careful not to overheat.
- Mist Regularly: Even with a humidity dome, a gentle misting of the leaves every day or two can help keep them turgid and encouraged, especially in drier environments.
Aftercare & Troubleshooting
Once you start seeing signs of new growth, like tiny leaves unfurling or the stem looking firm and robust, you know roots are forming!
- Acclimatize: Gradually remove the plastic bag or humidity dome over a week or so. Start by removing it for a few hours each day, then longer periods. This helps the new plant adjust to the regular humidity.
- Watering: Continue to water when the top inch of soil feels dry. Don’t let it sit in soggy conditions, as this can lead to root rot.
- Transplanting: Once the cuttings have a good root system and are showing healthy top growth, you can transplant them into larger pots or directly into your garden if the weather is suitable.
If your cuttings turn yellow and wilt, or the stems become mushy and dark, it’s usually a sign of root rot. This often happens because the cuttings are kept too wet, or the soil isn’t draining well. Don’t be discouraged if a few don’t make it – it’s all part of the learning process!
A Encouraging Closing
Propagating Mentha cervina is a journey, and like any good gardening endeavor, it requires a little patience. But seeing those tiny roots emerge and then a brand-new, healthy plant spring to life under your care is incredibly rewarding. So, don’t be afraid to get your hands dirty. Enjoy the process, celebrate your successes, and before you know it, you’ll have a whole patch of this lovely mint to enjoy! Happy propagating!
Resource:
https://identify.plantnet.org/k-world-flora/species/Mentha%20cervina%20L./data