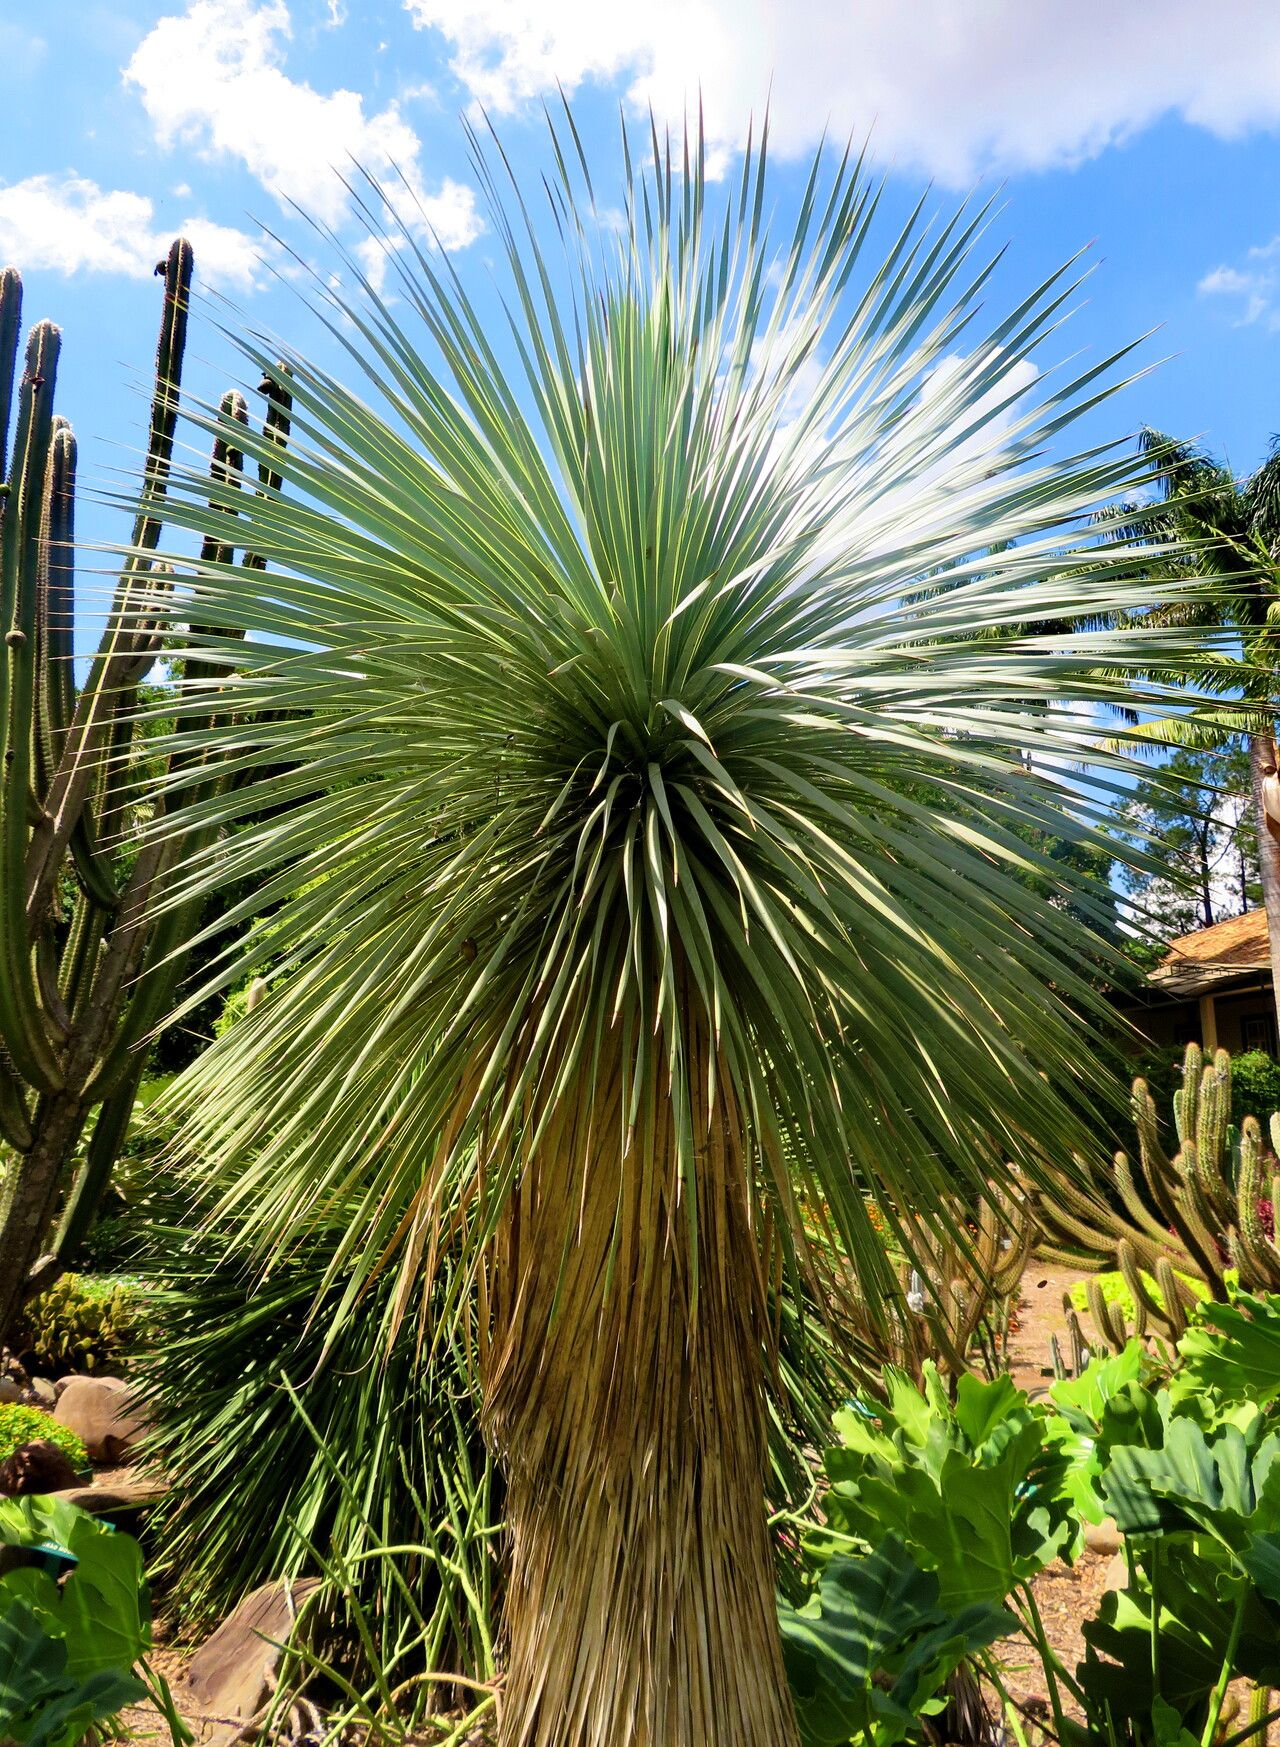
Hello, fellow plant enthusiasts! Today, we’re diving into how to multiply one of my absolute favorites: the magnificent Yucca rostrata. You know, those stunning desert beauties with their sky-pointing, architectural rosettes of silvery-blue leaves. They add such a dramatic flair to any garden, and growing your own from scratch is incredibly rewarding.
If you’re new to the plant propagation scene, don’t worry! While Yucca rostrata can be a little more deliberate than, say, a pothos, it’s absolutely achievable with a little patience and care. Think of it as a rewarding challenge, not an impossible feat.
The Best Time to Start
My sweet spot for propagating Yucca rostrata is during late spring to early summer. This is when the plant is in its active growing phase. The warmer temperatures and longer daylight hours give our new babies a real boost and encourage them to root more readily.
Supplies You’ll Need
Gathering your supplies beforehand makes the whole process smoother. Here’s what you’ll want to have on hand:
- Sharp, clean pruning shears or a sturdy knife: For making clean cuts.
- Well-draining potting mix: A cactus and succulent mix is ideal. You can also create your own by mixing equal parts perlite and potting soil.
- Rooting hormone (optional but recommended): This can give your cuttings a helpful head start. I prefer a powder form.
- Small pots or containers: With drainage holes, of course!
- Gloves: Yucca leaves can be sharp!
- A watering can with a fine rose: For gentle watering.
- A sunny window or a warm spot: For your new propagants.
Propagation Methods
Yucca rostrata is most commonly propagated from stem cuttings. This involves taking a piece of the main stem and encouraging it to root. It’s a straightforward process, and here’s how I do it:
- Choose Your Target: Look for a mature, healthy Yucca rostrata. You’ll want to select a section of the main stem that has some leaf nodes. Gently remove some of the lower leaves to expose the stem.
- Make the Cut: Using your sharp pruning shears or knife, make a clean cut through the stem. Aim for a cutting that’s at least 4-6 inches long. It doesn’t need to be a giant piece!
- Prepare the Cutting: Once you have your cutting, it’s a good idea to remove any lower leaves that might be touching the soil later on.
- Callusing is Key: This is a super important step! You want to let the cut end of your Yucca stem dry out and form a callous for a few days to a week. Just place it in a dry, airy spot, out of direct sun. This prevents rot when you plant it.
- Rooting Hormone: Once callused, you can dip the callused end into rooting hormone. Tap off any excess.
- Planting Time: Fill your small pots with your well-draining mix. Make a small hole in the center and insert the callused end of your cutting. Gently firm the soil around it.
- Initial Watering: Water very lightly, just enough to settle the soil. Don’t drench it.
The “Secret Sauce” (Pro Tips)
Over the years, I’ve learned a few little tricks that really help.
- Bottom Heat is Your Friend: If you can, use a heating mat under your pots. Yucca rostratas love warmth, and bottom heat will encourage root development significantly faster. It’s like giving them a cozy spa day!
- Don’t Overwater, Ever: This is the number one killer of Yucca cuttings. Err on the side of too dry. Let the soil dry out completely between waterings.
- Watch the Lower Leaves: If you’ve opted for water propagation (which I find less consistently successful with Yuccas but some folks try), ensure absolutely no leaves are submerged in the water. They will rot very quickly and take your cutting with them.
Aftercare & Troubleshooting
Once your cutting is planted, place it in a bright, indirect light location. Resist the urge to tug on it to check for roots; you’ll only disturb them!
What do you do while you wait? Keep an eye on the soil moisture. Water only when the top inch or two of soil feels completely dry. This can take several weeks, so patience is paramount.
Signs of failure often look like rot. If the stem turns black and mushy, it’s unfortunately a lost cause. This usually points to too much moisture or not enough callusing. If you see wilting that doesn’t seem related to dryness, it could also be a sign of stress or rot setting in. On the flip side, if you see new leaf growth emerging from the rosette, that’s a beautiful sign that roots are forming, and your little Yucca is happy!
A Little Encouragement
Propagating Yucca rostrata is a journey. Some cuttings will root beautifully and quickly, while others might take their sweet time. Don’t get discouraged if not every attempt is a success. Each new plant you nurture from a cutting is a testament to your growing skill and connection with nature. Enjoy the process, celebrate every tiny bit of progress, and soon you’ll have a little desert oasis of your own! Happy gardening!
Resource:
https://identify.plantnet.org/k-world-flora/species/Yucca%20rostrata%20Engelm.%20ex%20Trel./data