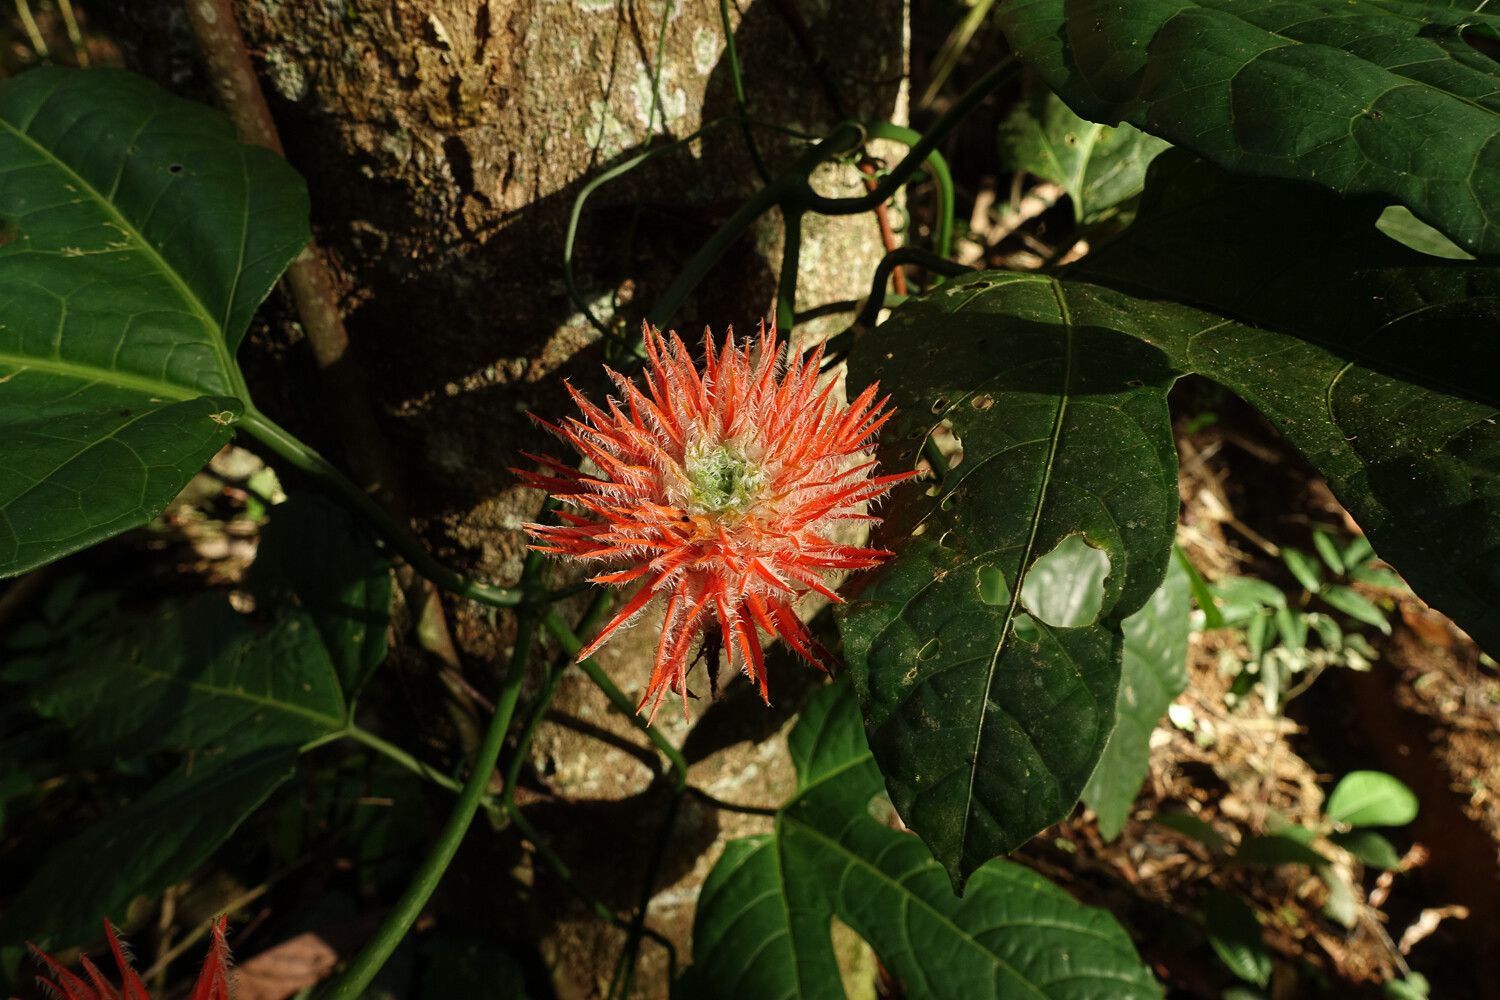
Oh, hello there! Come on in and pull up a chair. Let’s talk about a plant I’ve really fallen for: Gurania huebneri. You know, it’s one of those vines that brings a little bit of the tropics right into your home. Its vibrant foliage is just gorgeous, and watching those delicate tendrils unfurl is a special kind of magic. If you’ve ever admired this beauty, you’ll be delighted to know that growing your own from cuttings is not only possible but incredibly rewarding. For beginners? Well, it’s not the very easiest plant to start with, but with a little patience and these tips, I think you’ll do wonderfully!
The Best Time to Start
Honestly, spring and early summer are your golden ticket for propagating Gurania huebneri. This is when the plant is in its most vigorous growth phase, meaning the cuttings will have plenty of energy to put into developing roots. You’re essentially catching it when it’s feeling really alive and ready to sprout new life.
Supplies You’ll Need
Here’s what you’ll want to have on hand before we dive in:
- Sharp Pruning Shears or a Clean Knife: For making nice, clean cuts.
- Well-Draining Potting Mix: I find a mix of equal parts perlite and coco coir works beautifully. It offers aeration without holding too much moisture.
- Small Pots or Seedling Trays: Enough for your cuttings. Make sure they have drainage holes!
- Rooting Hormone (Optional but Recommended): A powder or gel can give your cuttings a helpful boost.
- Clear Plastic Bag or Dome (Optional): To create a humid microclimate.
- Watering Can or Spray Bottle: For gentle watering.
Propagation Methods: Let’s Get Our Hands Dirty!
We’ll focus on the most reliable method for Gurania huebneri: stem cuttings. It’s straightforward and yields excellent results.
- Take Your Cuttings: Look for healthy, mature stems on your Gurania plant. You want stems that are not too young and floppy, nor too old and woody. Aim for sections with at least two or three sets of leaves, and make a clean cut just below a leaf node. That little bump where the leaf meets the stem is where the magic will happen. Your cutting should be about 4-6 inches long.
- Prepare the Cuttings: Gently remove the lower leaves from your cutting, leaving just the top one or two. This prevents them from rotting in the soil.
- Apply Rooting Hormone (If Using): If you’ve got some rooting hormone, lightly dip the cut end of your stem into it. Tap off any excess.
- Plant Your Cuttings: Fill your small pots with the well-draining potting mix. Make a small hole in the center with your finger or a pencil. Carefully insert the cut end of your Gurania cutting into the hole, ensuring the node where you removed the leaves is below the soil line. Gently firm the soil around the stem.
- Water Gently: Water your cuttings thoroughly but gently, so the soil is moist but not waterlogged. A spray bottle can be great for this initial watering.
- Create Humidity (Optional but helpful): If you have a clear plastic bag, you can place it loosely over the pot, creating a mini greenhouse. Alternatively, a plastic dome works wonderfully. This helps keep the leaves from drying out while the roots establish.
The “Secret Sauce” (Pro Tips)
Alright, a couple of things I’ve learned over the years that really make a difference:
- Don’t Let Leaves Touch the Water: If you opt for water propagation (which I find a bit trickier for Gurania as they can be prone to rot in water), make sure no leaves are submerged. Only the stem should be in the water.
- Bottom Heat is Your Friend: If you have the space and inclination, placing your pots on a heat mat can significantly speed up root development. That gentle warmth mimics a tropical environment and really encourages those roots to push out.
Aftercare & Troubleshooting
Once your cuttings are planted, find a spot for them that gets bright, indirect light. Avoid direct sun, as it can scorch those tender new leaves. Keep the soil consistently moist but not soggy. The plastic bag or dome will help maintain humidity, but you might need to open it for a few minutes each day to allow for air circulation.
You’ll know your Gurania has rooted when you feel a gentle tug of resistance when you lightly pull on the stem, or when you see new growth emerging. This can take anywhere from 4 weeks to a couple of months, so patience is key!
The most common issue you might encounter is rot. This is usually a sign of overwatering or poor drainage. If you notice your stem turning mushy or black, it’s sadly a goner and you’ll need to start again. If you see mold on the soil surface, increase ventilation by opening the plastic bag or removing the dome for longer periods.
A Little Patience, A Lot of Joy
Seeing a new Gurania huebneri plant sprout from a simple cutting is incredibly satisfying. It’s a little piece of your gardening journey that you get to nurture and grow. Don’t get discouraged if your first attempt isn’t perfect. Every plant, and every cutting, is a learning experience. So go ahead, grab your shears, and enjoy the process of bringing more of this beautiful vine into your world. Happy growing!
Resource:
https://identify.plantnet.org/k-world-flora/species/Gurania%20huebneri%20Harms/data