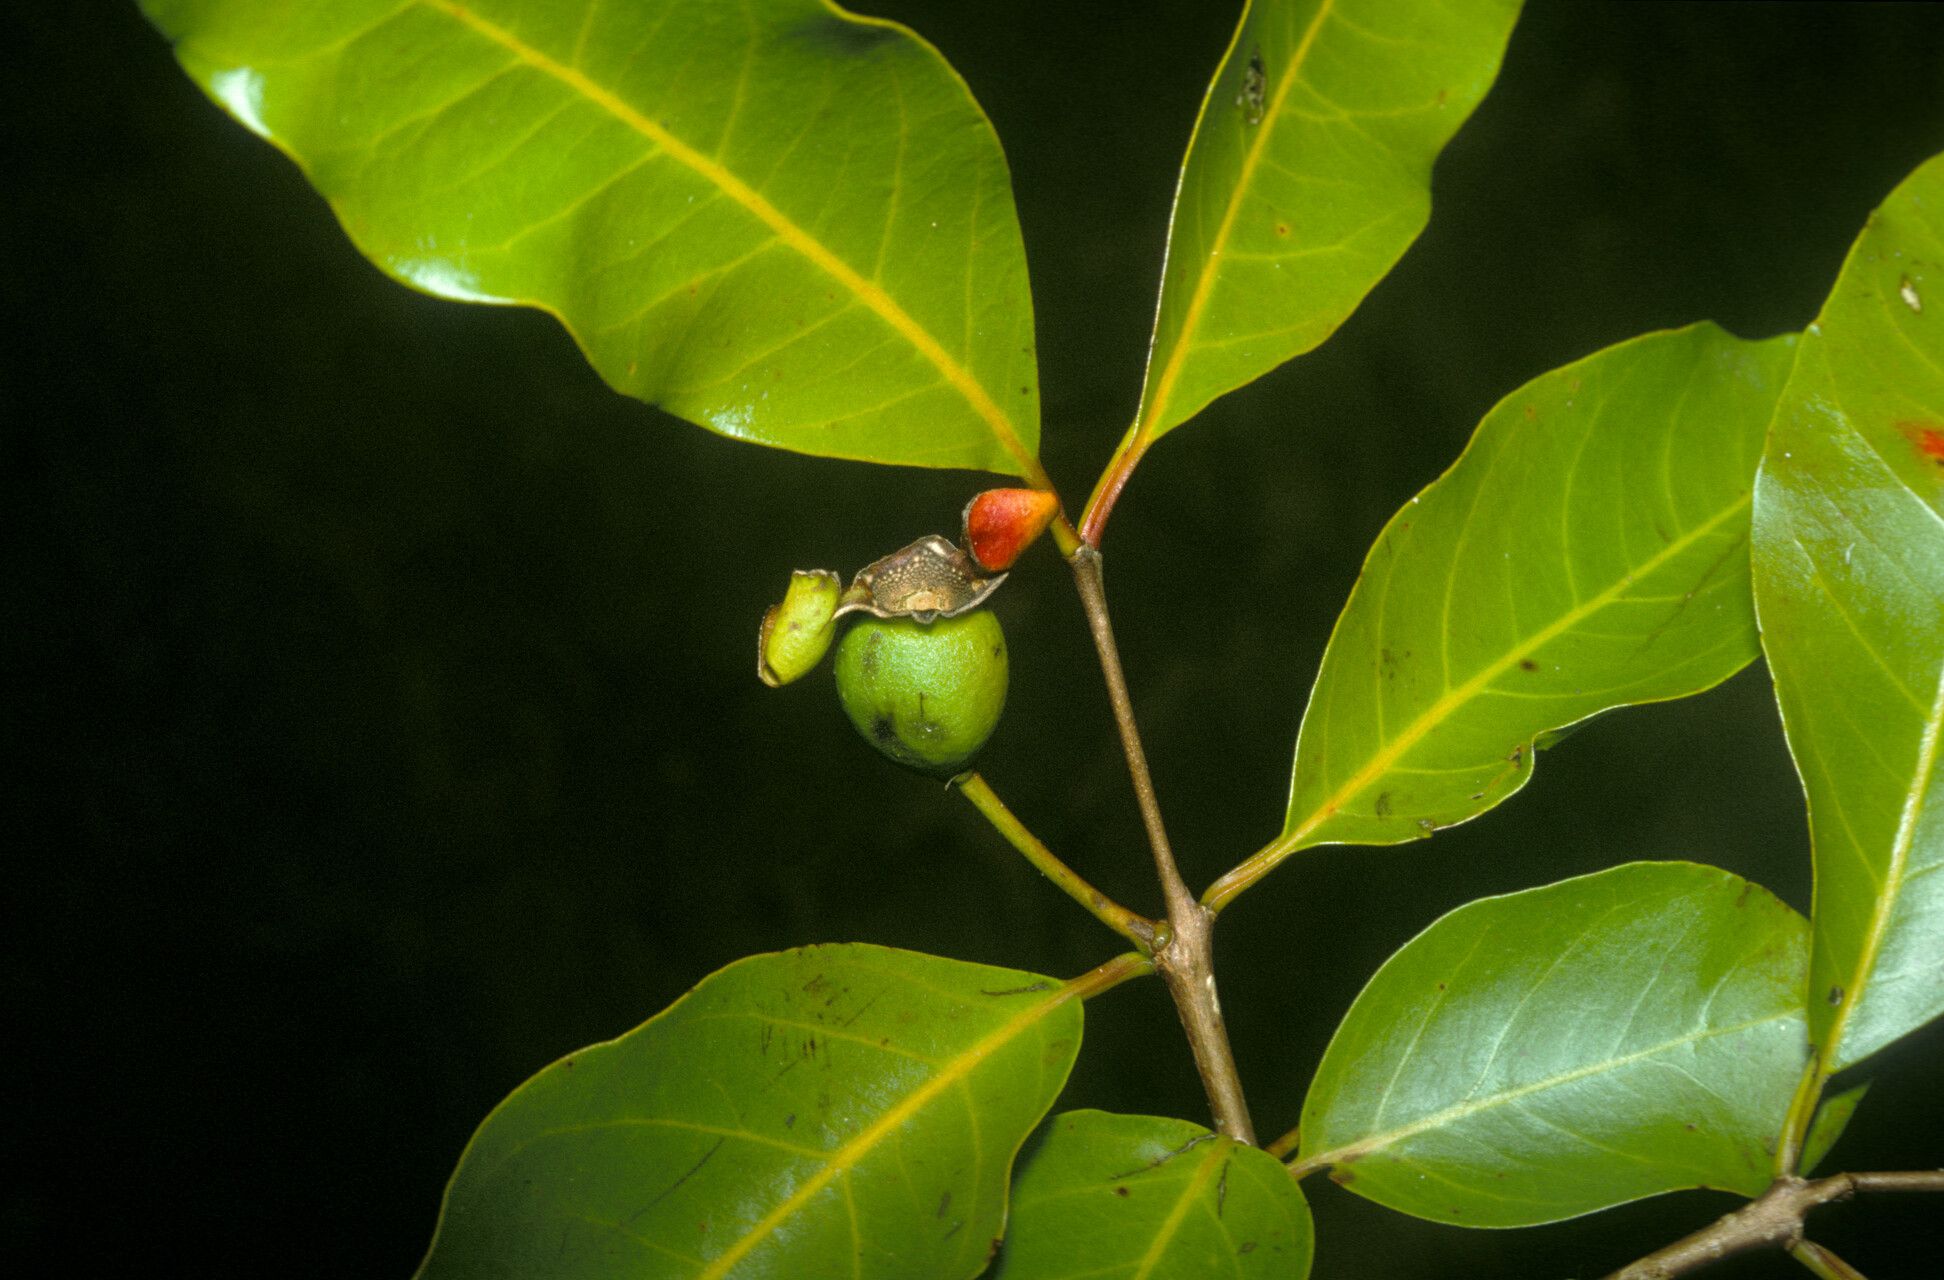
Hello there! It’s so lovely to have you here in my little corner of the garden internet. Today, we’re diving into something truly special: Psidium acutangulum, also known as the Star Gooseberry or, more locally, as Uvaia. This beautiful little tree, native to South America, offers up a bounty of tangy, tropical fruit that’s just bursting with sunshine and vitamin C. Beyond the delicious fruit, its glossy leaves and charming white flowers make it a delightful addition to any tropical or sub-tropical garden. And the best part? You can bring more of this goodness into your life by propagating it yourself! For those of you just starting out on your plant parenting journey, I’ll be honest, Psidium acutangulum can be a little bit of a challenge compared to, say, a pothos. But with a bit of patience and the right techniques, you’ll be rewarded with your own little star.
The Best Time to Start
When it comes to getting *Psidium a
Supplies You’ll Need
Before we get our hands dirty, let’s gather our tools:
- Sharp Pruning Shears or a Knife: Clean cuts are crucial for healthy rooting.
- Rooting Hormone: A powder or gel can give your cuttings a significant boost.
- Potting Mix: I prefer a light, airy mix for propagation. A good blend is 50% perlite and 50% peat moss or coco coir. You can also find specialized seed-starting or propagation mixes.
- Small Pots or Trays: Clean containers with drainage holes are perfect.
- Plastic Bags or a Propagation Dome: To maintain humidity.
- Water: For moistening the soil and, potentially, for water propagation.
- Gloves (Optional): If you prefer to keep your hands clean.
Propagation Methods
We’ll focus on the most successful methods for Psidium acutangulum: stem cuttings. This is where we take a piece of the parent plant and encourage it to grow its own roots.
Stem Cuttings:
- Taking the Cuttings: Select healthy, vigorous stems that are about finger-thick and 6-8 inches long. Using your clean pruning shears, take the cuttings just below a leaf node (where a leaf attaches to the stem). Remove any flowers or developing fruit.
- Prepare the Cuttings: Strip off the lower leaves, leaving just a few at the very top. This prevents them from rotting once planted. If your cuttings are particularly long, you can also trim the remaining leaves in half to reduce water loss through transpiration.
- Apply Rooting Hormone: Dip the cut end of each stem into your rooting hormone, tapping off any excess. This is a vital step for encouraging root development.
- Planting the Cuttings: Fill your small pots with your prepared potting mix. Make a starter hole with a pencil or your finger, then insert the treated cutting, pushing it down so that at least one leaf node is buried. Gently firm the soil around the stem. Water thoroughly until the soil is moist but not waterlogged.
- Create a Humid Environment: Cover each pot with a clear plastic bag, ensuring the bag doesn’t touch the leaves, or place them under a propagation dome. This helps maintain the high humidity cuttings need. You can secure the bag with a rubber band or string around the pot.
- Placement: Place the pots in a warm location that receives bright, indirect light. Avoid direct sun, which can scorch the delicate cuttings.
The “Secret Sauce”
Here are a few little tricks I’ve learned over the years that can really make a difference:
- Bottom Heat is Your Friend: If you have it, placing your pots on a gentle heating mat can drastically speed up root formation. The warmth encourages the plant to put its energy into root growth. Just make sure the mat isn’t too hot – think lukewarm bathwater.
- Don’t Overcrowd: Give your cuttings some space. If they’re too close, they can encourage fungal diseases and make it harder for air to circulate. Better to have a few well-rooted plants than a pot full of unhappy ones.
- Think About the Parent Plant: The health of your parent plant directly impacts the success of your cuttings. During the growing season, ensure your Psidium acutangulum is well-watered, fertilized, and free from pests. A happy parent plant means happy cuttings!
Aftercare & Troubleshooting
Once your cuttings have been planted, be patient! Rooting can take anywhere from 4 to 8 weeks, sometimes even longer. You’ll know they’re ready when you see new leaf growth and gently pull on the cutting and feel resistance – that’s the sign of new roots anchoring it in.
Continue to keep the soil consistently moist but not soggy. Once roots are established, you can start to gradually acclimate your new plants to drier air by slowly opening the plastic bag or vents on your dome over a week or two. Then, you can transplant them into slightly larger pots with a good quality potting mix.
The most common problem you might encounter is rot. This usually happens if the soil stays too wet or if the humidity is too high without enough air circulation. If you see stems turning mushy or black, it’s usually a sign of rot. Unfortunately, these cuttings are often lost, but don’t despair! It’s just part of the learning process. Clean up any affected material and try again, paying close attention to soil moisture and air circulation.
A Little Patience Goes a Long Way
Growing new plants from cuttings is one of the most rewarding aspects of gardening for me. It’s a wonderful way to connect with your plants and bring more of that tropical magic into your home or garden. Don’t be discouraged if your first attempt isn’t perfect. Each attempt you make teaches you something new. So, gather your supplies, get your hands a little dirty, and enjoy the slow, steady journey of coaxing new life from a simple stem. Happy growing!
Resource:
https://identify.plantnet.org/k-world-flora/species/Psidium%20acutangulum%20DC./data