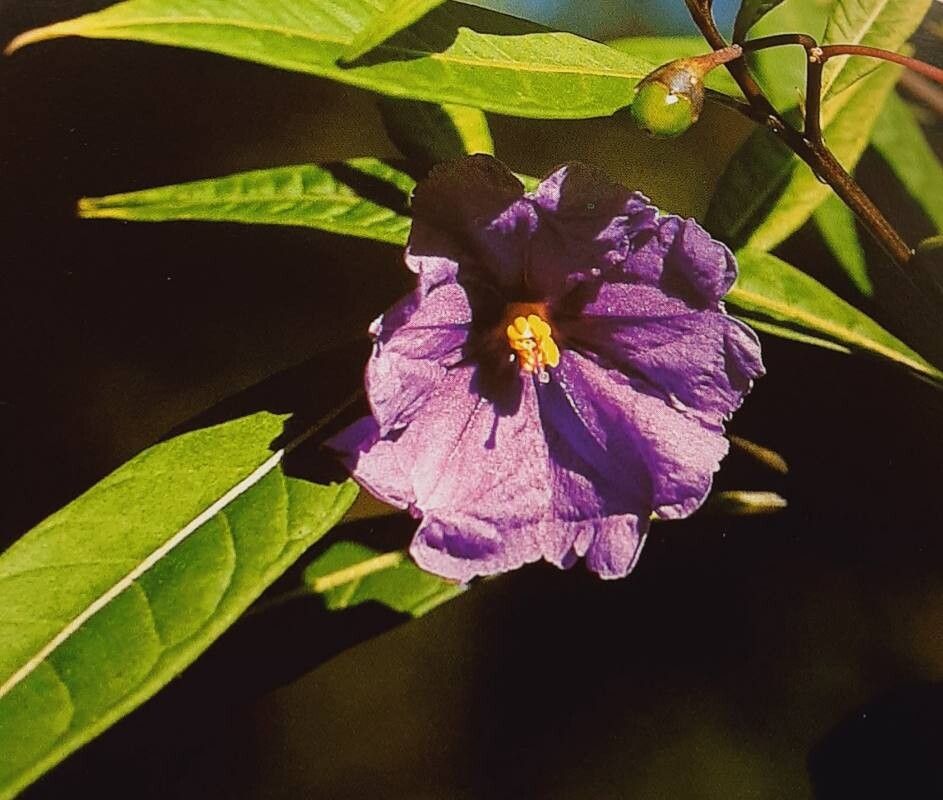
Hello, fellow garden lovers! I’m so excited to chat with you today about a truly delightful plant: Solanum aviculare, also known as the Kangaroo Apple. This Australian native is a real beauty, often gracing our gardens with its vibrant green foliage and, later in the season, charming purple flowers followed by bright orange berries. It brings a touch of the wild to our spaces, and collecting seeds or striking cuttings to create more of these beauties is a wonderfully rewarding experience. For beginners, I’d say propagating Solanum aviculare is moderately easy, especially if you follow a few key steps. It’s a project that anyone with a bit of patience can tackle.
The Best Time to Start
For the highest success rate, I always recommend starting your propagation efforts during the late spring or early summer. This is when the plant is actively growing, and the stems have a bit of maturity to them – we call this “semi-hardwood.” Trying to propagate too early, when the stems are very soft and new, can lead to rot. Conversely, trying in the dead of winter isn’t ideal either, as growth has slowed right down. So, aim for those long, sunny days of early summer for the best results.
Supplies You’ll Need
Before we get our hands dirty, let’s gather everything we need:
- Sharp pruning shears or a clean knife: For making those crucial, clean cuts.
- A well-draining potting mix: I usually mix peat moss, perlite, and a little bit of coarse sand. You can also buy pre-made cactus and succulent mix, which works well because it’s designed for drainage.
- Small pots or trays: Clean ones are essential to prevent disease.
- Rooting hormone (optional but recommended): A powder or gel will significantly boost your success rate.
- Watering can or spray bottle: For gentle watering.
- Plastic bags or a propagator lid: To create a humid environment for your cuttings.
- A warm location: This could be a sunny windowsill or, even better, a spot with a heat mat.
Propagation Methods
I find that stem cuttings are the most reliable way to propagate Solanum aviculare. Here’s how I do it:
- Take Your Cuttings: On a pleasant morning, select a healthy, non-flowering stem from your mature plant. Using your sharp pruning shears, cut a piece that is about 10-15 cm (4-6 inches) long. Make the cut just below a leaf node (where a leaf attaches to the stem).
- Prepare the Cuttings: Gently remove the lower leaves from the cutting, leaving just the top two or three leaves. If the top leaves are very large, I often cut them in half horizontally. This reduces water loss from the leaves while still allowing enough surface area for photosynthesis.
- Apply Rooting Hormone: Dip the cut end of the stem into your rooting hormone powder or gel. Tap off any excess – you don’t want clumps.
- Pot Them Up: Fill your clean pots with your prepared potting mix. Make a small hole in the center with your finger or a pencil. Insert the prepared cutting into the hole, ensuring the leaf nodes that were near the bottom are buried. Gently firm the soil around the base of the cutting.
- Water and Cover: Water the pot thoroughly but gently. Excess water should drain away freely. Now, create a humid little microclimate by covering the pot with a clear plastic bag (secured around the rim with a rubber band) or a propagator lid.
The “Secret Sauce” (Pro Tips)
Over the years, I’ve learned a few tricks that really help my cuttings thrive:
- Bottom Heat is a Game Changer: While a sunny windowsill is good, placing your pots on a soil warming mat provides consistent, gentle bottom heat. This encourages root development from below without drying out the leaves. You’ll often see roots form more quickly and robustly.
- Don’t Let Those Leaves Touch the Water: If you choose to water propagation (though I find cuttings in soil are usually more successful long-term), it’s crucial that no leaves are submerged in the water. Rot can set in very quickly if leaves sit in stagnant water. Keep the water level below the lowest leaf.
- Be Patient with the “Callusing”: Sometimes, the cut end of the stem might look a little bit “fuzzy” or like it’s forming a callus before roots appear. Don’t be alarmed! This is often a sign that the plant is preparing to root. Resist the urge to constantly check – give them time and peace.
Aftercare & Troubleshooting
Once your cuttings have started to show signs of life – usually a bit of new leafy growth at the top, or if you give them a very gentle tug and feel some resistance – it’s time for a little adjustment. Gradually remove the plastic cover or propagator lid over a few days to help them acclimatize to drier air. Continue to keep the soil consistently moist but never waterlogged.
The most common issue you might encounter is rot. If your cutting turns black and mushy at the base, it’s likely succumbed to rot. This usually happens due to overwatering, poor drainage, or lack of airflow. If you see signs of rot, it’s best to discard the affected cutting to prevent it from spreading. Sometimes, a cutting might just seem to do nothing for a while. This isn’t always a sign of failure; some plants are just slow starters! If it’s still firm and green, it might just be getting ready.
A Little Encouragement to Finish
Propagating new plants is a journey, and like any good garden project, it requires a bit of patience and a lot of observation. Don’t be discouraged if your first few attempts aren’t a roaring success. You’ll learn so much with each cutting you take. Enjoy the process of nurturing these little life forms, and soon you’ll have new Kangaroo Apples to share or admire in your own garden! Happy propagating!
Resource:
https://identify.plantnet.org/k-world-flora/species/Solanum%20aviculare%20G.Forst./data