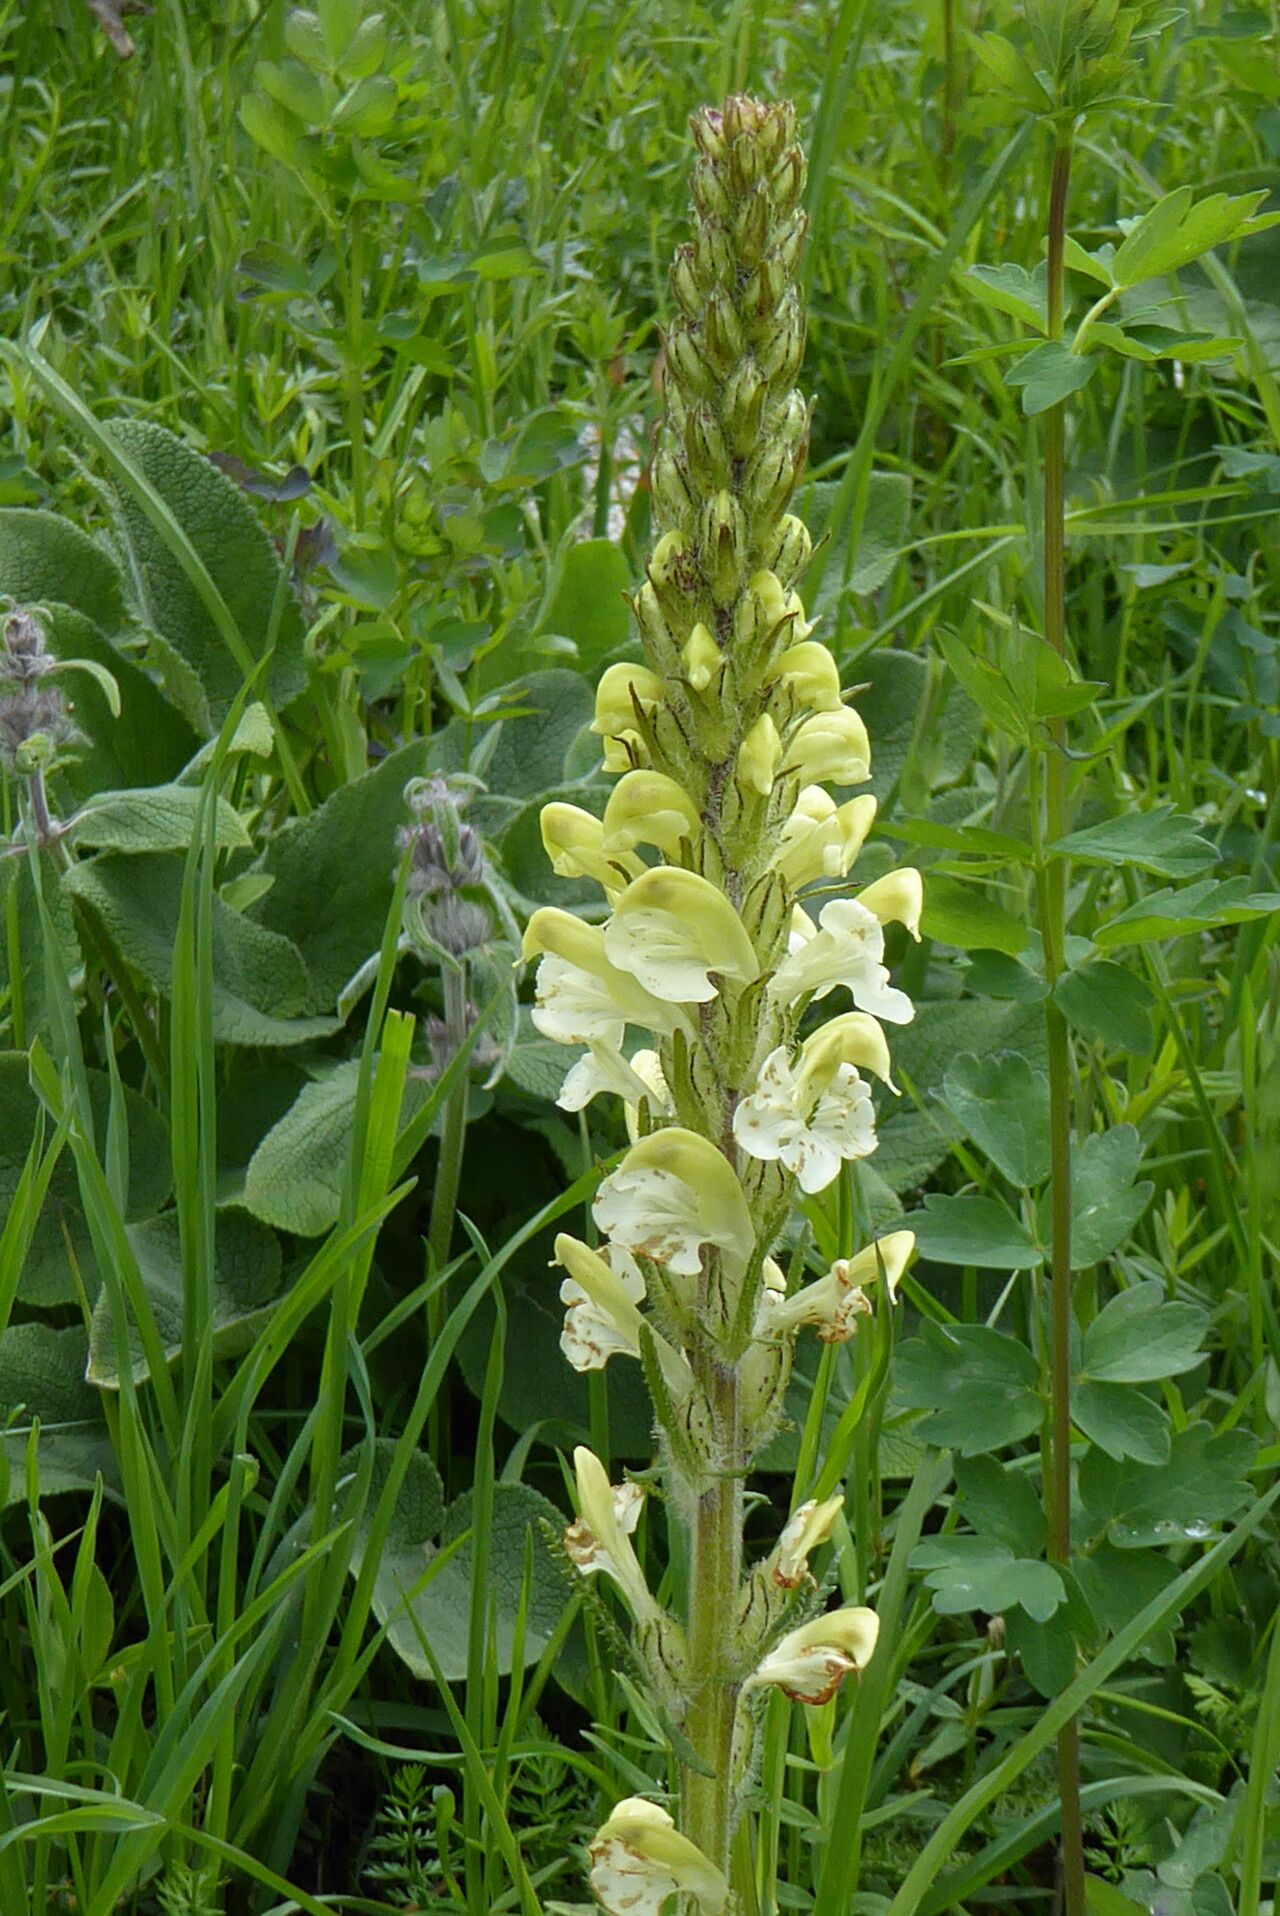
Hello there, fellow plant enthusiasts! Today, I want to chat about a plant that has, frankly, stolen a piece of my horticultural heart: Pedicularis dolichorrhiza. If you’re drawn to unique foliage and a touch of woodland charm, this beauty is for you. Its intricate leaf patterns are just mesmerizing, and seeing a new plant emerge from a tiny piece of the parent is one of gardening’s greatest joys. Now, I’ll be honest, Pedicularis dolichorrhiza isn’t exactly a beginner’s “throw it in the ground and forget it” kind of plant. It requires a little more attention and understanding, but the rewards are absolutely worth the effort. Let’s get our hands dirty!
The Best Time to Start
Timing is everything in the garden, and for Pedicularis dolichorrhiza, I find the late spring to early summer is your golden window. This is when the plant is actively growing, meaning it has the energy to put towards rooting. Waiting until after flowering is also a good idea, as the plant can then dedicate its resources to vegetative growth rather than seed production.
Supplies You’ll Need
Before we dive in, let’s gather our tools. A well-prepared workspace makes all the difference!
- Sharp, clean pruning shears or a sharp knife: Essential for making clean cuts to prevent disease.
- A well-draining potting mix: I like to use a blend of perlite, coco coir, and a little bit of compost. You want it to be airy, not dense.
- Rooting hormone (optional but recommended): This can give your cuttings a significant boost. Look for one specifically for herbaceous plants.
- Small pots or trays: Clean, about 3-4 inches in diameter.
- A mister or spray bottle: For keeping cuttings hydrated.
- Clear plastic bags or a propagation dome: To create a humid environment.
- A heat mat (optional): This can speed up root development significantly.
Propagation Methods
Let’s get down to business! There are a few ways to coax new life from your Pedicularis dolichorrhiza, but my go-to method is by stem cuttings.
- Take Your Cuttings: In late spring or early summer, select a healthy, actively growing stem from your parent plant. Using your sharp pruning shears or knife, take a cutting that is about 4-6 inches long. Look for a stem that has at least two sets of leaves. Make the cut just below a leaf node (where a leaf attaches to the stem); this is where the magic happens for root formation.
- Prepare the Cuttings: Gently remove any lower leaves from the cutting, leaving just the top two or three pairs. If the leaves are very large, you can even gently cut them in half to reduce water loss through transpiration.
- Apply Rooting Hormone (Optional): Dip the cut end of the stem into your rooting hormone, tapping off any excess.
- Plant Your Cuttings: Fill your small pots with your prepared, moistened potting mix. Make a small hole in the center of the soil with your finger or a pencil and insert the cut end of the stem. Gently firm the soil around the base of the cutting to ensure good contact.
- Create Humidity: Water the pots lightly. Then, cover each pot with a clear plastic bag, tying it loosely at the base, or place them under a propagation dome. This creates the high humidity that cuttings crave.
- Placement: Place the pots in a bright location that receives indirect sunlight. Avoid direct sun, which can scorch the delicate cuttings. If you have a heat mat, place the pots on it for an extra boost.
The “Secret Sauce” (Pro Tips)
Now for a couple of my tried-and-true tricks that I’ve learned over the years:
- Avoid “Drowning” Your Cuttings: If you’re trying water propagation (which I generally advise against for Pedicularis due to rot risk, but if you must!), never let the leaves touch the water. Roots will form from the nodes, and soggy leaves will just invite mildew and decay.
- Bottom Heat is Your Friend: Seriously, a gentle bottom heat (around 70-75°F or 21-24°C) makes a world of difference. It encourages root development from the bottom up, giving your cuttings a much better chance of success.
- Patience is Paramount: Pedicularis can be a bit of a slow-mover when it comes to rooting. Don’t get discouraged after a week or two. Sometimes it takes a month or more to see significant root development.
Aftercare & Troubleshooting
Once you start to see tiny roots poking out of the drainage holes or perhaps a tiny bit of new leaf growth, you know you’re on your way!
- Gradual Acclimatization: Slowly begin to harden off your new plants. This means gradually increasing their exposure to open air over a week or two. Once the humidity dome or plastic bag is off, mist them occasionally if the air is very dry.
- Watering: Keep the soil consistently moist but not waterlogged. Overwatering is the biggest killer of young cuttings – it leads to rot.
- Signs of Trouble: The most common issue you’ll encounter is rot. If the cutting turns black and mushy, it’s unfortunately a goner. This is usually caused by too much moisture and poor air circulation. Yellowing leaves can be a sign of overwatering, or sometimes just the plant adjusting. If a cutting seems to be wilting consistently, it might not have rooted yet.
A Little More Patience, A Lot More Joy
Growing plants from cuttings is such a rewarding experience. It’s a tangible demonstration of nature’s resilience and your own nurturing touch. While Pedicularis dolichorrhiza might ask for a bit more of your time and attention, the feeling of holding a brand-new plant that you coaxed into existence is truly unmatched. Keep at it, be patient with these lovely plants, and enjoy the process of bringing more green into your world! Happy gardening!
Resource:
https://identify.plantnet.org/k-world-flora/species/Pedicularis%20dolichorrhiza%20Schrenk/data