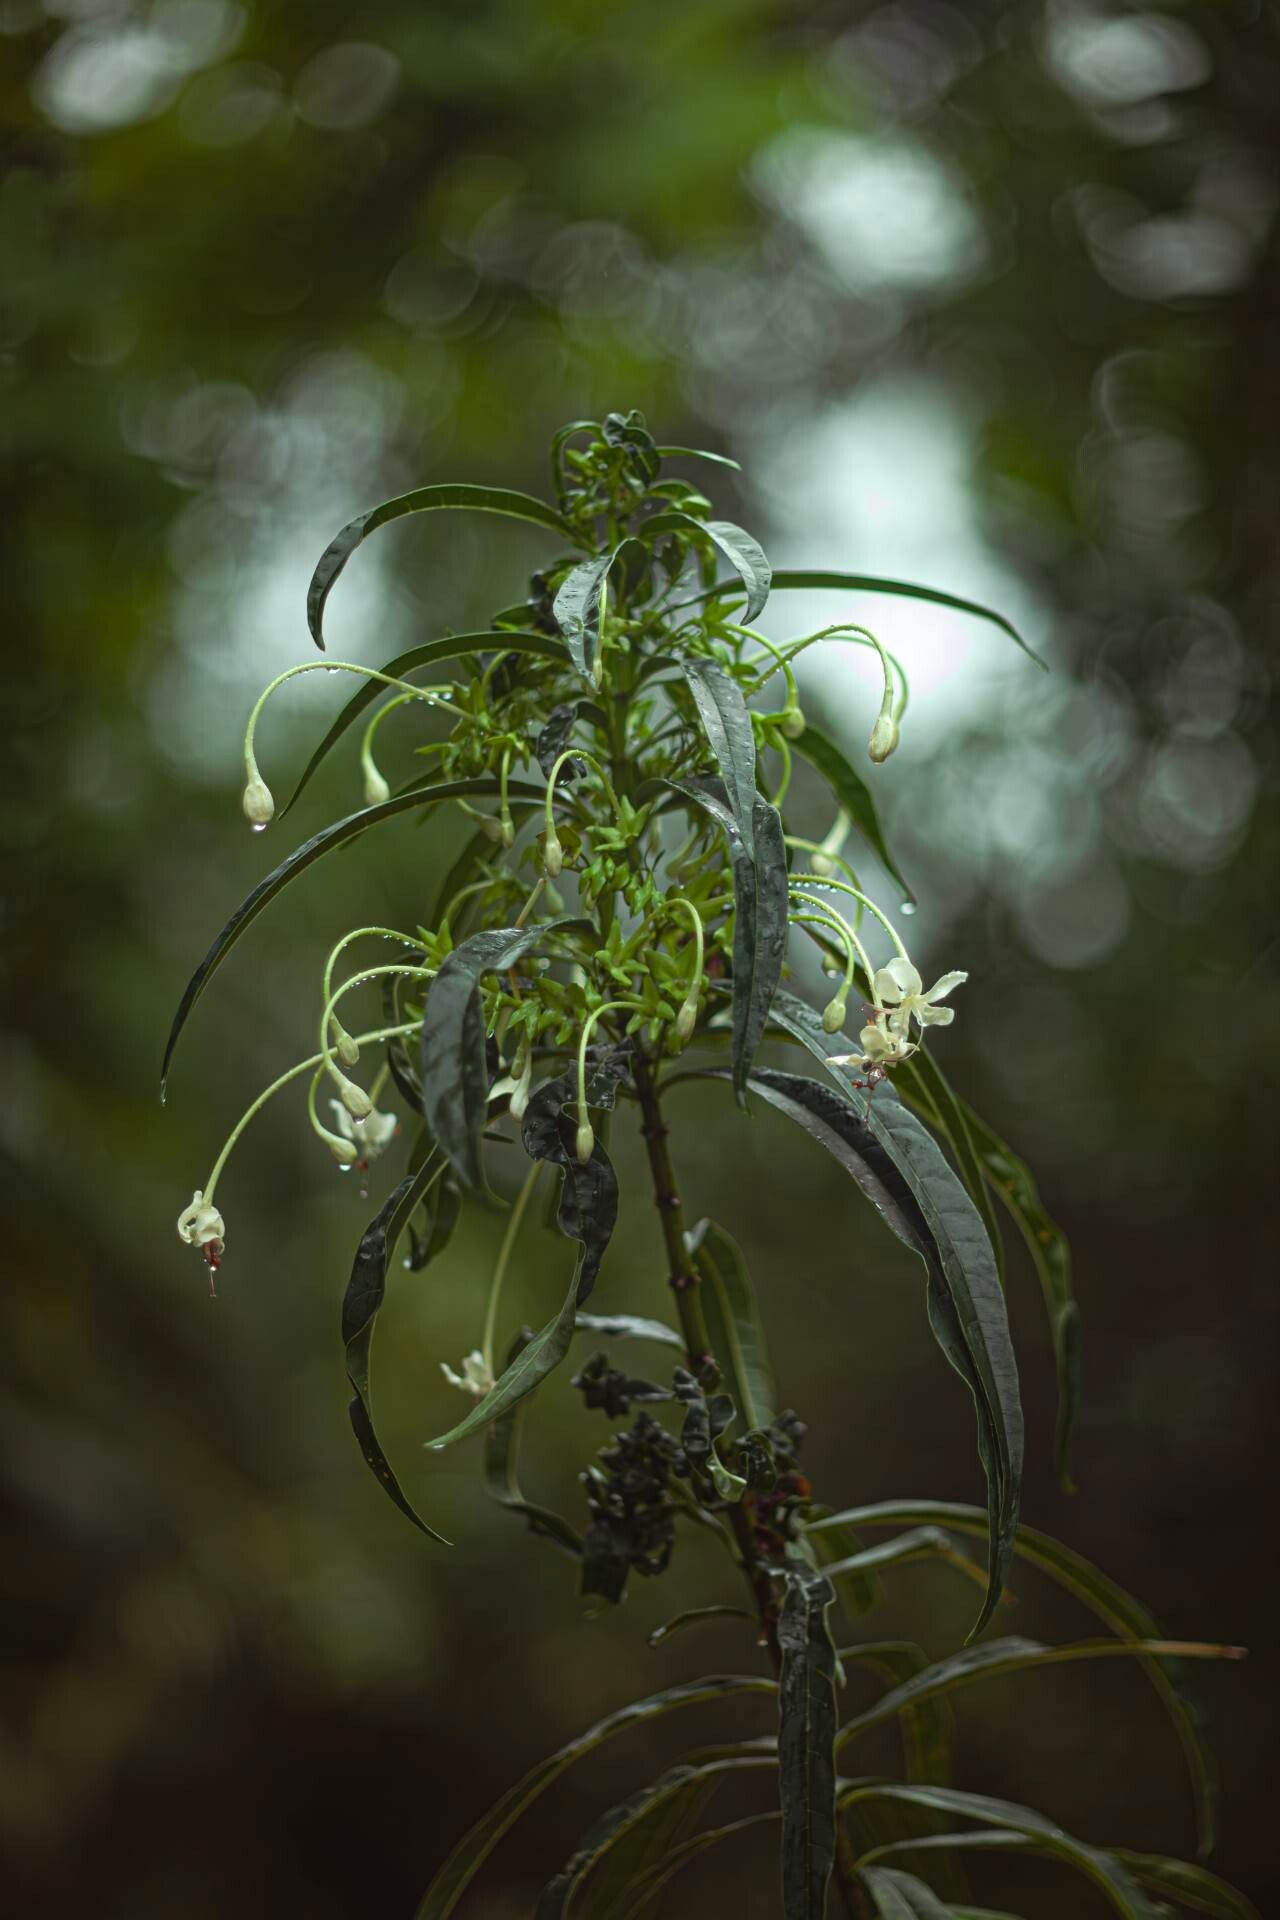
Oh, hello there! I’m so glad you’re interested in Clerodendrum indicum. This lovely plant, sometimes called Glory Bower or Turk’s Turban, is just a dream with its delicate, often fragrant flowers. It really brings a touch of elegance to any garden or indoor space. And honestly, propagating it yourself? Absolutely brilliant! It’s a fantastic way to share the beauty, fill out your own collection, or even just start a new plant for a friend.
Most folks find Clerodendrum indicum to be a pretty beginner-friendly plant to propagate. While nothing is ever guaranteed 100% in gardening, this one is generally quite forgiving. Let’s get you started!
The Best Time to Start
For the absolute best success rate with your Clerodendrum indicum, I’ve found that late spring to early summer is your sweet spot. This is when the plant is actively growing and has plenty of energy to put into forming new roots. You want to take cuttings from healthy, non-flowering new growth. Think of it as taking a piece of the plant that’s full of life and ready to take off!
Supplies You’ll Need
Before we dive in, let’s gather our tools. Having everything ready makes the process so much smoother.
- Sharp Pruning Shears or a Clean Knife: For making nice, clean cuts.
- Rooting Hormone (Optional but Recommended): Helps give those cuttings a little boost. I like powdered forms.
- Well-Draining Potting Mix: A blend of equal parts peat moss or coco coir and perlite works wonderfully. You can also buy a pre-made seed starting or propagation mix.
- Small Pots or Trays: Clean ones, of course! About 4-inch pots are a good size to start.
- Plastic Bags or a Clear Dome Lid: To create a humid environment for your cuttings.
- Water: For hydration.
- Labeling Sticks: To keep track of what you’ve planted and when.
Propagation Methods
Clerodendrum indicum is quite adaptable, and I’ve had great luck with a couple of methods. Let’s explore them!
Stem Cuttings
This is my go-to method for Clerodendrum indicum. It’s reliable and you can get several new plants from one parent.
- Take Your Cuttings: Select a healthy stem that’s about 4-6 inches long. Look for growth that has started to firm up a bit but isn’t woody. Make a clean cut just below a leaf node (where a leaf attaches to the stem).
- Prepare the Cuttings: Gently remove the lower leaves, leaving just a few at the top. This prevents them from rotting in the soil. If your cutting is very long, you can also pinch off the growing tip to encourage bushier growth later.
- Apply Rooting Hormone: Dip the cut end of the stem into your rooting hormone. Tap off any excess. This step is optional, but I find it really speeds things up!
- Plant Your Cuttings: Make a small hole in your prepared potting mix with a pencil or your finger, and carefully insert the cutting, ensuring the leaf nodes are buried. Gently firm the soil around the stem.
- Water Gently: Water thoroughly but gently, making sure not to disturb the cuttings.
- Create Humidity: Cover the pot or tray with a clear plastic bag (propped up with stakes so it doesn’t touch the leaves) or a clear dome lid. This traps moisture, mimicking the humid conditions the cuttings need to root.
- Placement: Place the pot in a warm spot with bright, indirect light – no direct sun, which can scorch them!
Water Propagation
If you prefer a more visual method, water propagation is lovely. You can keep an eye on those roots as they develop.
- Select and Prepare Cuttings: Just as with stem cuttings, choose 4-6 inch long, healthy, semi-softwood stems. Remove the lower leaves.
- Place in Water: Put the cuttings in a clean jar or vase filled with fresh water. Make sure all the leaf nodes are submerged, but keep the remaining leaves above the water level.
- Change Water Regularly: Change the water every few days to keep it fresh and prevent bacterial growth.
- Location: Place the jar in a warm location with bright, indirect light, just like with soil propagation.
The “Secret Sauce” (Pro Tips)
Here are a few things I’ve learned over the years that can really give you an edge:
- Bottom Heat is Your Friend: If you have a heated propagator mat, using it under your pots for stem cuttings makes a world of difference. That gentle warmth at the roots encourages them to get going much faster.
- Don’t Flood the Zone: When watering soil cuttings, err on the side of slightly moist rather than waterlogged. Soggy soil is the fastest way to rot those precious cuttings before they even have a chance.
- Check for Resistance: When you gently tug on a cutting after a few weeks, if you feel any resistance, that’s a good sign roots are forming. Don’t pull too hard, though!
Aftercare & Troubleshooting
Once you see new leaf growth or notice resistance when gently tugging (for soil cuttings), you’re on your way!
- Acclimatization: If you used a plastic bag or dome, start gradually introducing your new plants to open air over a week. This means opening the bag a little each day, or lifting the dome for longer periods.
- Potting Up: Once the roots are well-established (you might even see them peeking out of drainage holes), you can gently pot them into their own small pots with a good quality, well-draining potting mix.
- Watering: Water them in well after potting up, and then water when the top inch of soil feels dry.
- Common Issues: The most common problem you might face is rot. This usually happens from overwatering or not enough ventilation. If a cutting turns black and mushy, unfortunately, it’s best to discard it and try again. Lack of rooting is usually due to insufficient humidity, lack of warmth, or taking cuttings from unhealthy material.
A Little Patience Goes a Long Way
Enjoy the process! Watching those tiny roots emerge and seeing your new Clerodendrum indicum plants unfurl their first real leaves is a truly special feeling. Be patient, give them a good environment, and don’t be discouraged if your first attempt isn’t perfect. Gardening is all about learning, and with Clerodendrum indicum, you’re sure to have a rewarding journey. Happy propagating!
Resource:
https://identify.plantnet.org/k-world-flora/species/Clerodendrum%20indicum%20(L.)%20Kuntze/data