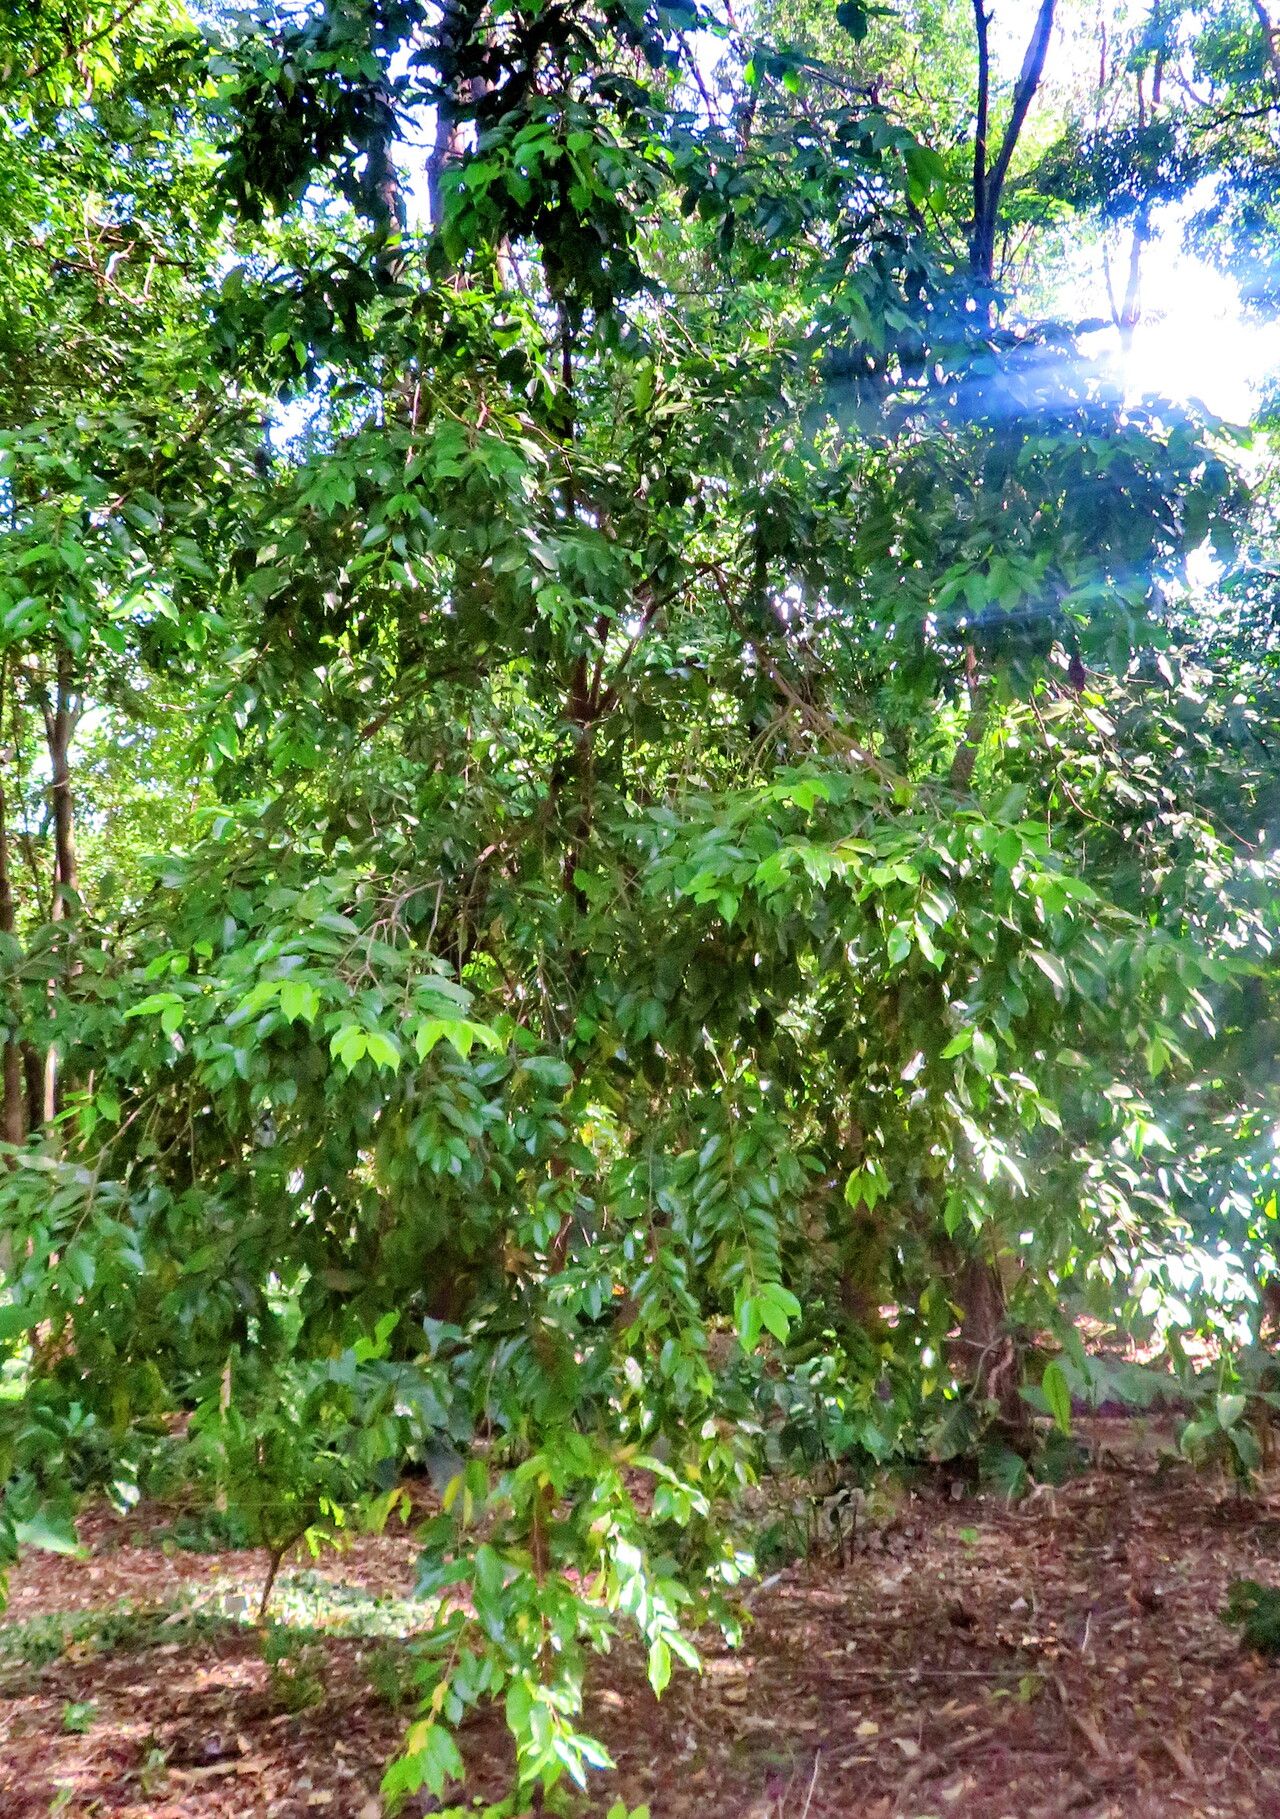
Oh, hello there, fellow garden enthusiast! Pull up a chair, let’s talk about Moquilea salzmannii. I absolutely adore this plant. Its delicate, intricate foliage and the way it drapes with such grace make it a real standout. If you’re looking to add a touch of understated elegance to your space, or if you just want to get more of this beauty for free, propagating it is incredibly rewarding. Now, I’ll be honest, Moquilea salzmannii isn’t always the most straightforward for absolute beginners, but with a little love and attention, it’s definitely achievable, and the satisfaction you’ll feel when those first roots appear is priceless.
The Best Time to Start
For the highest success rate with Moquilea salzmannii, I find that late spring to early summer is your golden window. This is when the plant is actively growing and has the most energy to put into developing new roots. You’re looking for healthy, actively growing stems – avoid anything that looks old or woody.
Supplies You’ll Need
Before we dive in, let’s gather our tools. Having everything ready makes the process so much smoother:
- Sharp pruning shears or a clean knife: For making clean cuts.
- Rooting hormone (optional but recommended): A little powder or gel can give your cuttings a helpful boost.
- Well-draining potting mix: I like a blend of peat moss, perlite, and a bit of sand. You can also use a commercial seed-starting mix.
- Small pots or seed trays: Clean ones, please!
- Plastic bags or a propagation dome: To maintain humidity.
- Gloves (optional): If you prefer to keep your hands clean.
- A spray bottle: For misting.
Propagation Methods
We’ll focus on the most reliable method for Moquilea salzmannii: stem cuttings.
Here’s how we’ll do it:
- Select Your Cuttings: Gently examine your Moquilea salzmannii. Look for healthy stems that have at least two to three sets of leaves. You want a piece of stem that’s about 4-6 inches long.
- Make the Cut: Using your sharp shears or knife, make a clean cut just below a leaf node. A leaf node is where a leaf attaches to the stem; this is where roots are most likely to form.
- Prepare the Cutting: Gently remove the lower leaves from your cutting, leaving just a couple of sets at the very top. This prevents the submerged leaves from rotting in the soil.
- Apply Rooting Hormone (Optional): If you’re using rooting hormone, lightly dip the cut end into the powder or gel. Tap off any excess.
- Plant Your Cuttings: Fill your small pots or seed trays with your well-draining potting mix. Make a small hole in the center with your finger or a pencil.
- Insert and Firm: Carefully insert the cut end of your Moquilea salzmannii cutting into the hole. Gently firm the soil around the stem to ensure good contact.
- Water Gently: Give your cuttings a light watering. You want the soil to be moist, but not waterlogged.
- Create a Humid Environment: This is crucial! Cover your pots with a plastic bag or a propagation dome. Make sure the plastic isn’t touching the leaves too much. You can prop it up with small stakes if needed. This will create a mini-greenhouse effect, keeping the humidity high, which is essential for cuttings to root.
The “Secret Sauce” (Pro Tips)
These are a few things I’ve learned that really make a difference:
- Bottom Heat is Your Friend: If you have a seedling heat mat, placing your pots on it can significantly speed up rooting. Moquilea salzmannii loves a bit of warmth from below.
- Don’t Over-Mist: While humidity is key, you don’t want water sitting on the leaves for extended periods, especially if the air circulation is poor. A light misting every few days, or when the soil surface looks dry, is usually sufficient. Ensure good air circulation by occasionally opening the plastic bag for a few minutes.
- Patience is a Virtue (Especially with this one!): Don’t get discouraged if you don’t see roots immediately. Moquilea salzmannii can be a bit slower to establish than some of our more common houseplant babies. Keep the humidity up and the light consistent.
Aftercare & Troubleshooting
Once you start seeing new leaf growth or feel some gentle resistance when you lightly tug on the cutting, you know roots are forming!
- Gradual Acclimation: When your cutting shows good signs of rooting, start to gradually introduce it to lower humidity. Do this by opening the plastic bag or dome for longer periods each day over a week or two.
- Continued Watering: Keep the soil consistently moist but not soggy. You’ll also want to transition to watering when the top inch of soil starts to feel dry.
- Light: Keep your new plant in bright, indirect light. Avoid direct sun, which can scorch its delicate leaves.
Now, what if things go sideways? The most common culprit is rot. If your cutting turns mushy, black, or develops a foul smell, it’s likely rotted due to too much moisture and not enough air circulation. If you see this happening, it’s usually best to discard the infected cutting and start again, paying closer attention to drainage and air flow. Sometimes, a cutting just fails to root, and that’s part of the process. Don’t take it personally!
Encouraging Closing
So there you have it! Propagating Moquilea salzmannii might take a little extra care, but seeing those tiny roots emerge and eventually establishing a whole new plant is a gardening joy you won’t soon forget. Be patient with yourself and the process. Every gardener who’s ever had success has also had their share of learning curves. Happy propagating, and enjoy your beautiful new Moquilea salzmannii babies!
Resource:
https://identify.plantnet.org/k-world-flora/species/Moquilea%20salzmannii%20Hook.f./data