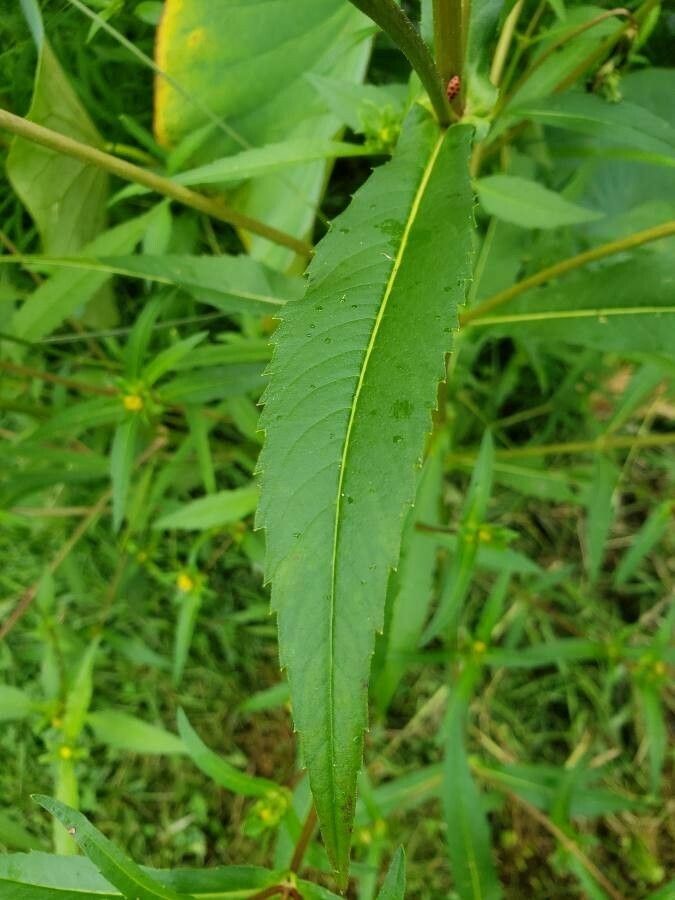
Hello there, fellow garden enthusiasts! Today, we’re diving into the wonderful world of Bidens cernua, sometimes charmingly called “nodding beggars-ticks” or “snapping turtles.” If you’re looking for a splash of sunny yellow to brighten your garden or a cheerful addition to your cutting garden, Bidens is a fantastic choice. Its delicate, daisy-like flowers bring a delightful wild beauty, and the best part? Bringing more of these beauties into existence through propagation is surprisingly rewarding, and I’m happy to say, it’s a pretty easy plant for beginners to get started with!
The Best Time to Start
For Bidens, the sweet spot for propagation is definitely late spring to early summer. This is when the plant is actively growing and has plenty of energy to put into developing new roots. You’ll want to take cuttings from healthy, non-flowering stems. Looking for side shoots or the tips of branches that are sturdy but still a bit flexible is key.
Supplies You’ll Need
Here’s what you’ll want to have on hand before you get started:
- Clean, sharp pruning shears or a sharp knife: For making clean cuts.
- Small pots or seed trays: With drainage holes, of course!
- Well-draining potting mix: A mix designed for cuttings or a blend of perlite and peat moss works beautifully. You can even use a bit of compost.
- Rooting hormone (optional but recommended): A powder or gel to give your cuttings a little boost.
- Plastic bags or a propagator lid: To create a humid environment.
- Watering can or spray bottle: For gentle watering.
- Labels and a permanent marker: To keep track of what you’ve planted.
Propagation Methods
Bidens is quite generous and can be propagated in a couple of easy ways. We’ll focus on stem cuttings, which is my go-to for this plant.
Stem Cuttings:
- Select Your Cuttings: Head out to your healthy Bidens plants. Look for stems that are about 4-6 inches long. Gently remove any lower leaves, leaving just a few at the very top. Make a clean cut just below a leaf node (where a leaf attaches to the stem). This is where roots love to form.
- Prepare the Cuttings: If you’re using rooting hormone, dip the cut end into a small amount of it, tapping off any excess.
- Potting Up: Fill your small pots or trays with your prepared potting mix. Make a hole in the center with your finger or a pencil big enough for the cutting.
- Planting: Gently insert the cut end of the Bidens cutting into the hole. Firm the soil gently around the stem to ensure good contact.
- Watering: Water your cuttings thoroughly but gently. You want the soil to be moist, not waterlogged.
- Create Humidity: This is crucial! Pop a plastic bag over each pot, or if you have them, use a propagator lid. This traps moisture around the leaves, preventing them from drying out before they can develop roots. Place them in a bright spot, but out of direct, intense sunlight.
The “Secret Sauce” (Pro Tips)
- My first tip: Don’t overcrowd your pots. Give each cutting a little breathing room. This helps with air circulation and reduces the risk of fungal diseases.
- Here’s something I’ve found really helpful: Use bottom heat if you can. Placing your pots on a heat mat specifically designed for seedlings can significantly speed up root development. It’s like giving them a warm hug!
- And one more thing: Gently tug the cuttings after a couple of weeks. If you feel a slight resistance, that’s a good sign roots are forming!
Aftercare & Troubleshooting
Once you see new leaf growth, it’s a great indicator that your Bidens cuttings have rooted.
- Gradual Acclimation: Slowly start to remove the plastic bag or propagator lid over a few days to help the new plants adjust to normal humidity.
- Watering: Continue to keep the soil consistently moist. As they get bigger, you can gradually increase the pot size.
- Troubleshooting: The most common issue you might face is rot. If your cuttings look limp and mushy, or the stems start to turn black at the soil line, it’s usually a sign of too much moisture. Make sure your pots are draining well and ease up on the watering. If a cutting fails, don’t despair! Just pull it out, check the soil moisture, and try again with a new one.
There you have it! Propagating Bidens cernua is a wonderfully satisfying way to multiply your garden’s beauty. Be patient with your new little plants, give them a good start, and you’ll be rewarded with plenty of sunny blooms. Happy gardening!
Resource:
https://identify.plantnet.org/k-world-flora/species/Bidens%20cernua%20L./data