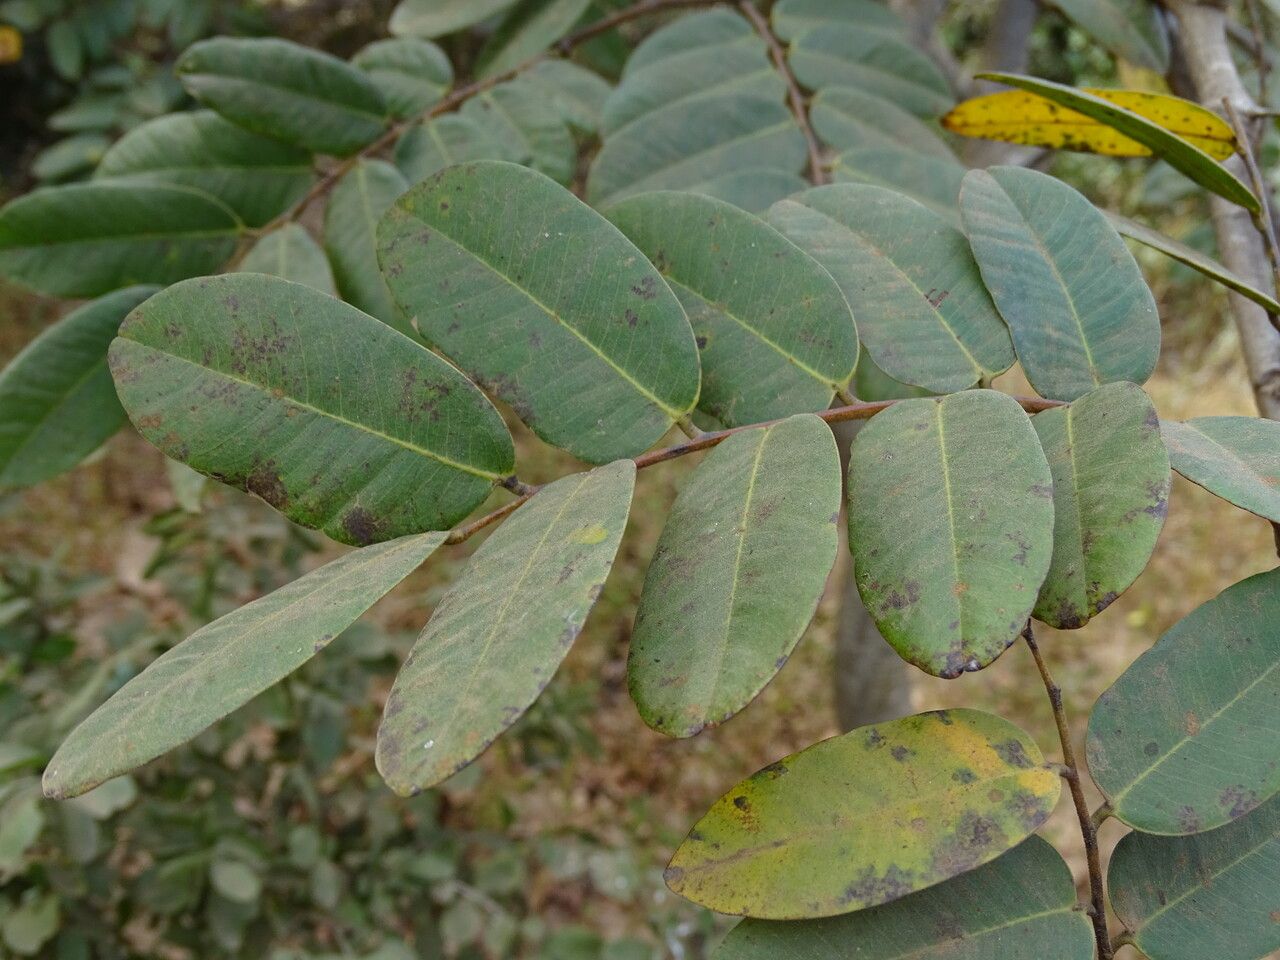
Oh, hello there! So, you’ve fallen for the charm of Detarium senegalense, have you? I don’t blame you one bit. This beautiful tree, with its glossy leaves and lovely form, brings such a touch of the tropics to any garden. And the best part? You can bring that beauty home, again and again, by propagating it yourself! It’s a deeply satisfying feeling to watch a new plant emerge from a little piece of the parent. Now, for those wondering, Detarium senegalense can be a bit of a slow starter when it comes to propagation, so it might challenge absolute beginners, but with a little patience and these tips, you’ll be well on your way.
The Best Time to Start
For the greatest success, I always recommend working with your Detarium senegalense during its active growing season. Think late spring through early summer. The plant is brimming with energy and nutrients then, which gives your cuttings a fantastic head start. You want to avoid trying to propagate during a period of dormancy or extreme stress for the plant.
Supplies You’ll Need
Here’s a little list of treasures to gather before you begin:
- Sharp pruning shears or a clean, sharp knife: Essential for making clean cuts.
- Potting mix: A well-draining blend is key. I love a mix of peat moss, perlite, and a little bit of coarse sand.
- Small pots or propagation trays: Make sure they have drainage holes!
- Rooting hormone powder (optional but recommended): This stuff can really give your cuttings an extra boost.
- Plastic bags or propagation dome: To create a humid microclimate.
- Watering can with a fine rose: For gentle watering.
- Labels or plant markers: Don’t forget to label what you’ve potted!
Propagation Methods
Let’s get our hands dirty with a couple of reliable methods for Detarium senegalense.
Stem Cuttings
This is my go-to for many woody plants.
- Select your cutting: Look for a healthy, semi-hardwood stem that’s about pencil thickness and 6-8 inches long. I usually choose a stem that has just finished its most vigorous growth. Avoid anything too soft and new, or old and woody.
- Make the cut: Using your clean shears or knife, make a cut just below a leaf node. This is the point where a leaf attaches to the stem, and it’s where roots are most likely to form.
- Prepare the cutting: Gently remove the lower leaves from the cutting, leaving only the top 2-4 leaves. If the remaining leaves are very large, you can cut them in half to reduce water loss.
- Apply rooting hormone: If you’re using it, dip the cut end of the stem into the rooting hormone, tapping off any excess.
- Plant the cutting: Fill your pot or tray with your well-draining potting mix. Make a small hole with your finger or a pencil, then insert the cutting into the soil. Firm the soil gently around the stem.
- Water and cover: Water thoroughly but gently. Then, cover the pot with a plastic bag or a propagation dome to maintain high humidity. Make sure the leaves don’t touch the inside of the bag if possible.
Water Propagation
While I primarily use soil for Detarium, some gardeners have success with water.
- Select and prepare your cutting: Follow steps 1-3 from the stem cutting method.
- Place in water: Put the prepared cutting in a clean jar or vase filled with fresh, room-temperature water. Ensure that at least one or two leaf nodes are submerged.
- Maintain and monitor: Change the water every few days to keep it fresh and prevent bacterial growth. Place the container in a bright spot out of direct sunlight. You’ll need to be patient! Roots can take a while to appear.
The “Secret Sauce” (Pro Tips)
Here are a few little tricks I’ve learned over the years that make a big difference:
- Bottom Heat is Your Friend: If you can, place your pots on a heat mat designed for plants. This gentle warmth encourages root development from beneath, mimicking what happens in nature. It’s a game-changer, especially if your environment is a bit cooler.
- Don’t Drench, Just Damp: It’s tempting to water heavily, but overwatering is the enemy of cuttings. You want the soil to be consistently moist, not soggy. Think of it as a wrung-out sponge. This prevents rot.
- Air Circulation Matters: While you want high humidity, stagnant air can lead to fungal issues. If you’re using a plastic bag, open it for a few minutes each day to allow for some air exchange. It’s a fine balance!
Aftercare & Troubleshooting
Once you see signs of roots – usually new leaf growth or resistance when you gently tug on the cutting – it’s time to transition!
- Gradual Acclimation: Slowly remove the plastic bag or dome over a week or two. This allows your new plant to adjust to normal humidity levels.
- Gentle Watering: Continue to keep the soil consistently moist but not waterlogged. As the plant grows, you can gradually introduce it to a larger pot.
- Signs of Trouble: The most common issue is rot, which looks like mushy, black stems. This is usually a sign of overwatering or poor drainage. Another sign of failure is wilting and browning leaves that don’t recover, which could mean the cutting has dried out or the rooting hormone wasn’t effective. Don’t be discouraged! Sometimes it just doesn’t work out, and that’s okay too.
A Encouraging Closing
Propagating Detarium senegalense is a journey, not a race. Be patient with your cuttings, observe them closely, and celebrate every little sign of success. The joy of nurturing a new life from a simple cutting is truly immense. Happy propagating, my friends!
Resource:
https://identify.plantnet.org/k-world-flora/species/Detarium%20senegalense%20J.F.Gmel./data