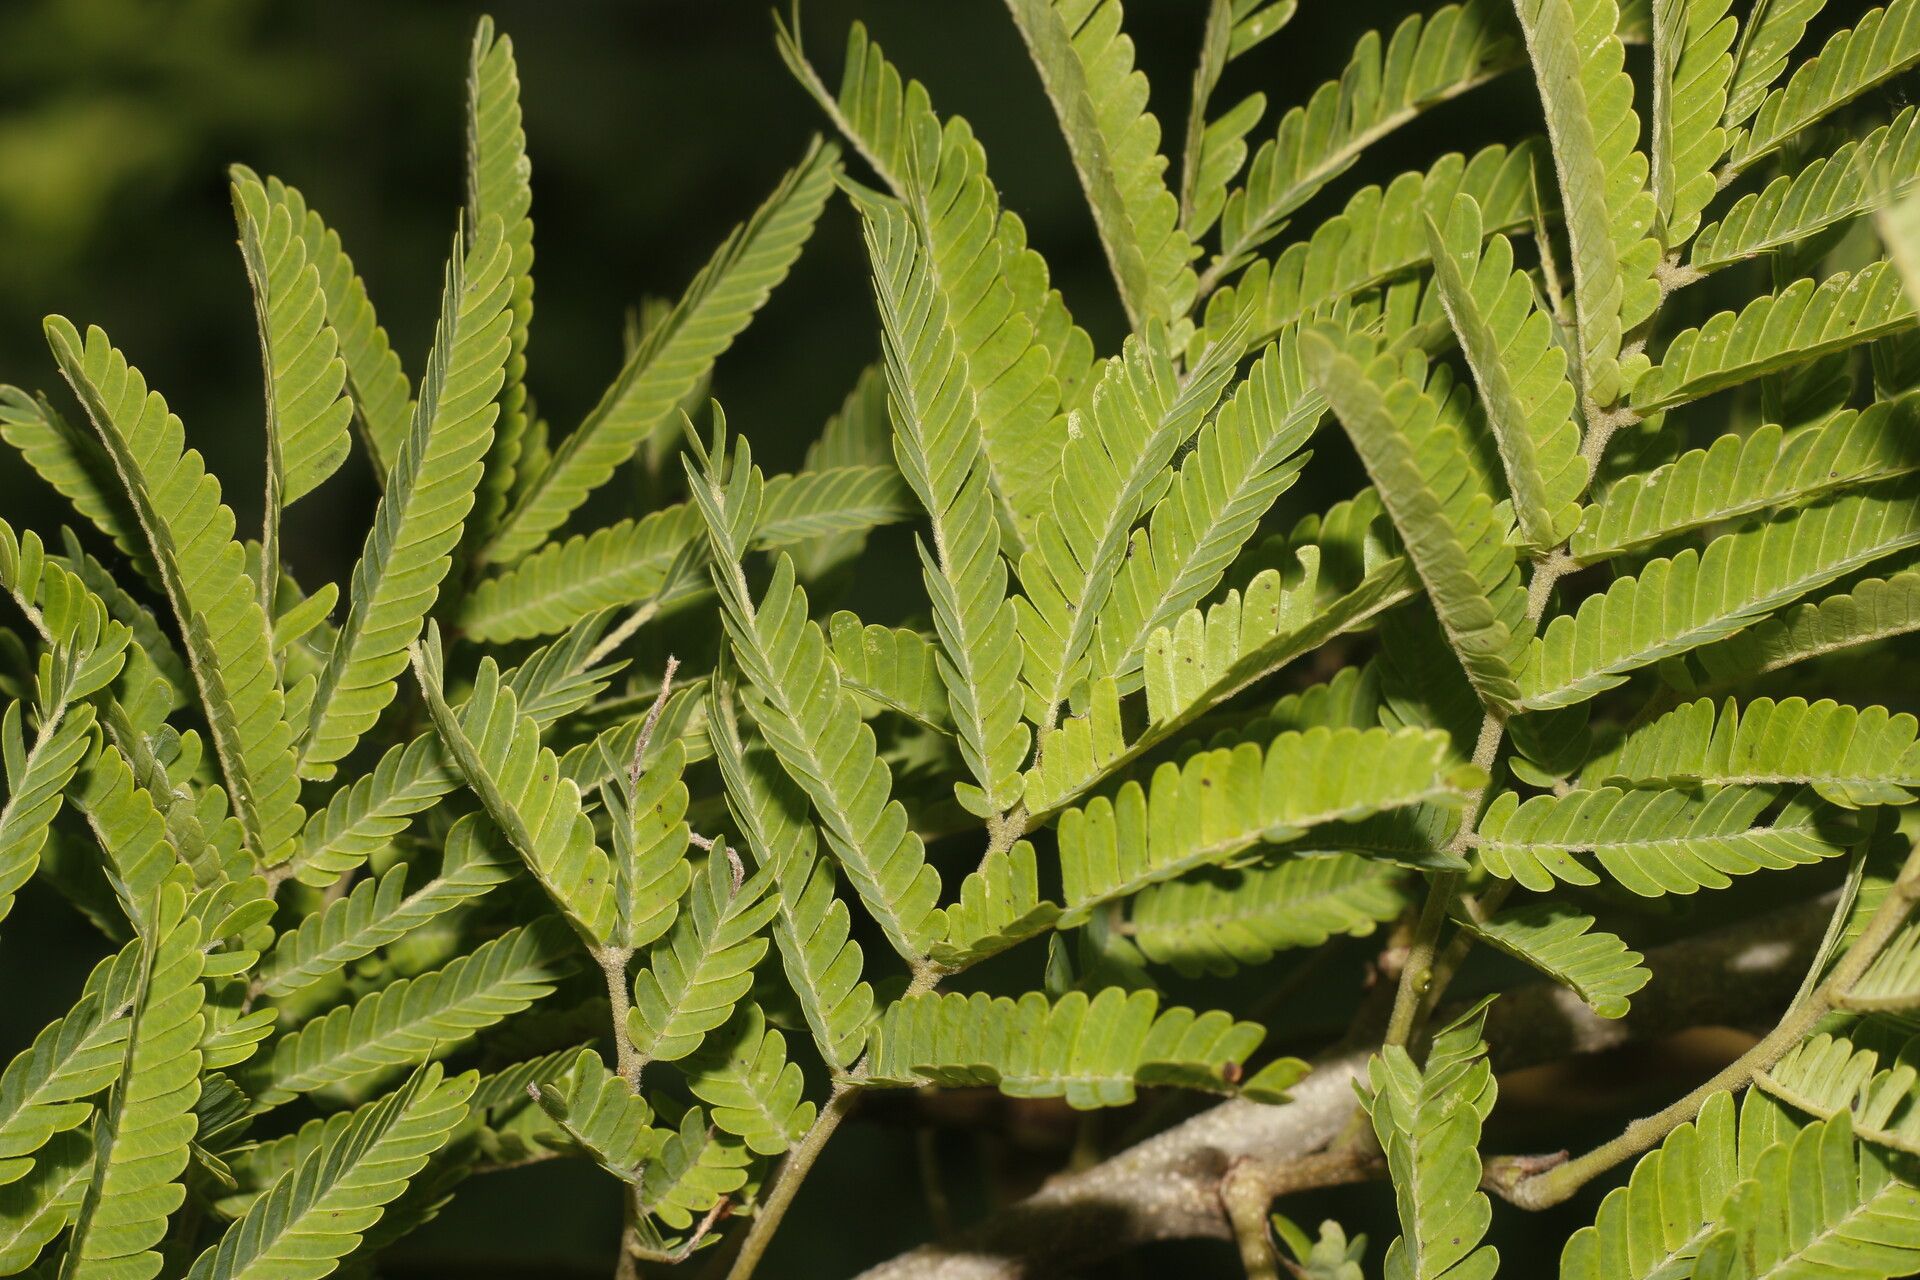
Hello there, fellow plant enthusiasts! I’m so thrilled you’re curious about propagating Senegalia riparia, also known as the River Acacia or sometimes just “that pretty, delicate acacia.” I’ve been coaxing new life from my plants for two decades now, and I can tell you, there’s a special joy in taking a piece of a plant you love and watching it grow into its own. Senegalia riparia is a lovely choice, with its graceful, feathery foliage and occasional charming blooms. It’s not the absolute easiest plant for a complete beginner, but with a little patience and the right approach, it’s absolutely achievable and so rewarding.
The Best Time to Start
My favorite time to get propagating is in late spring or early summer. This is when the plant is actively growing, sending out nice, fresh shoots. These younger, semi-hardwood stems have a good balance of flexibility and firmness, making them ideal for taking cuttings. Trying to take cuttings from very old, woody branches or brand-new, super-soft growth can be trickier. You want that sweet spot!
Supplies You’ll Need
Before we get our hands dirty, let’s gather our toolkit. Having everything ready makes the process much smoother:
- Sharp, clean pruning shears or a sharp knife: For making clean cuts, which is crucial for healthy rooting.
- Small pots or seedling trays: Ensure they have drainage holes!
- Well-draining potting mix: A good blend for me is 50% perlite and 50% potting soil, or you can use a specific seed-starting mix.
- Rooting hormone (optional but recommended): This little helper can give your cuttings a significant boost.
- Plastic bags or a propagation dome: To create a humid environment.
- Water mister: For keeping things moist.
- Small plant labels: To remember what you planted and when!
Propagation Methods
While Senegalia riparia can sometimes be a bit of a slow-rooter, stem cuttings are usually my go-to method. Here’s how I tackle it:
Stem Cuttings:
- Select your cuttings: Look for healthy, non-flowering stems that are about 4-6 inches long. You want stems that are slightly woody but still bendy – not completely soft and green, and not stiff and old. Give them a gentle pinch; if they snap a bit, they’re likely good.
- Make the cut: Using your clean shears or knife, make a clean cut just below a leaf node. A leaf node is where a leaf attaches to the stem. This is where the magic of root development often happens!
- Prepare the cutting: Gently remove the leaves from the lower half of the cutting. You can leave a couple of leaves at the very top, but too much foliage can encourage water loss before roots form. If the remaining leaves are large, I sometimes snip them in half to reduce transpiration.
- Apply rooting hormone (optional): If you’re using rooting hormone, dip the cut end into the powder, tapping off any excess.
- Plant your cuttings: Fill your small pots or trays with your moistened, well-draining potting mix. Make a small hole with your finger or a pencil, and gently insert the cutting. Firm the soil around it.
- Create humidity: Water the soil gently. Then, cover the pot with a plastic bag or place it under a propagation dome. This traps moisture and creates the humid microclimate that cuttings love. Make sure the bag doesn’t touch the leaves if you can help it.
- Placement: Put your pots in a bright location, but out of direct, harsh sunlight. Warmth is good, so a sunny windowsill or a spot with a heat mat works wonders.
The “Secret Sauce” (Pro Tips)
Over the years, I’ve learned a few tricks that often make all the difference:
- Don’t let leaves touch the water: If you’re trying water propagation (which I sometimes do for Senegalia riparia as a quick check), it’s vital that the leaves are not submerged. They’ll just rot. Only the stem should be in the water.
- Tap water versus distilled: I’ve found that for sensitive cuttings, sometimes using filtered or distilled water can be gentler than tap water, especially if your tap water has a lot of minerals or chlorine.
- Patience is key – and a gentle tug test: Senegalia riparia can be a bit slow to establish roots. Don’t be discouraged if you don’t see much happening for several weeks. After about a month, you can try a very gentle tug on a cutting. If you feel resistance, congratulations, you’ve got roots!
Aftercare & Troubleshooting
Once you feel that tug of roots (or see them peeking out the drainage holes!), it’s time to give your new baby some gentle care.
- Gradual Acclimation: Slowly remove the plastic bag or dome over a few days. Gradually introduce it to more light.
- Watering: Keep the soil consistently moist but not soggy. Overwatering is still the biggest enemy!
- Repotting: Once the plant seems well-established and has a good amount of growth, you can carefully transplant it into a slightly larger pot with fresh potting mix.
The most common sign of trouble is rot, which usually looks like mushy, dark stems. This is almost always due to overwatering and poor drainage. If you see this, it’s often best to discard the affected cutting to prevent it from spreading. Sometimes, cuttings just don’t take, and that’s okay! Nature has its way, and there’s always another cutting to try.
So there you have it! Give propagating Senegalia riparia a go. Be patient with yourself and the plant, and celebrate every tiny success. Enjoy the journey of coaxing new life from your beloved plants – it’s one of my favorite parts of gardening. Happy propagating!
Resource: