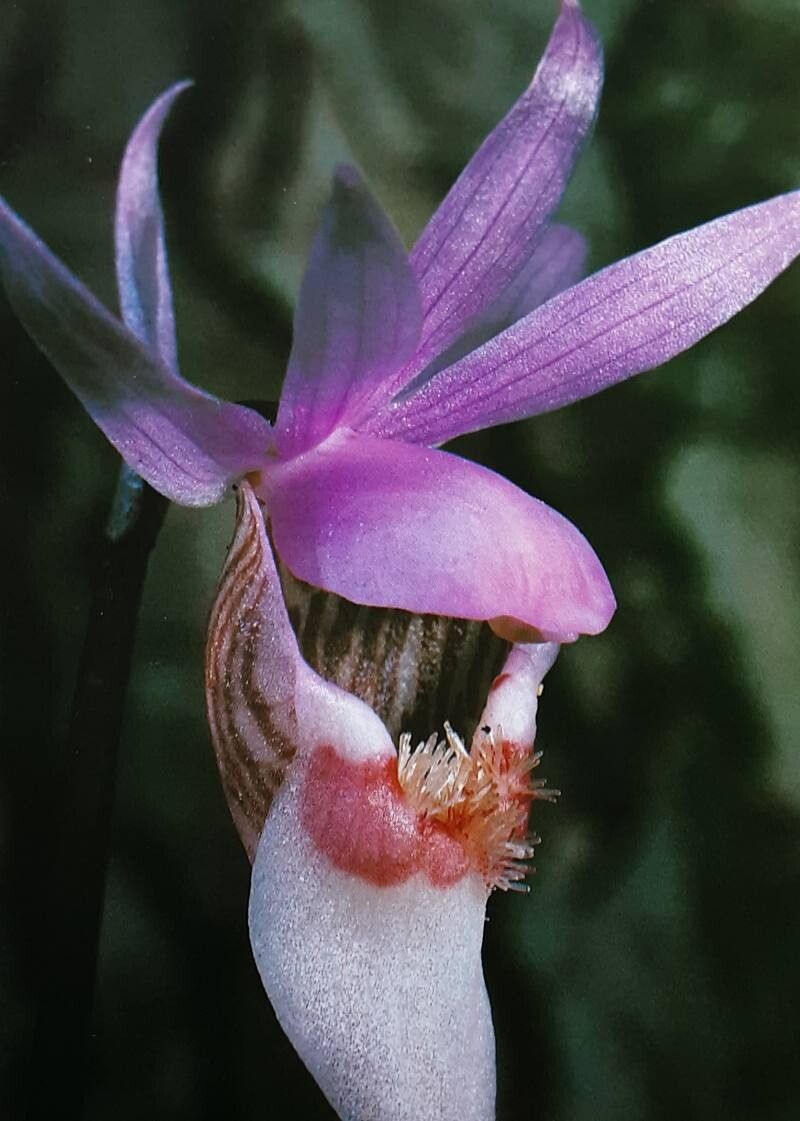
Hello fellow plant lovers! It’s so lovely to have you here. Today, we’re diving into something truly special: Calypso bulbosa, also known as the Fairy Slipper Orchid. These delicate beauties, with their whimsical slipper-shaped blooms, are a true gem in any garden. Growing them from scratch is a deeply satisfying journey, a little like nurturing a tiny miracle. Now, I won’t sugarcoat it – Calypso bulbosa can be a bit of a diva, so it’s not the easiest plant for absolute beginners. But with a little care and patience, you absolutely can coax new plants into existence. And oh, the reward when you see that first tiny sprout emerge!
When is the Magic Hour?
The best time to try your hand at propagating Calypso bulbosa is right after they’ve finished their spectacular bloom. Think late spring or early summer. You’ll want to catch them when they are still in their active growing phase but before they start to wind down for their summer dormancy. This timing gives the new propagations the best chance to establish themselves before cooler weather arrives.
Your Propagation Toolkit
Before we get our hands dirty, let’s make sure you have everything you need. Having your supplies ready makes the whole process much smoother!
- Small, clean pots or propagation trays: Ensure they have drainage holes!
- Sterilized sharp knife or pruning shears: Cleanliness is key to preventing disease.
- A well-draining potting mix: I highly recommend a blend for orchids, often a mix of bark, perlite, and coco coir. You can also find specific Calypso mixes.
- Sphagnum moss: Good quality, long-fibered sphagnum moss is your friend here.
- Rooting hormone (optional but recommended): A powder or gel can give your cuttings a helpful boost.
- Clear plastic bags or a propagator: To maintain humidity.
- Spray bottle: For fine misting.
- Patience and a gentle touch!
Let’s Get Propagating: Division is Key
For Calypso bulbosa, the most reliable and common propagation method is division. These orchids tend to form clumps or small colonies over time, and dividing these is how you’ll get more plants.
- Gently Unscrew: When your orchid is done flowering and still in its active growth phase, carefully remove it from its current pot. You want to be as gentle as possible to avoid damaging the fragile roots.
- Examine the Rhizome: Look at the underground stem, called the rhizome. You’ll see where the plant has naturally started to split or where new shoots (called pseudobulbs) are forming. The goal is to find areas where there are distinct new growths attached to the main plant.
- The Clean Cut: Using your sterilized knife or shears, carefully separate the divisions. Make sure each new division has at least one healthy pseudobulb and some of its own roots. It’s better to have a slightly smaller division with good roots than a large one with none.
- Potting Up Your New Treasures: Fill your clean pots with your prepared, well-draining orchid mix. Make a small well in the center and carefully place your new division in it. Tuck the roots gently into the mix and ensure the top of the pseudobulb is just at or slightly above the surface.
- A Welcoming Drink: Water your freshly potted divisions lightly. You don’t want to drown them, just moisten the mix.
- Create a Humid Haven: Place each pot into a clear plastic bag or your propagator. You want to create a humid environment for them to heal and begin rooting. Leave the bag slightly open or vent your propagator regularly to allow for some air circulation and prevent fungal issues.
My “Secret Sauce” for Calypso Success
After years of coaxing these beauties, I’ve learned a few tricks that make a real difference.
- Don’t Mist the Leaves Directly (Too Much): While Calypso bulbs love humidity, keeping their leaves constantly wet can lead to fungal spots. Instead, focus on keeping the potting mix consistently moist but not soggy, and let the humidity build around the plant within the bag or propagator. If you mist the leaves, do it early in the day so they can dry.
- The Gentle Hug of Bottom Heat Can Work Wonders: If you have a heat mat meant for seedlings or propagation, placing your Calypso divisions on it (on a low setting) can really encourage root development. It mimics the warmth of spring soil and gives them that little extra push. Make sure the pot isn’t sitting directly in water on the mat, though.
Aftercare and Navigating Bumps in the Road
Once you see signs of new growth – a tiny leaf emerging or perhaps a hint of root activity through the drainage holes – you’re on the right track! Gradually acclimate your new plants to less humid conditions by opening the plastic bag or propagator a little more each day over a week or two. Continue to water when the potting mix feels dry to the touch, and only when the plant is actively growing.
The most common sign of trouble is rot, which usually shows up as mushy, blackening stems or roots. This is often a sign of overwatering or poor air circulation. If you see it, act quickly. You might need to unpot the division, trim away the rotten parts with your sterilized tool, and repot it in fresh, dry mix. Sometimes, sadly, rot is a sign that the division wasn’t viable to begin with.
Keep Blooming!
Propagating Calypso bulbosa is a journey, not a race. It requires patience and a willingness to observe your plant closely. Don’t get discouraged if your first few attempts aren’t perfect. Every gardener has lost a plant or two along the way – it’s part of the learning curve! Enjoy the process, celebrate the small victories, and soon you’ll be rewarded with your own beautiful, home-grown Fairy Slippers. Happy growing!
Resource:
https://identify.plantnet.org/k-world-flora/species/Calypso%20bulbosa%20(L.)%20Oakes/data