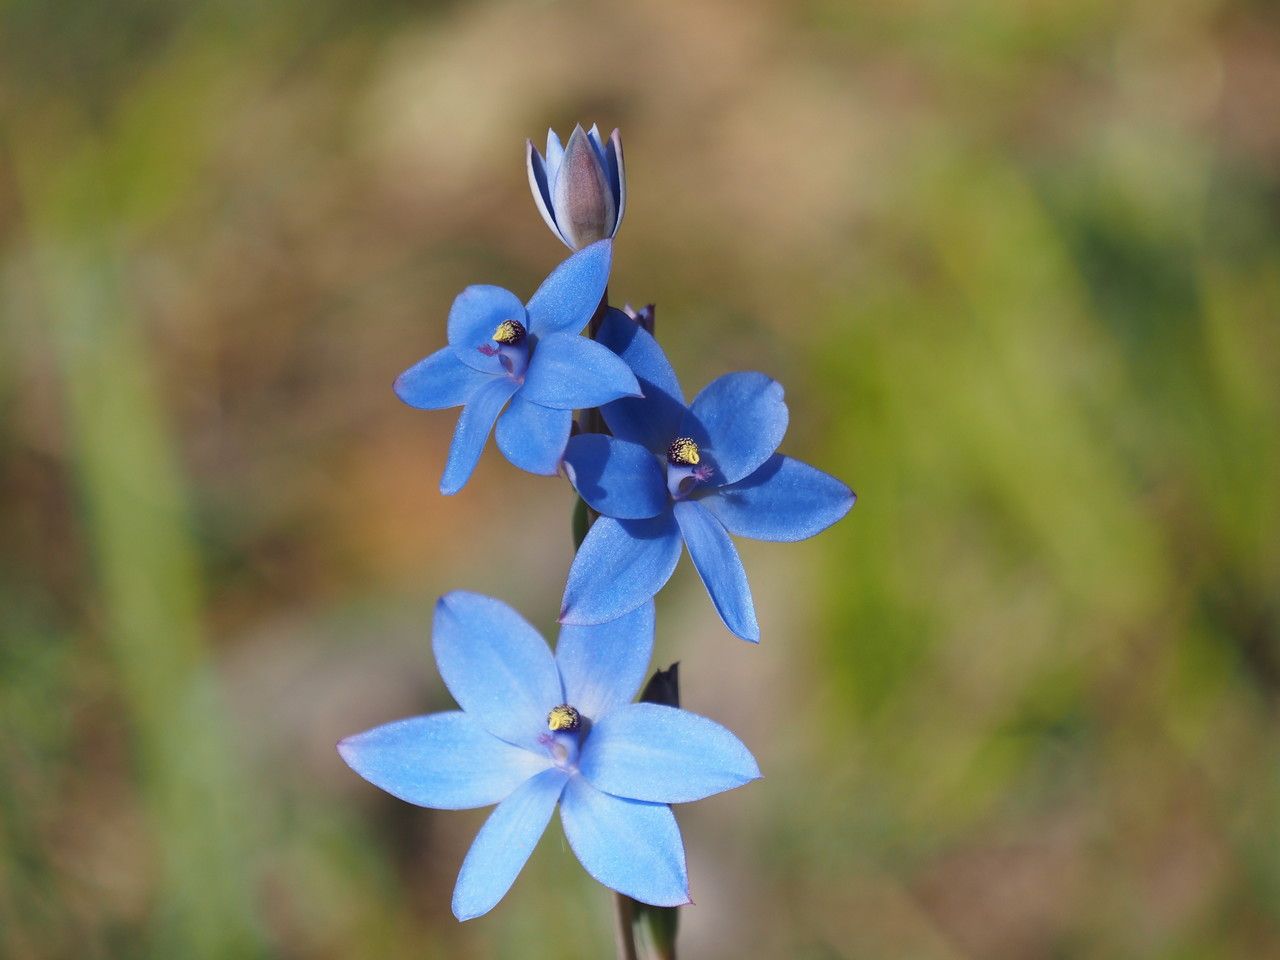
Oh, hello there! Come on in and grab a cuppa. Today, we’re diving into something truly special: multiplying our beautiful Thelymitra crinita, the Blue China Orchid. If you’ve ever been captivated by these delicate, fringed blooms, you’ll know just how special they are. There’s a unique magic in coaxing a new life from a piece of your existing treasure. It’s a little dance with nature, and when it works, it’s incredibly satisfying.
Now, I won’t sugarcoat it – Thelymitra crinita can be a tad bit of a diva when it comes to propagation. It’s not quite a “stick it in a glass of water and forget it” kind of plant. But honestly? That’s part of what makes success so sweet. It requires a bit more attention, a bit more understanding, but the reward is so, so worth it. For a beginner, I’d say it falls into the “rewarding challenge” category. Don’t be intimidated; with a little patience and these tips, you’ll be well on your way!
The Best Time to Start
When it comes to Thelymitra crinita, timing is everything. You’ll want to aim for propagating during its active growth phase. This usually means late spring or early summer, right after it has finished flowering and before it starts to go dormant. You’re looking for healthy, vigorous growth, especially if you’re planning on division. Avoid trying to propagate when the plant looks stressed or is already showing signs of senescing.
Supplies You’ll Need
Let’s get our toolkit ready. Here’s what you’ll want to have on hand:
- Sharp, sterile pruning shears or a clean knife: For making precise cuts and preventing disease.
- Well-draining potting mix: A blend specifically for orchids or a mix of fine bark, perlite, and sphagnum moss works wonderfully.
- Small pots or containers: Clean, with drainage holes, of course.
- Rooting hormone (optional but recommended): A powdered or liquid rooting hormone can give cuttings a helpful boost.
- Trowel or small spade: For soil manipulation during division.
- Watering can with a fine rose: For gentle watering.
- Plastic bag or propagation dome: To create a humid microclimate.
- Labels and a permanent marker: So you don’t forget what’s what!
Propagation Methods
Thelymitra crinita is best propagated through division. This is where you’ll get the most reliable results.
Division is Key
- Prepare your plant: Gently remove your Thelymitra crinita from its pot. Be careful not to damage the pseudobulbs or roots. If it’s tightly bound, you might need to tease it out a bit.
- Inspect and divide: Look for distinct sections of the plant, often identifiable by separate pseudobulbs or growth points. Using your clean pruning shears or knife, carefully separate these sections. Aim for divisions that have at least one healthy pseudobulb and some attached roots.
- Prepare the new divisions: If the roots are long and tangled, you can trim them back slightly. If you’re using a rooting hormone, lightly dust the cut surfaces of the pseudobulbs and any cut roots.
- Potting up: Plant each division into its own small pot filled with your well-draining orchid mix. Bury the pseudobulb just enough so it’s stable, but don’t bury it too deeply. The top of the pseudobulb should ideally be visible.
- Water gently: Water the newly potted divisions thoroughly to settle the mix around the roots.
The “Secret Sauce” (Pro Tips)
Now for a couple of little tricks I’ve learned over the years!
- Don’t over-pot: When you’re potting up your divisions, resist the urge to put them in a pot that’s too large. They like to be a little snug. Too much loose soil around small roots can lead to rot. Start small, and you can repot into larger containers as they grow.
- The humidity tent is your friend: After potting, give your divisions a good drink and then cover them with a clear plastic bag or place them under a propagation dome. Make sure the leaves do not touch the sides of the bag if possible, as this can encourage fungal issues. This creates a humid environment that helps them establish roots before they have to cope with much transpiration.
Aftercare & Troubleshooting
Once your Thelymitra crinita divisions are potted, keep them in a bright, indirect light location. Avoid direct sun at this stage, as it can scorch delicate new growth. Water lightly when the top layer of the potting mix begins to feel dry. You want them to be moist, but never soggy.
Keep an eye out for signs of stress. Rot is the most common culprit, appearing as mushy, brown or black sections on the pseudobulbs or roots. If you see this, act quickly. Remove the affected part with a sterile tool and allow the plant to air dry a bit before repotting in fresh, dry medium. If you don’t see any new growth after several weeks, don’t despair! They can be slow to start. Patience is your best tool here.
A Encouraging Closing
So there you have it! Propagating Thelymitra crinita might take a little extra care, but watching those divisions grow and eventually bloom is a joy you can’t quite describe. Be patient with yourself and with your plants. Every gardener has their successes and their learning moments. Enjoy the process, and happy cultivating!
Resource:
https://identify.plantnet.org/k-world-flora/species/Thelymitra%20crinita%20Lindl./data