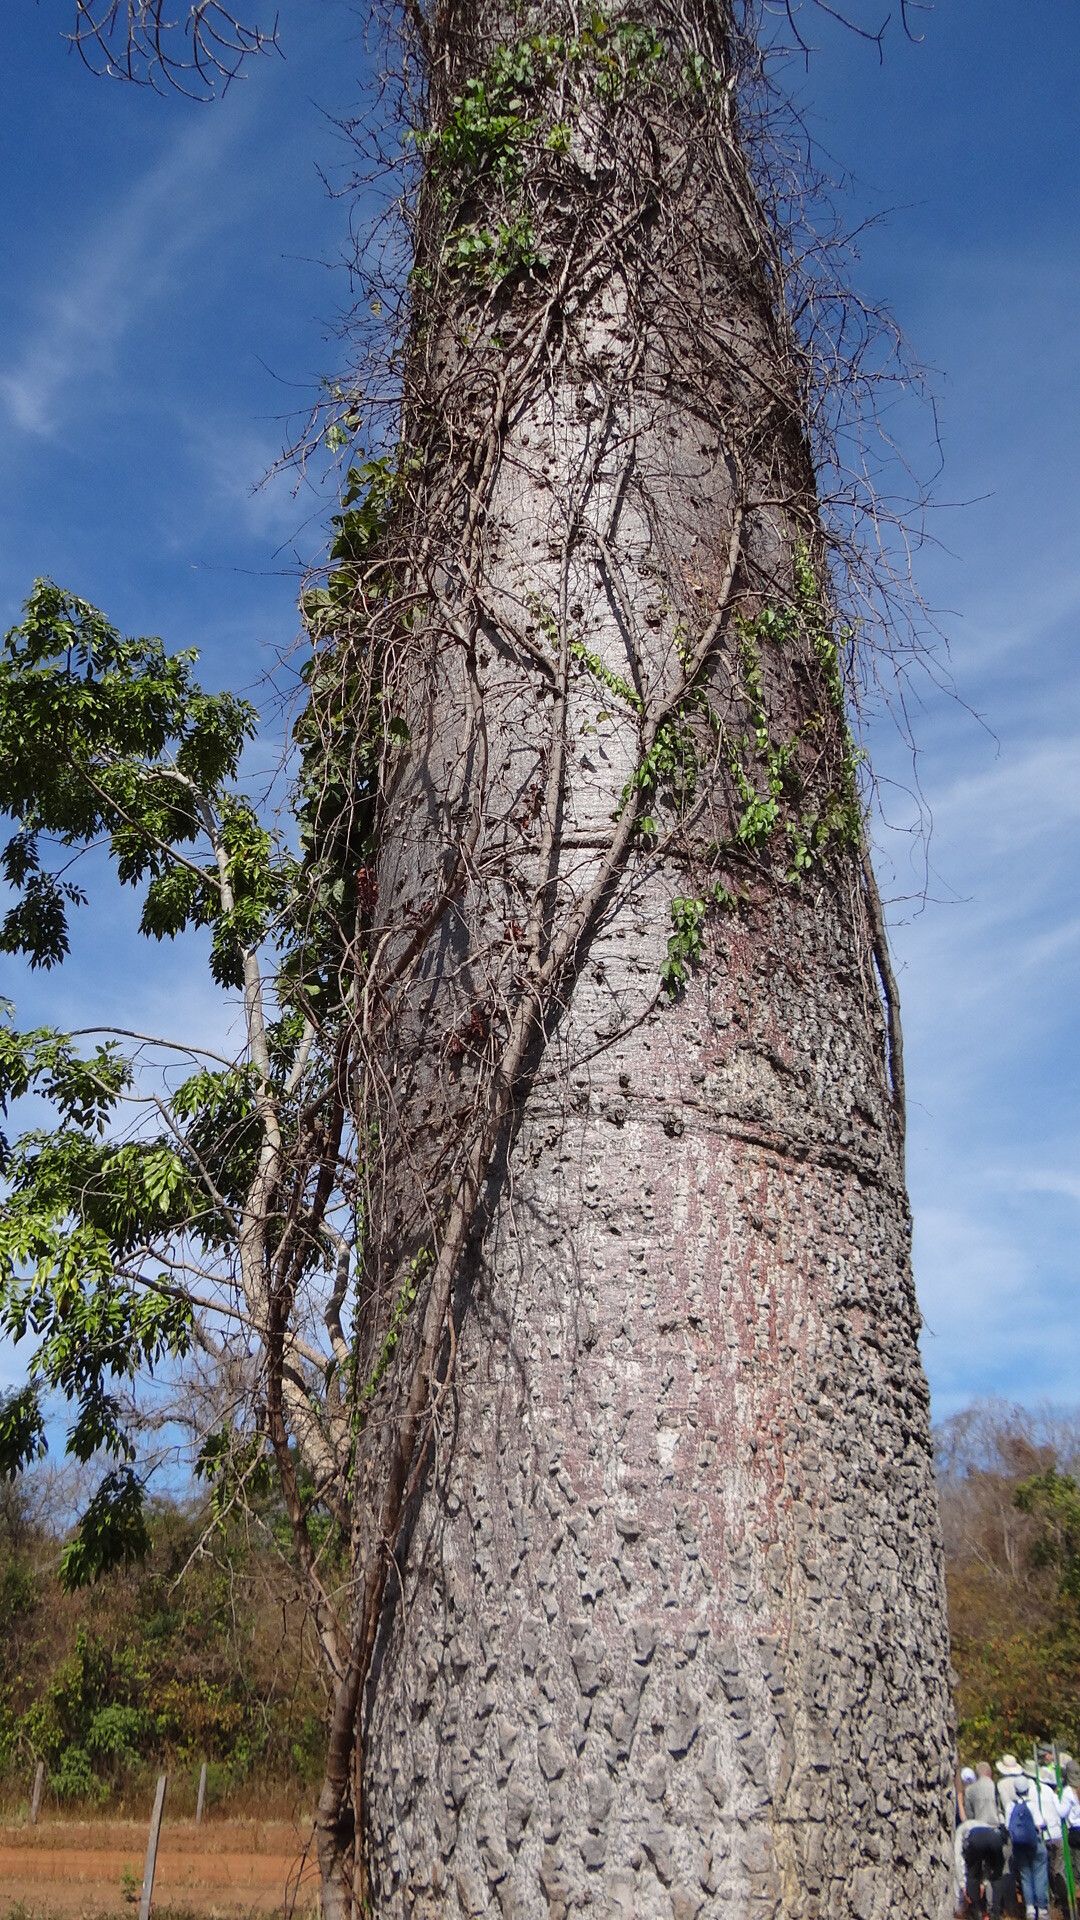
Oh, let me tell you about Cavanillesia umbellata. If you’re looking for a truly unique addition to your plant collection, this might be it! Its distinctive bottle-shaped trunk and crown of leaves are just stunning. Propagating these beauties is a wonderful way to multiply that magic, and while it might not be the absolute easiest plant for a complete beginner, with a little care and attention, you can absolutely succeed. It’s a rewarding journey, watching a new little trunk emerge from a cutting.
The Best Time to Start
For Cavanillesia umbellata, spring and early summer are your golden windows of opportunity. This is when the plant is in its active growing phase, full of energy. You’ll find cuttings taken during this time are much more eager to root. Trying to propagate when the plant is dormant is like asking someone to run a marathon without any breakfast – not going to happen! Look for healthy, vigorous growth.
Supplies You’ll Need
To get started on your propagation adventure, gather these essentials:
- Sharp Pruning Shears or a Clean Knife: For making clean cuts.
- Rooting Hormone: A good quality powder or gel will really give your cuttings a boost.
- Well-Draining Potting Mix: A sandy cactus or succulent mix is ideal. You can also mix standard potting soil with plenty of perlite or coarse sand.
- Small Pots or Propagation Trays: With drainage holes, of course!
- Optional: Heat Mat: This can significantly speed up the rooting process.
- Optional: Clear Plastic Bag or Dome: To create a humid environment.
- A Watering Can or Spray Bottle: For gentle watering.
Propagation Methods
The most reliable way to propagate Cavanillesia umbellata is through stem cuttings. Here’s how I do it:
- Select Your Cutting: Find a healthy stem that’s at least 4-6 inches long, preferably with a few leaves still attached. Look for a section that’s not too woody, but also not too soft and new.
- Make the Cut: Using your sharp shears or knife, make a clean cut just below a leaf node. This is where the plant will readily produce roots. You might get a little milky sap – that’s normal!
- Let it Callus: This is a crucial step that many people skip! Place the cutting in a dry, airy spot for 2-3 days, or even up to a week. This allows the cut end to dry and form a callus, which helps prevent rot.
- Apply Rooting Hormone: Once the end is callused, dip it into your rooting hormone, tapping off any excess.
- Plant Your Cutting: Fill your small pot with your well-draining potting mix. Make a small hole with your finger or a pencil and insert the callused end of the cutting. Gently firm the soil around it.
- Water Lightly: Give the soil a very light watering. You don’t want to drench it – just enough to settle the soil.
The “Secret Sauce” (Pro Tips)
Alright, a few little tricks I’ve learned over the years that can make a big difference:
- When you’re using a clear plastic bag or dome to create humidity, make sure the leaves don’t touch the sides of the bag. If they do, they can start to rot. I often use little stakes to prop the bag up and away from the leaves.
- For really stubborn cuttings, or if you want to give them an extra boost, don’t underestimate the power of bottom heat. Placing your pots on a gentle heat mat provides warmth to the root zone, encouraging faster and more robust root development. It’s like giving them a warm little hug!
- When you take your cuttings, don’t be tempted to give them too much water too soon. The callusing period is essential for them to develop that protective barrier. Overwatering before roots form is the fastest way to invite rot.
Aftercare & Troubleshooting
Once your cutting is planted and callused, here’s how to nurture it:
- Location: Place your pot in a bright, indirect light location. Avoid direct, harsh sun, which can scorch the tender leaves.
- Watering: Water sparingly. Let the soil dry out almost completely between waterings. When you do water, water thoroughly but ensure the pot drains well.
- Humidity: If you’re not using a bag or dome, mist the leaves occasionally, especially in dry environments.
- Checking for Roots: After about 4-8 weeks, gently tug on the cutting. If you feel resistance, it means roots have formed! You can also look for new leaf growth, which is always a good sign.
The biggest issue you might encounter is rot. If the cutting turns mushy, black, or smells funky, it’s a sign of overwatering or inadequate drainage. Sadly, once rot sets in, it’s usually game over, but don’t despair. Learn from it and try again! Another sign of failure is if the cutting just shrivels up and never shows signs of rooting – this can happen if it was too young, too old, or didn’t callus properly.
A Encouraging Closing
Propagating plants is a beautiful dance with nature, and sometimes, it takes a little patience. Don’t be discouraged if your first attempt isn’t a roaring success. Each cutting is a learning experience. Enjoy the process, celebrate the small victories, and know that you’re bringing more of this wonderful Cavanillesia umbellata into the world. Happy propagating!
Resource:
https://identify.plantnet.org/k-world-flora/species/Cavanillesia%20umbellata%20Ruiz%20&%20Pav./data