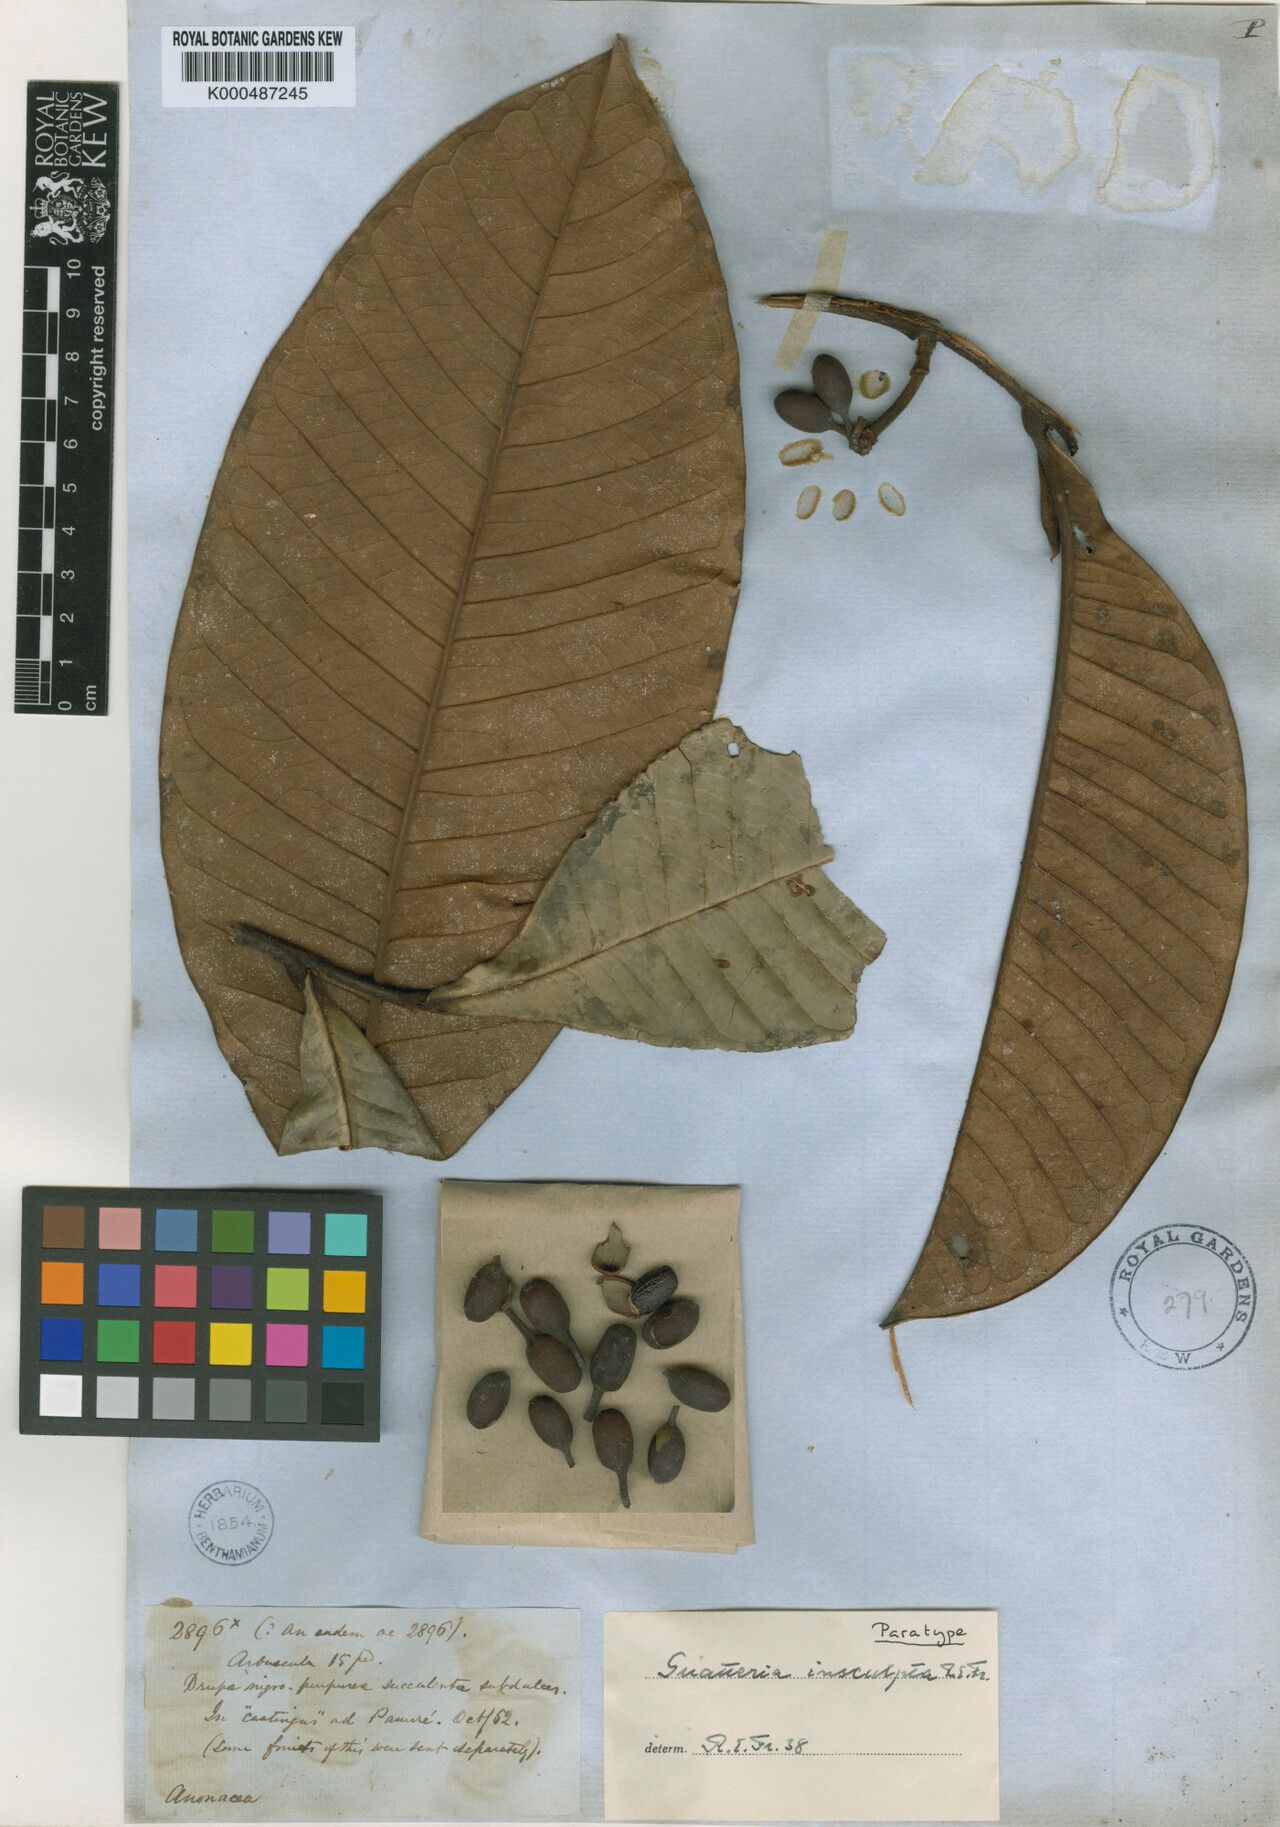
Oh, hello there! It’s so lovely to have you join me in the garden, even if it’s just virtually. Today, we’re diving into the wonderful world of Guatteria insculpta. This isn’t a plant you see every day, and that’s part of its charm! Its lush foliage and often delicate, fragrant flowers are a real treat. Propagating it feels like unlocking a little botanical secret, and honestly, bringing a new plant to life from a small piece of another is one of the most rewarding feelings a gardener can have. Now, if you’re a complete beginner, Guatteria insculpta might present a slight learning curve. It’s not impossible, but it does appreciate a bit of specific attention. Don’t worry, though – that’s why I’m here!
The Best Time to Start
For the highest chance of success, I always recommend working with Guatteria insculpta during its active growing season. Think late spring right through the summer months. This is when the plant is bursting with energy, and cuttings taken during this time are much more likely to root. You want to select parts of the plant that are healthy and showing good vigor – no wilting or stressed bits for this endeavor!
Supplies You’ll Need
Gathering your tools beforehand makes the whole process much smoother. Here’s what I usually have on hand:
- Sharp Pruning Shears or a Clean Knife: For making precise cuts.
- Rooting Hormone (Powder or Gel): This is a real game-changer, especially for trickier plants. It significantly boosts the chances of root development.
- A Well-Draining Potting Mix: I like to use a blend of equal parts perlite and peat moss or coco coir. You could also add a bit of fine bark for extra aeration. The key is that it drains really, really well to prevent rot.
- Small Pots or Propagation Trays: Clean, with drainage holes. I often use peat pots or small plastic pots.
- Plastic Bags or a Clear Propagation Cover: To create a humid environment.
- Watering Can with a Fine Rose or Mister: For gentle watering.
- Optional: A Heat Mat: This can really speed up root formation.
Propagation Methods
Let’s get our hands dirty! The most reliable way to propagate Guatteria insculpta for me is through stem cuttings.
- Selecting Your Cuttings: Choose a healthy stem that isn’t too old or too young. Look for stems that are actively growing but have started to firm up slightly – we call these semi-hardwood cuttings. You want sections that are about 4-6 inches long, with several sets of leaves.
- Making the Cut: Using your clean, sharp shears, make a clean cut just below a leaf node. A leaf node is where a leaf attaches to the stem; this is where roots are most likely to form.
- Preparing the Cutting: Gently remove the lower leaves from the cutting, leaving just the top two or three sets of leaves. If the remaining leaves are very large, you can cut them in half to reduce water loss.
- Applying Rooting Hormone: Dip the cut end of the stem into rooting hormone, tapping off any excess. Make sure the hormone covers the area where you made the cut and a little bit beyond.
- Planting the Cutting: Fill your clean pot with your prepared potting mix. Make a small hole in the center of the mix with your finger or a pencil. Carefully insert the hormone-coated end of the cutting into the hole. Gently firm the soil around the stem to ensure good contact.
- Creating Humidity: Water the potting mix gently until it’s moist but not waterlogged. Then, cover the pot with a clear plastic bag or place it in a propagation tray with a lid. This traps humidity, which is crucial for cuttings to root without drying out. You can use stakes to keep the bag from touching the leaves.
The “Secret Sauce” (Pro Tips)
Here are a few things I’ve learned over the years that can really make a difference:
- Don’t Let the Leaves Touch the Water (in water propagation): While I primarily use soil cuttings for this plant, if you do try water propagation, it’s vital that the leaves never dip below the water line. Submerged leaves will rot and can take your cutting down with them. Only the stem should be in the water.
- Bottom Heat is Your Friend: If you have a propagation mat, place your pots on it. This gentle warmth from below encourages root formation much faster than ambient room temperature alone, especially during cooler months or if your home has a tendency to be chilly. It mimics the warmth of the soil in a more tropical environment.
- Be Patient with Dormancy: Sometimes, even with ideal conditions, Guatteria insculpta can take its sweet time to show signs of rooting. Don’t be tempted to pull it out too early! Wait at least 4-6 weeks, and often longer, before checking for roots.
Aftercare & Troubleshooting
Once you see new growth emerging from your cutting, or if you gently tug on it and feel resistance (a sign of roots!), it’s time for a change. Gradually acclimate your new plant to lower humidity by opening the bag for longer periods each day over a week. Water it when the top inch of soil feels dry.
The most common pitfall is rot. If your cutting turns black and mushy, or the leaves suddenly wilt and fall off despite consistent watering, it’s likely rot. This is often caused by overwatering, poor drainage, or disease. Ensuring excellent drainage and good air circulation from the start is your best defense.
A Little Encouragement
Growing new plants is a journey, and it’s always best to approach it with a bit of patience and a whole lot of enthusiasm. Don’t be discouraged if your first attempt isn’t a roaring success. Each time you try, you learn something new. Enjoy the process of nurturing these little green babies and celebrating their vibrant new beginnings! Happy gardening!
Resource:
https://identify.plantnet.org/k-world-flora/species/Guatteria%20insculpta%20R.E.Fr./data