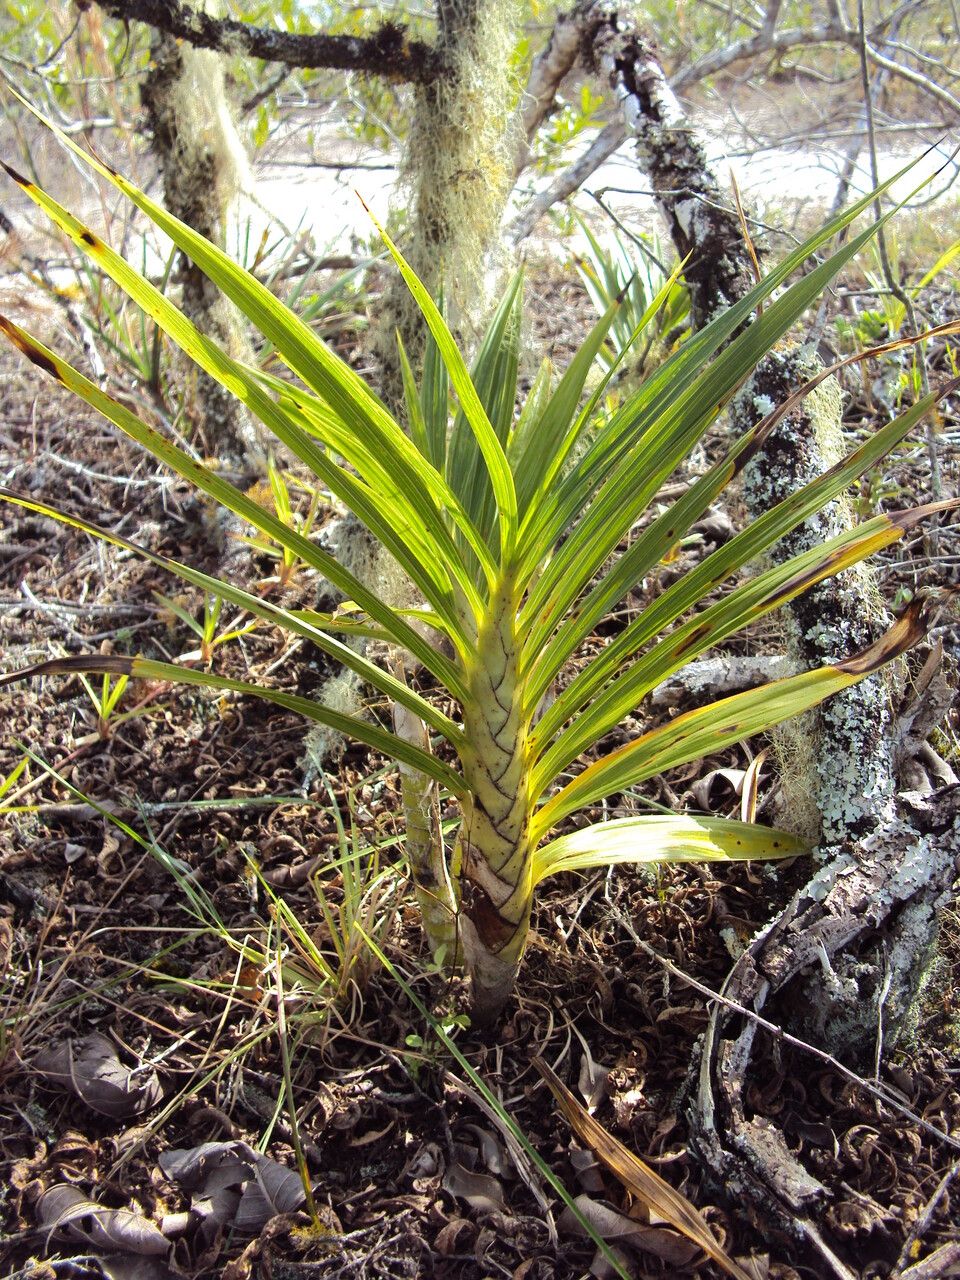
Hello there, fellow plant enthusiasts! It’s so wonderful to connect with you again. Today, we’re diving into the delightful world of propagating Cyrtopodium flavum. This stunning orchid, with its vibrant yellow blooms and graceful arching spikes, is a true showstopper. Bringing new life into your garden through propagation is one of the most rewarding experiences a gardener can have, and Cyrtopodium flavum is a great plant to practice your skills on. While it’s not as straightforward as propagating a common houseplant, with a little patience and careful attention, you’ll be enjoying your own homegrown beauties in no time.
The Best Time to Start
For Cyrtopodium flavum, the magic really happens in late spring or early summer. This is when the plant is actively growing and has the most energy stored up to put into new growth. After the blooms have faded, you’ll see new pseudobulbs starting to form. That’s your prime opportunity to get propagating. Trying too early in the season, while it’s still waking up, or too late when it’s gearing down for dormancy, can lead to disappointing results.
Supplies You’ll Need
Gathering your tools beforehand makes the whole process smoother. Here’s what I recommend having on hand:
- Sharp, sterile pruning shears or a hobby knife: Essential for clean cuts to prevent disease.
- Orchid potting mix: A chunky, well-draining mix is crucial. I like a blend of medium bark chips, perlite, and charcoal.
- Small pots or propagation trays: Something that provides good drainage.
- Rooting hormone (optional but recommended): A light dusting can give your cuttings an extra boost.
- Watering can with a fine spray: To gently mist your new plants.
- Labels and a permanent marker: So you don’t forget what’s what!
- A warm, bright spot with good air circulation: This is key for success.
Propagation Methods
Cyrtopodium flavum is best propagated through division. This is where you generously split a mature plant into smaller sections, each with its own healthy roots and at least a couple of pseudobulbs.
- Prepare Your Plant: Gently remove your Cyrtopodium flavum from its pot. If it’s been in the same pot for a while and looks a bit crowded, this is the perfect time to repot and divide.
- Inspect the Roots: Carefully tease apart the root ball. You’re looking for natural divisions in the rhizome (the underground stem) where you can make a clean break.
- Make the Cut: Using your sterile pruning shears or knife, make a clean cut between the pseudobulbs. Ensure each section you’re separating has at least two healthy pseudobulbs and some good roots. If the rhizome is tough, take your time and make a decisive cut. You don’t want to tear it haphazardly.
- Remove Old Foliage: Trim away any dead or damaged leaves and pseudobulbs. You want to focus the plant’s energy on new growth.
- Let It Dry (Optional but recommended): For larger divisions, I like to let the cut ends air dry for a day or two. This helps to callus over the wound, reducing the risk of rot. You can do this in a dry, well-ventilated area.
- Pot Up Your Divisions: Plant each division into its own pot filled with your chunky orchid mix. Make sure the pseudobulbs are sitting just above the surface of the mix. Firm the mix gently around the roots.
The “Secret Sauce” (Pro Tips)
Here are a couple of little tricks I’ve picked up over the years that can really make a difference:
- Don’t Drown Your New Divisions: This is probably the most common mistake! New divisions, especially those just repotted, don’t need to be waterlogged. I like to water them thoroughly once after potting, and then I wait until the potting mix is almost dry before watering again. This encourages the roots to search for moisture and develop more strongly.
- Mimic the Tropics with Bottom Heat: Cyrtopodiums love a bit of warmth. If you have a seedling heat mat, placing your newly potted divisions on it can significantly speed up root development and encourage new growth. Just make sure the temperature isn’t too high – around 70-75°F (21-24°C) is usually perfect.
Aftercare & Troubleshooting
Once your divisions are potted, place them in a spot that gets bright, indirect light. Avoid direct sun, which can scorch the leaves. You’ll want to keep the humidity moderately high, but excellent air circulation is paramount to prevent fungal issues.
The most common sign of trouble is rot. If you notice pseudobulbs becoming mushy, discolored, or developing black spots, it’s usually a sign of too much moisture and not enough air. If this happens, gently remove the affected part and allow the rest to dry thoroughly. You might need to repot into a drier mix. Lack of new growth after several weeks is usually a sign the division wasn’t healthy enough, or it’s just taking its time to adjust. Be patient!
A Little Patience, A Lot of Joy
Propagating Cyrtopodium flavum is a wonderful way to expand your orchid collection. It requires a touch more care than some other plants, but the thrill of seeing those first new roots emerge and watching your division thrive is truly unparalleled. Don’t be discouraged if your first attempt isn’t perfect; gardening is a journey of learning. Enjoy the process, celebrate each little success, and soon you’ll be surrounded by the sunny beauty of your own propagated Cyrtopodium flavum. Happy growing!
Resource: