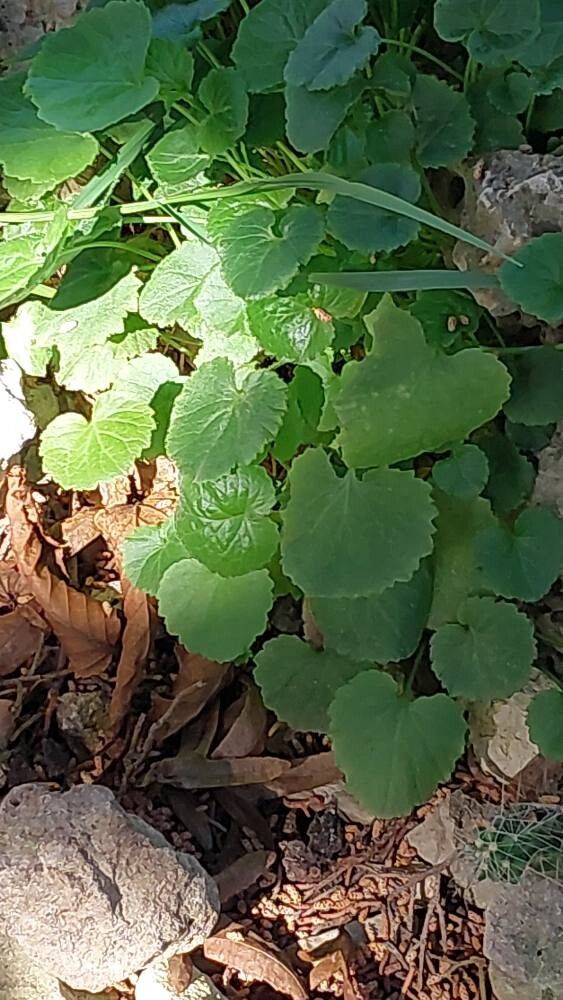
Hello there, fellow plant lovers! I’m so excited to chat with you today about a truly special plant: Centella asiatica, often known as Gotu Kola or even just “Pennywort” in some parts of the world. This creeping wonder isn’t just beautiful, with its delicate, fan-shaped leaves carpeting the ground, but it’s also cherished for its incredible medicinal properties. Bringing this plant into your garden or home is incredibly rewarding, and happily, propagating it is quite straightforward, even for those just dipping their toes into the world of plant parenthood.
The Best Time to Start
For Centella asiatica, spring and early summer are your golden ticket. This is when the plant is actively growing and brimming with energy, making it much more receptive to making new babies. Aim for when you see new growth appearing on your established plant. You can propagate throughout the warmer months, but starting in the spring gives your new cuttings a lovely long season to establish themselves.
Supplies You’ll Need
Here’s what you’ll want to have on hand before you dive in:
- Sharp Pruning Shears or Scissors: Clean cuts are key for healthy root development.
- Potting Mix: A well-draining blend is essential. I like to use a mix of peat moss or coco coir, perlite, and a touch of compost.
- Small Pots or Seedling Trays: Something with drainage holes, of course!
- Watering Can or Spray Bottle: For gentle watering.
- Rooting Hormone (Optional but Recommended): This can give your cuttings a nice boost.
- Clear Plastic Bags or Domes: To create a mini-greenhouse effect.
- Labels: So you don’t forget what you’ve planted where!
Propagation Methods
Centella asiatica is a remarkably easy plant to propagate, and I find the most success with these two methods:
Stem Cuttings
This is my go-to method. It’s efficient and yields great results.
- Select a healthy stem: Look for a vibrant, non-flowering stem that’s at least a few inches long.
- Make your cut: Using your clean shears, cut just below a leaf node (the point where a leaf attaches to the stem). You want at least two or three leaf nodes on your cutting.
- Prepare the cutting: Gently remove the lower leaves, leaving just one or two at the top. This prevents them from rotting when you plant.
- Apply rooting hormone (optional): Dip the cut end into your rooting hormone powder, tapping off any excess.
- Plant the cutting: Fill your small pot with your well-draining potting mix. Make a small hole with your finger and gently insert the cut end of the stem into the soil, ensuring at least one leaf node is buried. Firm the soil gently around the base.
- Water gently: Water the soil thoroughly but avoid waterlogging it.
Water Propagation
This method lets you watch the magic happen!
- Prepare your cutting: The same as step 1-3 for stem cuttings. You want a stem with at least two leaf nodes.
- Place in water: Snip off the lowest leaves and pop the cutting into a glass or jar of clean water. Make sure the leaf nodes are submerged, but the leaves themselves are not.
- Find a bright spot: Place the jar in a bright, indirect light location.
- Change the water regularly: Refresh the water every few days to keep it clean and oxygenated. You’ll start to see tiny white roots emerging from the nodes within a week or two.
- Plant when roots are established: Once the roots are about an inch long, you can transplant your cutting into a pot with soil using the same method as in step 5 for stem cuttings.
The “Secret Sauce” (Pro Tips)
Here are a couple of my little tricks that I’ve learned over the years:
- Don’t let the leaves touch the water in propagation jars. This is a big one for water propagation. Submerged leaves will often rot, which can kill your cutting before it even gets a chance to root.
- Humidity is your best friend. After planting stem cuttings, I always pop the pot into a plastic bag or cover it with a clear dome. This creates a humid microclimate that the cuttings absolutely love, encouraging them to root faster. Just make sure to open it for a few minutes each day to allow for air circulation and prevent fungal issues.
- Bottom heat can speed things up. If you have a seedling heat mat, placing your pots on it can really give those roots a kickstart, especially if your room isn’t as warm as you’d like.
Aftercare & Troubleshooting
Once you see new leaf growth on your cuttings, that’s a great sign that roots are forming!
- Gradually acclimate: If you used a plastic bag or dome, start by opening it for longer periods. Once the new leaves look strong, you can remove the covering entirely.
- Watering: Keep the soil consistently moist, but not soggy. Let the top inch of soil dry out slightly between waterings.
- Light: Continue to provide bright, indirect light.
- Troubleshooting: The most common issue you might encounter is rot. This usually happens due to overwatering or a lack of air circulation. If you see a cutting turning mushy or black, it’s usually a sign of rot. Unfortunately, sometimes those are lost causes. Just remove the affected cutting and assess your watering and airflow.
Propagating Centella asiatica is a joy. It’s about patience, observation, and a little bit of nurturing. Don’t get discouraged if a cutting or two doesn’t make it; that’s just part of the learning process. Enjoy watching those tiny roots emerge and your new plants grow! Happy gardening!
Resource:
https://identify.plantnet.org/k-world-flora/species/Centella%20asiatica%20(L.)%20Urb./data