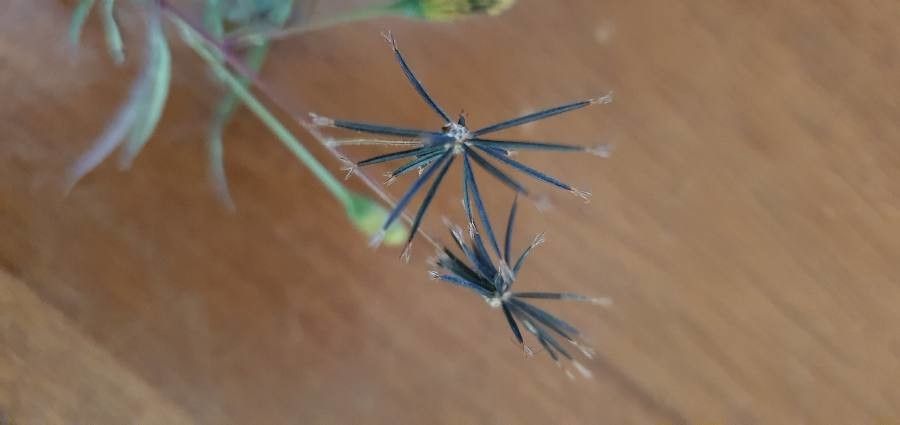
Hello, fellow garden enthusiasts! Today, I’m excited to share a little bit of my passion with you – and that’s all about Bidens hildebrandtii, often called the “Black-Eyed Susan vine” (though it’s a bit different from the true Black-Eyed Susan!). This plant is a charmer, isn’t it? With its happy, star-shaped yellow flowers and delicate foliage, it just brightens up any garden corner or hanging basket. Propagating it is a fantastic way to multiply that sunshine, and the best part? It’s surprisingly forgiving, even for those of you just dipping your toes into the world of plant propagation.
The Best Time to Start
My favorite time to get started with Bidens hildebrandtii propagation is in late spring to early summer. This is when the plant is in a really active growth phase. You’ll have plenty of healthy, new stems to work with, and the warmer temperatures really help cuttings establish themselves quickly. Trying to do it too early in the spring when growth is slow, or in the fall when things are winding down, can be a bit more of a gamble.
Supplies You’ll Need
To make this process as smooth as possible, here’s a little checklist of what you’ll want to have on hand:
- Sharp Pruning Shears or a Clean Knife: For taking clean cuts.
- Potting Mix: A light, well-draining mix is key. I often use a seed-starting mix or a blend of equal parts peat moss and perlite.
- Small Pots or Trays: About 4-inch pots are usually perfect to start.
- Rooting Hormone (Optional but Recommended): This really gives your cuttings a boost.
- Plastic Bag or Dome: To create a humid environment.
- Watering Can with a Fine Rose: For gentle watering.
- A Bright, Indirect Light Location: Away from scorching sun.
Propagation Methods
For Bidens hildebrandtii, my go-to method is stem cuttings. It’s straightforward and yields excellent results.
Stem Cuttings:
- Select Your Cuttings: Look for healthy, non-flowering stems. You want stems that are relatively new but not too soft and floppy. Aim for cuttings about 4-6 inches long.
- Make the Cut: Using your sharp shears or knife, make a clean cut just below a leaf node. A leaf node is that little bump where leaves grow from the stem. This is where the magic of root formation happens!
- Prepare the Cutting: Gently remove the lower leaves from your cutting, leaving just a few at the top. This prevents them from rotting in the soil and focuses the plant’s energy on root development.
- Apply Rooting Hormone (If Using): Dip the cut end of the stem into your rooting hormone powder, tapping off any excess.
- Plant Your Cuttings: Fill your small pots with your prepared potting mix. Make a small hole with your finger or a pencil. Insert the cut end of the Bidens cutting into the hole, ensuring it’s making good contact with the soil. Firm the soil gently around it.
- Water Gently: Water your cuttings thoroughly but gently. You don’t want to dislodge them.
- Create Humidity: Pop a plastic bag over the pot, or place a clear dome over your cuttings. Make sure the plastic isn’t touching the leaves. You can use stakes to keep it elevated. This creates a mini-greenhouse effect, which is crucial for cuttings to root.
- Place in Bright, Indirect Light: Find a spot that gets plenty of light but no direct, hot sun. A windowsill that faces east or north is often ideal.
Water Propagation (Another Good Option):
If you’re feeling adventurous or just want to keep an eye on things, you can try water propagation.
- Follow steps 1-3 above for selecting and preparing your cuttings.
- Place your cuttings in a clean jar or glass filled with fresh water.
- Crucially, make sure no leaves are submerged in the water. Any leaves below the waterline will rot and can kill your cutting.
- Place the jar in bright, indirect light.
- Change the water every few days to keep it fresh and prevent bacterial growth.
- You’ll start to see little white roots forming within a few weeks. Once the roots are about an inch long, you can transplant them into pots with soil, following steps 5-7 for stem cuttings, but treating them as established plants requiring a bit less intense humidity.
The “Secret Sauce” (Pro Tips)
Now, for a couple of little tricks I’ve picked up over the years that can really make a difference:
- Don’t Rush to Pot Up: When you’re propagating in soil, resist the urge to pull them up and check for roots too soon! It’s tempting, I know! A good sign they’ve rooted is when you see new growth appearing at the top, or when the plant feels a little resistant if you gently tug on it. This usually takes 3-6 weeks.
- A Touch of Bottom Heat: If you have access to a heat mat, placing your pots on it can dramatically speed up the rooting process. Bidens loves a bit of warmth from below, as it mimics the conditions of its natural growth. Just be sure it’s not too hot!
Aftercare & Troubleshooting
Once your Bidens cuttings have developed a good root system – you’ll see roots peeking out of the drainage holes or new leaves unfurling – it’s time to treat them like little seedlings.
- Gradually Acclimate: If you used a plastic bag or dome, gradually remove it over a few days to let the new plant get used to normal humidity levels.
- Watering: Water when the top inch of soil feels dry. Avoid letting them sit in soggy conditions, which can lead to root rot.
- Light: Continue to provide bright, indirect light.
Don’t be discouraged if you lose a cutting or two. It happens to everyone! The most common culprit is rot. This usually happens if the soil stays too wet, or if leaves are sitting in water. If you see a cutting turning black and mushy, it’s best to discard it and try again. Sometimes, if the cutting is just a bit wilted, it might be that the humidity wasn’t quite right or it needs a bit more water. Observe your plants closely – they’ll tell you what they need.
A Heartfelt Closing
Propagating plants like Bidens hildebrandtii is one of the most rewarding aspects of gardening for me. It’s a chance to learn, to experiment, and to fill your home and garden with more beauty. Be patient with your cuttings, give them the environment they need, and enjoy the process. Before you know it, you’ll have a whole collection of these sunny performers! Happy growing!
Resource:
https://identify.plantnet.org/k-world-flora/species/Bidens%20hildebrandtii%20O.Hoffm./data