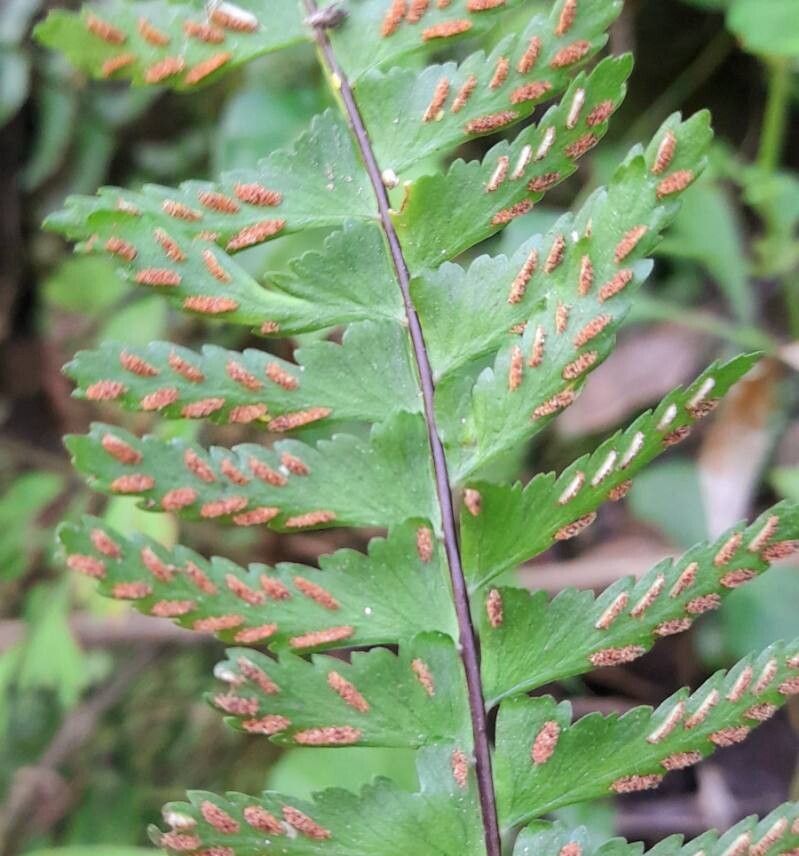
Oh, hello there! I’m so glad you’ve found yourself drawn to the magic of Asplenium argentinum, or as I affectionately call it, the Silver Spleenwort. Its delicate, almost ethereal fronds, shimmering with that lovely silvery sheen, are simply captivating. There’s just something so special about nurturing a new plant from a tiny piece of its parent. It feels like a little miracle unfolding right on your windowsill. Now, if you’re wondering if this is a beginner-friendly plant to propagate, I’d say it’s moderately so. It requires a bit of attention to detail, but with a little guidance, you’ll do wonderfully.
The Best Time to Start
For most ferns, including our lovely Asplenium argentinum, the spring is your golden ticket. As the days lengthen and the plant’s natural growing season kicks in, it’s far more vigorous and receptive to propagation. Think of it as giving your little cuttings the best possible start with loads of natural energy. Early spring, just as new growth begins to emerge, is usually spot on.
Supplies You’ll Need
Gathering your tools beforehand makes the whole process smoother. Here’s what I usually have on hand:
- Sharp pruning shears or a clean, sharp knife: For making precise cuts.
- Well-draining potting mix: A good blend of peat moss, perlite, and a bit of orchid bark works a treat for ferns.
- Small pots or trays: Clean ones, of course!
- Plastic bags or a propagation dome: To create a humid environment.
- Watering can with a fine rose or a spray bottle: For gentle watering.
- Optional: Rooting hormone powder: While often not strictly necessary for Asplenium, it can give an extra boost.
Propagation Methods
Asplenium argentinum is typically propagated through division. It’s the most reliable and straightforward method for this particular fern, as it forms clumps over time.
Division Steps:
- Gently remove the parent plant from its pot. Tip it out carefully onto a clean surface. If it’s healthy and well-established, you’ll see distinct sections or crowns.
- Inspect the root ball. Look for natural divisions. You want to separate sections that each have their own set of roots and at least one healthy frond or bud.
- Using your fingers or a clean knife, carefully tease apart the root ball. Go slowly and try to minimize damage to the roots. If the roots are tightly bound, you might need to use your knife for a clean cut through the dense rhizome. Aim for divisions that are a decent size, not just a single tiny shoot.
- Pot up your divisions. Use your well-draining potting mix in clean pots. Make sure the roots are covered and the crown of the plant is at soil level. Don’t bury it too deep.
- Water thoroughly but gently. You want the soil to be moist, not soggy.
The “Secret Sauce” (Pro Tips)
Here are a couple of things I’ve learned over the years that can really make a difference:
- Humidity is Your Best Friend: Ferns absolutely thrive in high humidity. After potting your divisions, cover the pots with a clear plastic bag or place them in a propagation dome. This creates a mini greenhouse effect, keeping the soil and air consistently moist, which is crucial for new root development. Just make sure the leaves aren’t directly touching the plastic to prevent rot.
- Avoid Direct Sun Like the Plague: Newly divided ferns are stressed and vulnerable. They need bright, indirect light. Too much sun will scorch those delicate new fronds before they even have a chance to establish. A shady spot on an east-facing windowsill, or a few feet back from a brighter window, is usually perfect.
Aftercare & Troubleshooting
Once your divisions are potted and tucked into their humid haven, patience is key!
- Check moisture levels regularly. The soil should stay consistently moist but not waterlogged. If the bag is getting condensation, that’s a good sign! If you see wilting, it’s usually a sign it needs more humidity or hasn’t settled in yet.
- Watch for new growth. You’ll know your division is happy when you start to see new fiddleheads unfurling. This can take anywhere from a few weeks to a couple of months.
- Signs of trouble usually manifest as rotting or browning fronds. This is often a sign of too much moisture combined with poor air circulation (hence the need to peek inside the bag and let it air out occasionally) or too much direct sun. If you see rot, remove the affected parts immediately with clean shears and try to improve air flow slightly.
So there you have it! Propagating Asplenium argentinum isn’t about a magic formula, but about understanding the plant’s needs and giving it the right conditions. Don’t be discouraged if your first attempt isn’t a resounding success. Every plant is a learning experience, and the joy of watching a new fern unfurl its fronds is truly a reward in itself. Happy propagating!
Resource:
https://identify.plantnet.org/k-world-flora/species/Asplenium%20argentinum%20Hieron./data