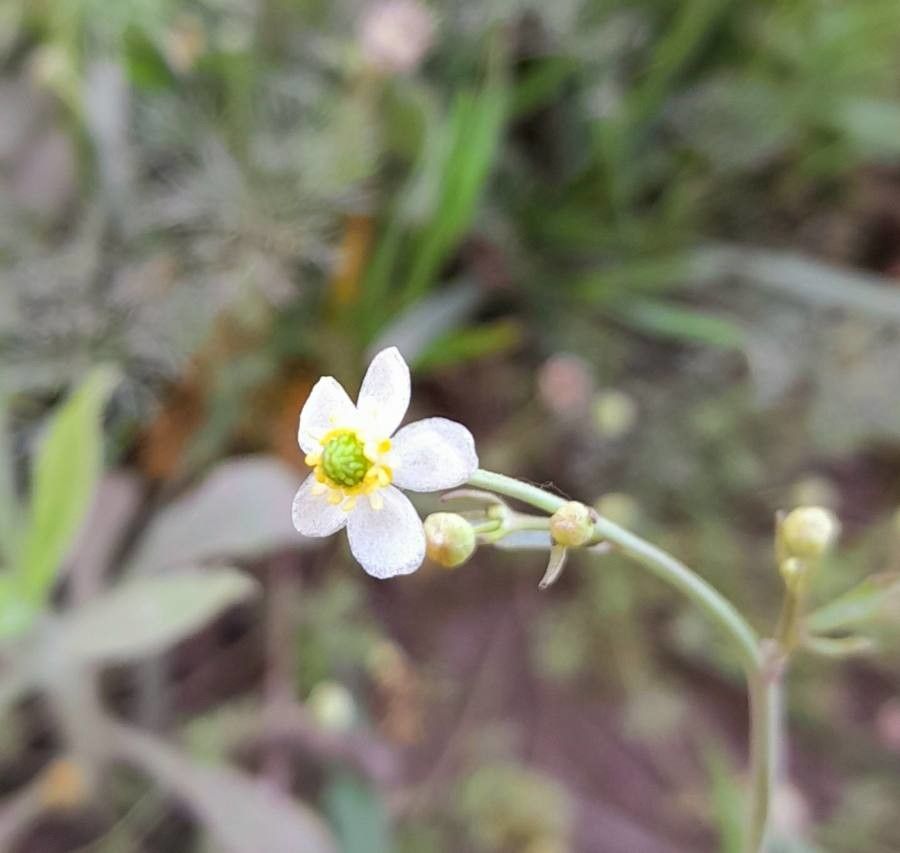
Hello fellow garden lovers! It’s so good to be back here sharing my favorite plant adventures with you. Today, we’re diving into the wonderful world of Ranunculus apiifolius. You know, those delicate, often vibrant beauties with their intricate, finely cut foliage that just dances in the breeze? They have this ethereal charm that can truly transform a garden corner.
And the best part? With a little know-how, you can easily multiply these gems yourself! Propagating Ranunculus apiifolius is incredibly rewarding, offering the joy of seeing tiny beginnings blossom into full-fledged plants. While some might find certain propagation methods a tad fiddly, I promise you, with this guide, even beginners can achieve fantastic results.
The Best Time to Start
For Ranunculus apiifolius, the sweet spot for propagation is generally in late spring or early summer. This is when the plant is actively growing and has plenty of energy to put into new roots. You’ll want to be working with healthy, vigorous parent plants that are past their main flowering period but still showing good green growth. Avoid attempting to propagate from plants that are stressed or showing signs of disease.
Supplies You’ll Need
Gathering your supplies beforehand makes the whole process much smoother. Here’s what I always have on hand:
- Sharp, clean pruning shears or a sharp knife: Essential for making clean cuts.
- Rooting hormone powder or gel: This isn’t always strictly necessary, but it gives cuttings a significant boost.
- Well-draining potting mix: I like to use a blend of peat moss, perlite, and a bit of compost. You want something that holds some moisture but drains exceptionally well.
- Small pots or seed trays: Clean ones, please! Sterilized pots prevent fungal issues.
- Watering can with a fine rose: For gentle watering.
- A plastic bag or a propagation dome: To create a humid environment for cuttings.
- Labels or plant markers: You’ll thank me later for this!
Propagation Methods
Ranunculus apiifolius is most often propagated successfully through stem cuttings. It’s straightforward and yields great results.
- Taking the Cuttings: On a healthy parent plant, identify some non-flowering stems that are about 4-6 inches long. Using your sharp shears or knife, make a clean cut just below a leaf node (that little bump where a leaf emerges from the stem). Remove the lower leaves, leaving only a couple of leaves at the top.
- Applying Rooting Hormone: Dip the cut end of the stem into your rooting hormone powder or gel. Tap off any excess. This step really encourages those roots to form.
- Planting the Cuttings: Prepare your small pots with the well-draining potting mix. Make a small hole in the center of the soil and carefully insert the prepared cutting. Gently firm the soil around the base of the stem.
- Creating a Humid Environment: Water the soil very gently. Then, cover the pot with a plastic bag or a propagation dome. This creates a mini-greenhouse. If you’re using a plastic bag, you can secure it with a rubber band around the pot.
- Placement: Place the potted cuttings in a bright spot, but out of direct sunlight. Warmth is key here, so a sunny windowsill that doesn’t get scorching afternoon sun is perfect.
The “Secret Sauce” (Pro Tips)
Now, for a couple of tricks I’ve picked up over the years that can make a real difference:
- “Don’t let those leaves touch the water!” – If you opt for water propagation (which I sometimes do for quick rooting checks, but less reliably for long-term success with this particular plant), make absolutely sure the leaves are above the waterline. Any submerged foliage will quickly rot and can kill your cutting before it even has a chance to root.
- “Bottom heat is your best friend.” – For stem cuttings, especially if your environment is a bit cooler, placing your pots on a propagation mat can dramatically speed up root development. It mimics the warmth of spring soil and gives those root hairs a real kickstart.
Aftercare & Troubleshooting
Once your cuttings have rooted – you’ll see new growth emerging from the top, and if you gently tug on the stem (don’t pull it out!), you’ll feel some resistance – it’s time for a bit more attentive care.
Slowly acclimate your new plants to outside conditions by gradually removing the plastic bag or opening the dome for longer periods. Continue to water when the top inch of soil feels dry. You can begin feeding with a diluted liquid fertilizer once you see consistent new growth.
The most common sign of failure is rot. If your cuttings turn black and mushy, it’s usually a sign of too much moisture and not enough air circulation. Ensure your soil is draining well and consider increasing ventilation. If you see wilting before any signs of rot, it might mean the cutting is too dry or didn’t take properly. Don’t despair! Just try again.
A Little Encouragement
Propagating, like gardening in general, is a journey of patience and observation. Not every cutting will make it, and that’s perfectly okay. Celebrate the successes, learn from the misses, and most importantly, enjoy the process of nurturing new life. Happy propagating, and may your Ranunculus apiifolius gardens be ever more bountiful!
Resource:
https://identify.plantnet.org/k-world-flora/species/Ranunculus%20apiifolius%20Pers./data