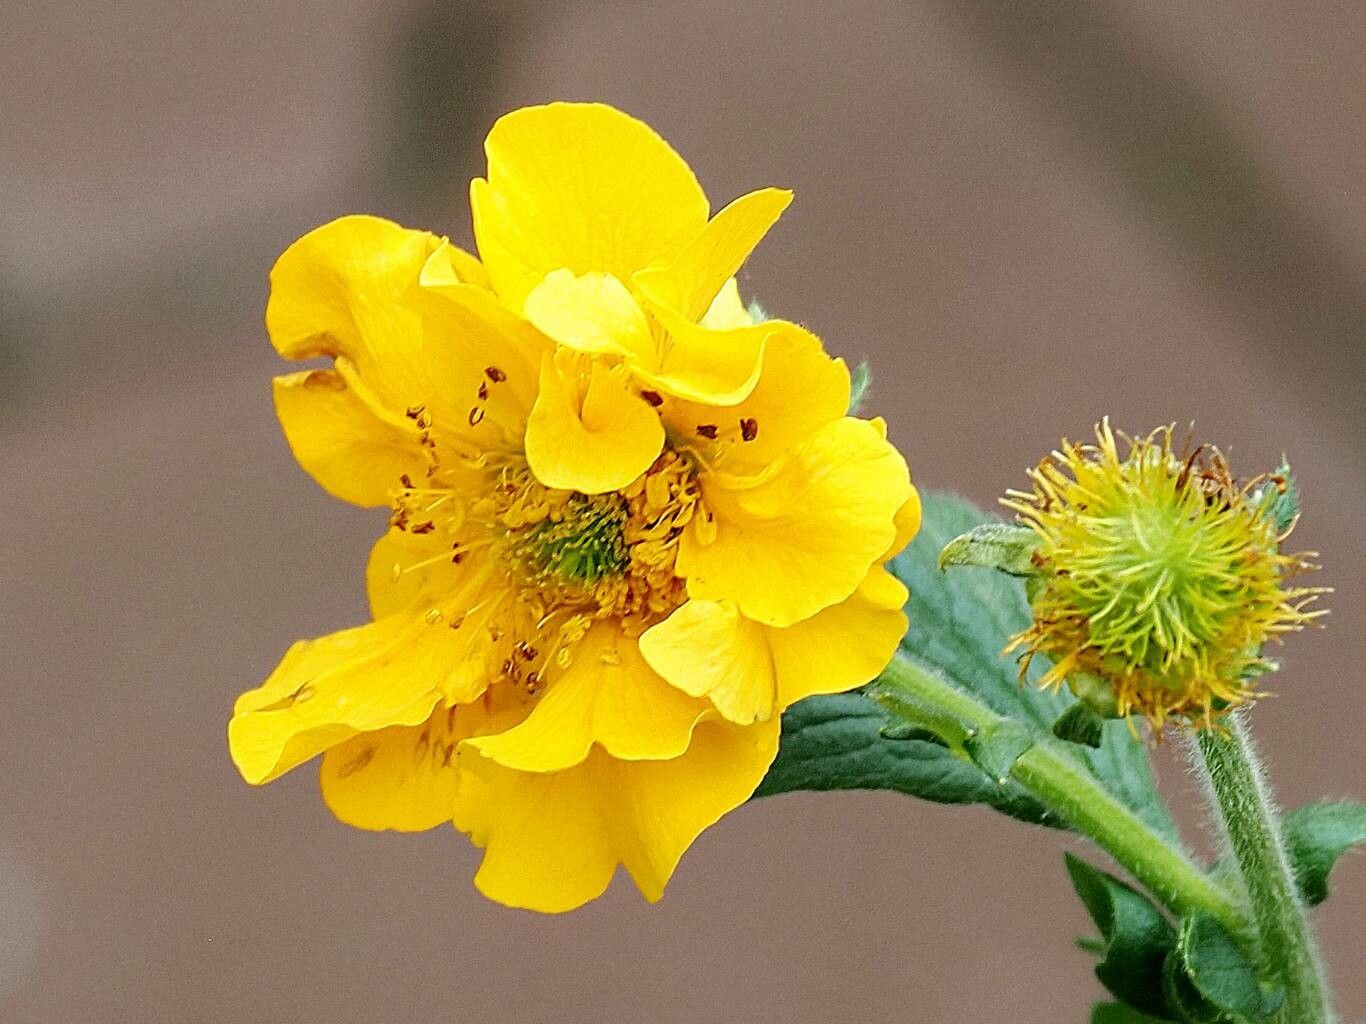
Hello fellow garden lovers! If you’ve ever admired those vibrant bursts of color from Geum coccineum, with their cheerful orange and red blooms dancing on slender stems, you’re not alone. I’ve spent two decades with this beauty in my garden, and let me tell you, sharing its charm by propagating it is one of the most satisfying gardening ventures you can embark on. It’s a plant that truly rewards your efforts, and good news for beginners: Geum coccineum is quite forgiving, making it a wonderful plant to start your propagation journey with.
The Best Time to Start
For the highest success rate with Geum coccineum, I always aim for late spring or early summer. This is when the plant is actively growing, with plenty of new, pliable stems to work with. Waiting until after the main flowering flush is also a good time, as it allows the plant to gather strength before you take cuttings. You want healthy, non-woody growth so the cuttings have the best chance of rooting.
Supplies You’ll Need
Before we get our hands dirty, let’s gather our tools:
- Sharp pruning shears or a clean, sharp knife: For making precise cuts.
- Sterile potting mix: A good blend of peat moss or coco coir and perlite or vermiculite works wonders. I often use a mix specifically designed for seed starting or cuttings.
- Small pots or trays: Clean ones are crucial to prevent disease.
- Rooting hormone (optional but recommended): A powder or gel helps speed up root formation.
- Plastic bags or a propagation dome: To maintain humidity.
- A watering can with a fine rose: For gentle watering.
- A small label and marker: For keeping track of your new babies!
Propagation Methods
Now, let’s get down to business. My favorite methods for Geum coccineum are division and stem cuttings.
Division: The Easiest Route
This is often the most straightforward way to propagate Geum coccineum, especially if your plant is already a bit crowded.
- Timing is Key: Ideally, divide your geum in early spring as soon as new growth appears, or in early autumn after flowering has finished.
- Carefully Excavate: Gently dig up the entire clump of your geum. A garden fork works well here to loosen the soil around the roots.
- Separate the Divisions: Gently tease the root ball apart with your hands, or use a clean spade or knife to cut through larger clumps. Aim for sections that have both healthy roots and some new shoots.
- Replant Immediately: Replant your divisions at the same depth they were growing before. Water them in well, and you’ll be amazed at how quickly they establish.
Stem Cuttings: For More Plants!
This method yields more new plants from a single parent, which is fantastic for expanding your collection or sharing with friends.
- Take Healthy Cuttings: Select young, non-flowering stems that are about 4-6 inches long. Make a clean cut just below a leaf node (where a leaf meets the stem). I like to take a few more than I think I’ll need, just in case.
- Prepare Your Cuttings: Gently remove the lower leaves from the cutting, leaving just a couple of leaves at the top. This prevents them from rotting in the soil. If you’re using rooting hormone, dip the cut end into the powder or gel now, tapping off any excess.
- Pot Them Up: Fill your clean small pots with your prepared sterile potting mix. Make a small hole in the center of the mix with your finger or a pencil.
- Insert the Cuttings: Carefully insert the cut end of each geum stem into the hole. Firm the soil gently around the base of the cutting to ensure good contact.
- Create a Humid Environment: Water the soil lightly. Then, cover the pot with a clear plastic bag (making sure the leaves don’t touch the sides) or place it under a propagation dome.
The “Secret Sauce”
Here are a couple of tricks I’ve learned over the years that really boost success:
- Bottom Heat is Your Friend: Geums absolutely love a bit of warmth from beneath. Placing your pots on a heated propagation mat can significantly speed up root development and increase your success rate, especially if your room tends to be on the cooler side.
- Don’t Drown Them: While humidity is vital, overwatering is the quickest way to kill your cuttings. The soil should feel moist but not soggy. Check it regularly and only water when the surface starts to feel dry to the touch.
Aftercare & Troubleshooting
Once your cuttings have been in pots for a few weeks, you might see new leaf growth. This is a fantastic sign!
- Acclimatize Gradually: Once roots have formed (you can gently tug on a cutting to feel resistance, or check for roots poking out the drainage holes), it’s time to gradually acclimatize them to normal room conditions. Start by opening the plastic bag for a few hours a day, then remove it completely over a week.
- Transplant with Care: When the new plants are robust enough to handle, you can transplant them into larger pots. Continue to water them consistently and keep them in a bright, indirect light spot.
- Watch for Rot: The most common issue you’ll face is rot. If your cuttings look limp, mushy, or have turned black and slimy, it’s a sign of too much moisture and not enough air circulation. Unfortunately, if rot sets in, it’s usually too late to save that particular cutting.
So there you have it! Propagating Geum coccineum is a rewarding endeavor that brings its own splash of sunshine into your garden. Be patient, enjoy the process of watching new life emerge, and don’t be discouraged if a few don’t make it. Happy gardening!
Resource:
https://identify.plantnet.org/k-world-flora/species/Geum%20coccineum%20Sm./data