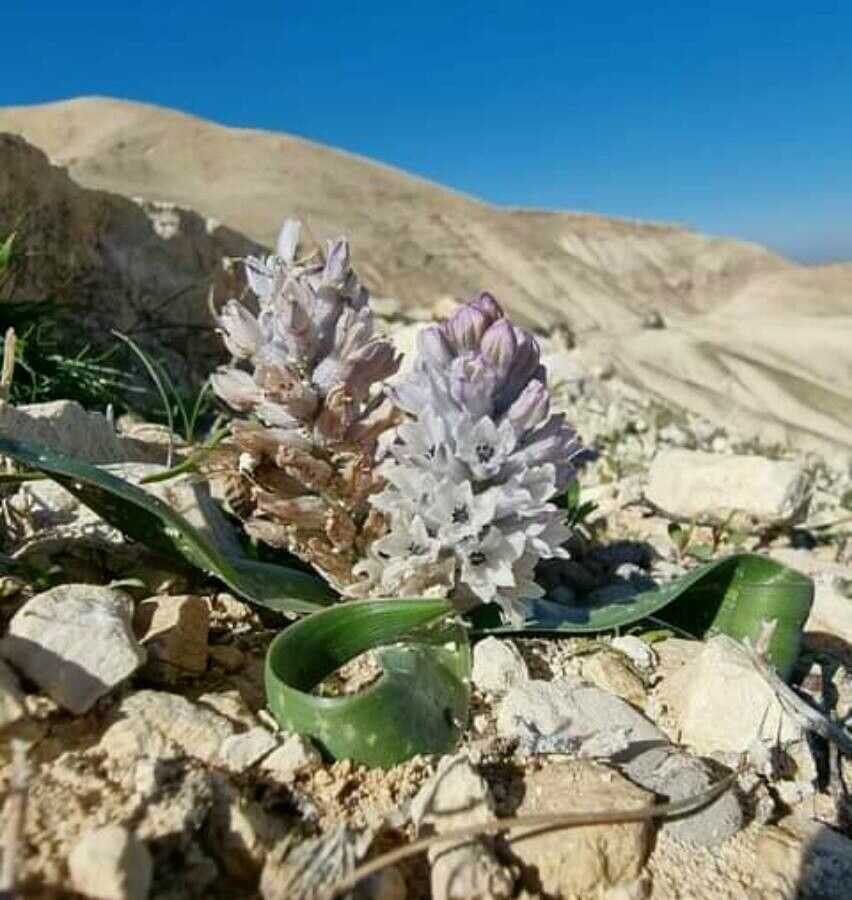
Oh, hello there! Pull up a chair, let’s chat about a little gem that’s been capturing my heart lately – Bellevalia desertorum. It’s one of those plants that brings a touch of the exotic to your garden, with its lovely, somewhat architectural foliage and charming flower spikes that can really brighten up a dull corner. If you’ve got a soft spot for unique bulbs and enjoy the thrill of creating new life from a single plant, then propagating Bellevalia desertorum is going to be a wonderfully rewarding endeavor for you. Now, I won’t sugarcoat it – it’s not quite as straightforward as sticking a begonia cutting in water, but it’s certainly achievable, and with a little guidance, even beginners can enjoy success.
The Best Time to Start
Timing is everything, right? For Bellevalia desertorum, the absolute sweet spot for propagation is late spring to early summer, just as the plant finishes its blooming cycle and starts to naturally die back. This is when the bulbs are storing up energy for their next big show, and any offsets are plump and ready to go. You want to catch them at this period of semi-dormancy, before the intense heat of mid-summer sets in.
Supplies You’ll Need
Don’t worry, it’s nothing too complicated! A few basics will set you up nicely:
- Sharp, clean pruning shears or a small trowel: For separating bulbs and making any necessary cuts. Sterilize them with rubbing alcohol to prevent disease.
- Well-draining potting mix: I usually opt for a mix specifically for cacti and succulents, or I create my own by combining equal parts potting soil, perlite, and coarse sand. Good drainage is non-negotiable for these guys!
- Small pots or trays: Whatever you have on hand that suits the size of your propagated pieces.
- Rooting hormone (optional but helpful): A little dip in this can give your new propagations a confidence boost.
- Watering can with a fine rose or a spray bottle: For gentle watering.
- A warm, bright spot with indirect sunlight: Patience and the right environment are key!
Propagation Methods
Bellevalia desertorum primarily propagates through offsets (also called bulbils or bulb babies). These are smaller bulbs that form around the base of the parent bulb.
- Gently Excavate: Once your plant has finished flowering and the foliage is starting to yellow and die back, it’s time. Carefully tip the pot onto its side or gently dig around the base of the plant in the garden. You want to expose the main bulb and its surrounding offsets.
- Identify the Offsets: You’ll see smaller, round bulbs clustered around the larger mother bulb. They might be attached by a papery membrane or a tiny stem.
- Careful Separation: This is the most crucial step. Using your clean fingers or a small, sharp knife, gently twist or cut the offsets away from the parent bulb. Try to leave a little bit of the parent bulb’s base attached to the offset if possible, but don’t stress if it’s a clean break. The goal is to get a clean separation without damaging either the parent bulb or the offset too much.
- Let Them Callus (Optional but Recommended): If you’ve had to make any cuts, it’s a good idea to let the separated offsets sit in a dry, shaded spot for a day or two. This allows any cut surfaces to form a dry scab or callus. This step significantly reduces the risk of rot when you plant them.
- Planting Your New Treasures: Fill your small pots with your well-draining mix. Make a small hole in the center, deep enough for the offset. Plant the offset so that the top just peeks out of the soil, or is barely covered. You want the bottom half to be nestled in the mix. If you’re using rooting hormone, dip the basal plate (the bottom of the bulb where roots will form) into the hormone before planting.
- Watering In: Water gently after planting to settle the soil around the bulb. Avoid waterlogging! You want the soil to be moist, not soggy.
The “Secret Sauce” (Pro Tips)
Here are a few little tricks that have helped me over the years:
- Don’t rush the division: If the offsets are very tiny or still tightly attached, it’s often better to leave them on the parent bulb for another season. Trying to separate immature offsets can lead to failure. Wait until they are a decent size, at least pea-sized.
- Air circulation is your friend: Once planted, place your pots in a spot with good air circulation. This helps the soil dry out properly between waterings and discourages fungal growth. Avoid overcrowding them.
- Bottom Heat Can Be a Game-Changer: If you’re in a cooler climate or propagating during a less-than-tropical time, a gentle warming mat placed underneath the pots can mimic ideal soil temperatures and encourage root development much faster. Just a low setting is all that’s needed.
Aftercare & Troubleshooting
Once your offsets are planted, think of them as tiny patients who need a bit of TLC.
- Watering: Water sparingly. Let the soil dry out almost completely between waterings. You’ll learn to gauge this by the weight of the pot or by sticking your finger a couple of inches into the soil.
- Light: Place them in a bright location with indirect sunlight. Direct sun can scorch the delicate new growth.
- Patience is Key: You might not see much happening for weeks, or even months. This is normal for bulb propagation! You’re waiting for roots to form and the bulb to establish itself.
- Signs of Trouble (Rot!): The biggest enemy is overwatering, which leads to rot. If you notice your offset becoming mushy, discolored, or developing black spots, it’s likely rotting. Unfortunately, once rot sets in, it’s very difficult to save them. This is why that well-draining soil and careful watering are so critical. If you suspect rot, try gently removing the bulb from the soil. If it’s mushy, it’s best to discard it and keep the other propagations slightly drier.
A Encouraging Closing
So there you have it! Propagating Bellevalia desertorum is a lovely way to expand your collection and share these charming plants with friends. Remember, gardening is a journey, and sometimes it involves a bit of trial and error. Don’t get discouraged if every single one doesn’t make it. Celebrate the successes, learn from any setbacks, and most importantly, enjoy the simple pleasure of nurturing new life in your hands. Happy propagating!
Resource: