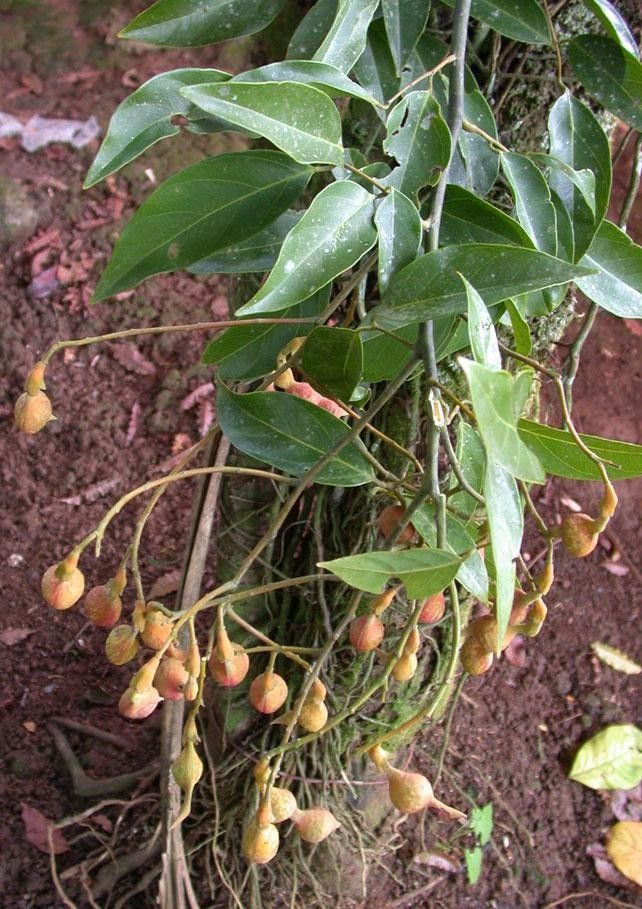
Oh, hello there! Pull up a chair. I’m so glad you’re interested in propagating Ormosia intermedia. You know, I’ve always been a sucker for these plants. The way their leaves unfurl, the subtle beauty of their blooms – it’s truly something special. And there’s a unique satisfaction that comes with taking a piece of your beloved plant and coaxing it to grow into something new. It feels like a little bit of gardening magic, doesn’t it?
Now, I won’t lie. For absolute beginners, Ormosia intermedia can be a bit of a gentle challenge. It’s not the most forgiving plant when you’re first learning the ropes. But with a little patience and the right approach, you’ll be rewarded with your own little Ormosia offspring. Don’t let that deter you one bit!
The Best Time to Start
My favorite time to propagate Ormosia intermedia is during the active growing season, which for most of us means late spring through early summer. This is when the plant has plenty of energy stored up, and new growth is tender and responsive. You’re looking for healthy, vigorous stems that are neither old and woody nor brand new and impossibly soft. Think of it like a teenager – full of life and ready for change!
Supplies You’ll Need
Here’s what you’ll want to have on hand before you start:
- Sharp, clean pruning shears or a knife: Cleanliness is crucial to prevent disease.
- Rooting hormone powder or gel: This really gives your cuttings a boost.
- A well-draining potting mix: I like to use a mix of peat moss, perlite, and a little bit of coarse sand. You want good aeration so those developing roots don’t drown.
- Small pots or propagation trays: Whatever will hold your cuttings snugly without being too large.
- A plastic bag or propagation dome: To create a humid environment.
- A spray bottle with water: For misting.
- Optional: A heating mat: This can really speed up root development.
Propagation Methods
For Ormosia intermedia, I find stem cuttings to be the most reliable and rewarding method.
-
Take Your Cuttings: With your clean shears, select a healthy stem about 4-6 inches long. Make a clean cut just below a leaf node. A leaf node is where a leaf emerges from the stem – that’s where the magic happens and roots are more likely to form. Remove the lower leaves from the cutting, leaving just a few at the top.
-
Dip in Rooting Hormone: Lightly dampen the cut end of the stem with water (if using powder) and then dip it into your rooting hormone. Tap off any excess. This step isn’t strictly mandatory, but it significantly increases your chances of success.
-
Plant Your Cuttings: Fill your pots with your prepared well-draining mix. Make a small hole in the center with your finger or a pencil. Gently insert the cut end of the stem into the hole, ensuring the leaf nodes where you removed the leaves are below the soil surface. Firm the soil gently around the stem.
-
Create a Humid Environment: Water the soil lightly. Then, cover the pot with a plastic bag or place it inside a propagation dome. This traps moisture and creates the humid microclimate your cuttings desperately need to form roots before they dry out. Make sure the leaves aren’t touching the sides of the bag if possible.
-
Provide the Right Conditions: Place your potted cuttings in a location that receives bright, indirect light. Avoid direct sun, which can scorch those delicate leaves. If you have a heating mat, place the pots on it. Consistent warmth from below really encourages root formation.
The “Secret Sauce” (Pro Tips)
Here are a couple of things I’ve learned over the years that make a big difference:
- The “Heel” Trick: Sometimes, when you’re taking cuttings, you can get a tiny sliver of older bark attached to the bottom of your cutting. Don’t trim this away! This little bit of “heel” can provide extra nutrients and a good starting point for root development. Think of it as a little built-in survival kit.
- Bottom Watering is Your Friend: While you’ll water gently initially, once the roots start forming, I prefer bottom watering. Place the pot in a shallow tray of water and let the soil wick up the moisture from the bottom. This prevents water from sitting on the leaves and potentially causing rot.
Aftercare & Troubleshooting
Once you start to see new leaf growth or feel a gentle tug when you lightly wiggle the cutting, that’s a good sign that roots have formed! At this point, you can start to gradually acclimate your new plant to less humid conditions by opening the plastic bag a little more each day. Once it’s fully out of the bag, continue to care for it as you would a mature Ormosia intermedia, keeping the soil consistently moist but not soggy.
The most common issue you might encounter is rot. If your cutting turns brown and mushy, or if you see mold on the soil, it’s usually a sign of too much moisture or poor air circulation. Don’t be discouraged! Sometimes it happens. Just discard the affected cutting and try again, perhaps with a slightly different soil mix or by ensuring better airflow.
A Encouraging Closing
Propagating Ormosia intermedia is a journey. It requires a touch of patience and observation, but the reward of seeing a brand new plant emerge from a small cutting is truly immense. Enjoy the process, learn from each attempt, and don’t be afraid to get your hands dirty. Happy propagating!
Resource:
https://identify.plantnet.org/k-world-flora/species/Ormosia%20intermedia%20N.Zamora/data