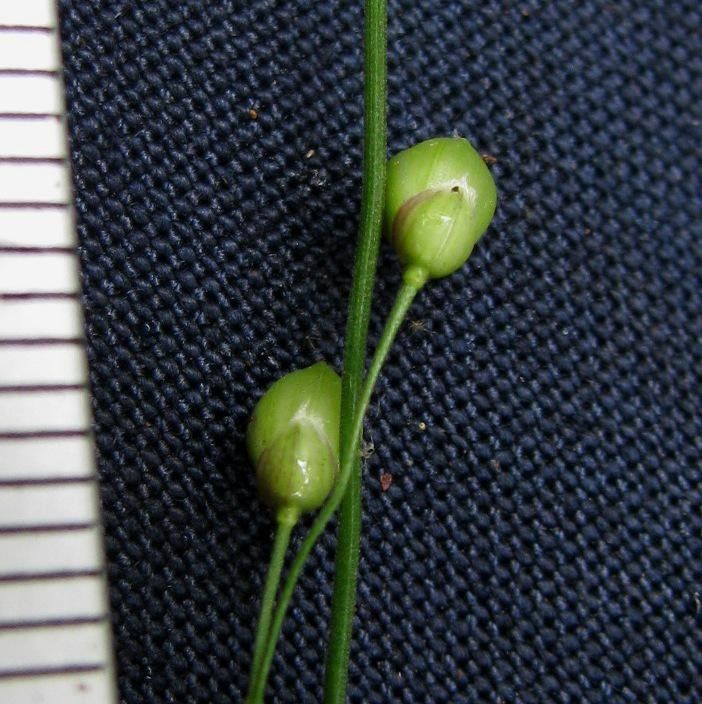
Hello there, fellow green enthusiasts! Today, we’re diving into something truly special: propagating Lasiacis linearis. If you haven’t met this beauty yet, imagine delicate, grass-like foliage that dances in the breeze, adding a whisper of wild elegance to any garden corner. It’s a plant that brings a sense of calm and natural grace wherever it grows. And the joy of creating more of it from just a piece of the original? Well, that’s pure gardening magic, and honestly, it’s a much easier magic to master than some might think! Don’t be intimidated; even for beginners, this one is quite forgiving.
The Best Time to Start
For the most robust growth and highest success rates, late spring through early summer is your golden window. This is when the plant is actively growing and has plenty of energy to put into developing new roots. Think of it as the plant’s prime time for showing off, and that energy translates beautifully into successful propagation. You can also get away with it in early autumn, but you might find the growth a little slower as things start to cool down.
Supplies You’ll Need
Gathering your supplies beforehand makes the whole process smoother. Here’s what I typically have on hand:
- Sharp pruning shears or a clean knife: For making clean cuts.
- A good quality potting mix: I like a well-draining blend, often a mix of peat moss, perlite, and a bit of compost.
- Small pots or seed trays: Clean and with drainage holes, of course!
- Plastic bags or a clear plastic dome: To create a humid microclimate.
- Watering can or spray bottle: For gentle watering.
- (Optional) Rooting hormone powder or gel: Some find this gives an extra boost, though Lasiacis linearis is often happy without it.
- (Optional) Bottom heat mat: For those cooler propagation spots.
Propagation Methods
Lasiacis linearis is quite amenable to a couple of different propagation techniques. We’ll focus on the most straightforward ones.
Stem Cuttings
This is my go-to method for this lovely grass.
- Select healthy stems: Look for new, but not overly soft, growth. The stems should be firm and have a healthy green color.
- Make clean cuts: Using your sharp shears, take cuttings that are about 4-6 inches long. Make the cut just below a leaf node – that little bump where a leaf attaches to the stem.
- Prepare the cuttings: Gently remove the leaves from the bottom half of the cutting. You want to expose the leaf nodes here, as that’s where roots will emerge. If the leaves are very large, you can even cut them in half horizontally to reduce water loss.
- Rooting hormone (optional): If you’re using rooting hormone, dip the cut end into it, tapping off any excess.
- Planting: Insert the cut end into your prepared potting mix. Make sure at least a couple of leaf nodes are buried. Gently firm the soil around the stem.
- Create humidity: Water the soil gently until it’s moist but not soggy. Then, cover the pot or tray with a plastic bag or a clear dome. This traps moisture and mimics the humid conditions cuttings crave.
Water Propagation
This is a wonderfully visual method, and you can see the roots forming!
- Take cuttings: Follow steps 1 and 2 from the stem cuttings method.
- Prepare for water: Remove all leaves that would sit below the water line. This is crucial to prevent rot.
- Place in water: Pop your prepared cuttings into a clean jar or vase filled with water. Ensure the leaf nodes are submerged, but keep the remaining leaves above the water’s surface.
- Location: Place the jar in a bright spot, but out of direct, scorching sunlight.
- Water changes: Change the water every few days to keep it fresh and prevent stagnation.
The “Secret Sauce” (Pro Tips)
Now for a couple of little tricks I’ve picked up over the years that can really make a difference:
- Don’t let the leaves touch the water! This is a big one, especially for water propagation. Any leaves submerged will start to decay, which can hinder root development and, worse, introduce rot to your cutting. Keep them high and dry!
- Bottom heat is your friend. If you have the space and inclination, placing your potted cuttings on a gentle bottom heat mat can significantly speed up root formation. It mimics the warmth of spring soil, encouraging those roots to get going much faster.
Aftercare & Troubleshooting
Once you see signs of life – tiny white roots peeking out from the bottom of the pot or new growth emerging from the top – it’s time for a little TLC.
- Gradual acclimatization: If you used a humidity dome or plastic bag, start by removing it for a few hours each day, gradually increasing the time until the cutting is fully exposed. This helps it adjust to lower humidity levels.
- Gentle watering: Continue to keep the soil consistently moist but not waterlogged. You’ll be able to tell when it needs a drink – the soil surface will start to look lighter.
- Fertilizing: Wait until you see good new growth before you even think about feeding. When you do, use a diluted liquid fertilizer, maybe at half strength to start.
What if things go wrong? The most common culprit is rot. If your cutting turns black and mushy, or starts to wilt dramatically despite consistent moisture, rot has likely set in. This usually happens due to too much moisture without enough airflow, or indeed, those submerged leaves. If you spot rot, unfortunately, that cutting is usually a goner. Don’t despair; just try again, ensuring better drainage and airflow next time. Yellowing leaves on a cutting can sometimes mean it’s not getting enough light, or it’s just stressed. Give it time and consistent care.
A Encouraging Closing
Propagating plants like Lasiacis linearis is such a rewarding part of gardening. It’s a fantastic way to expand your collection, share with friends, or simply marvel at the resilience of nature. Be patient with your new arrivals; sometimes it takes a little while for roots to establish strongly. Enjoy watching them grow, celebrate every tiny success, and before you know it, you’ll have a whole new patch of dancing green to admire! Happy propagating!
Resource:
https://identify.plantnet.org/k-world-flora/species/Lasiacis%20linearis%20Swallen/data