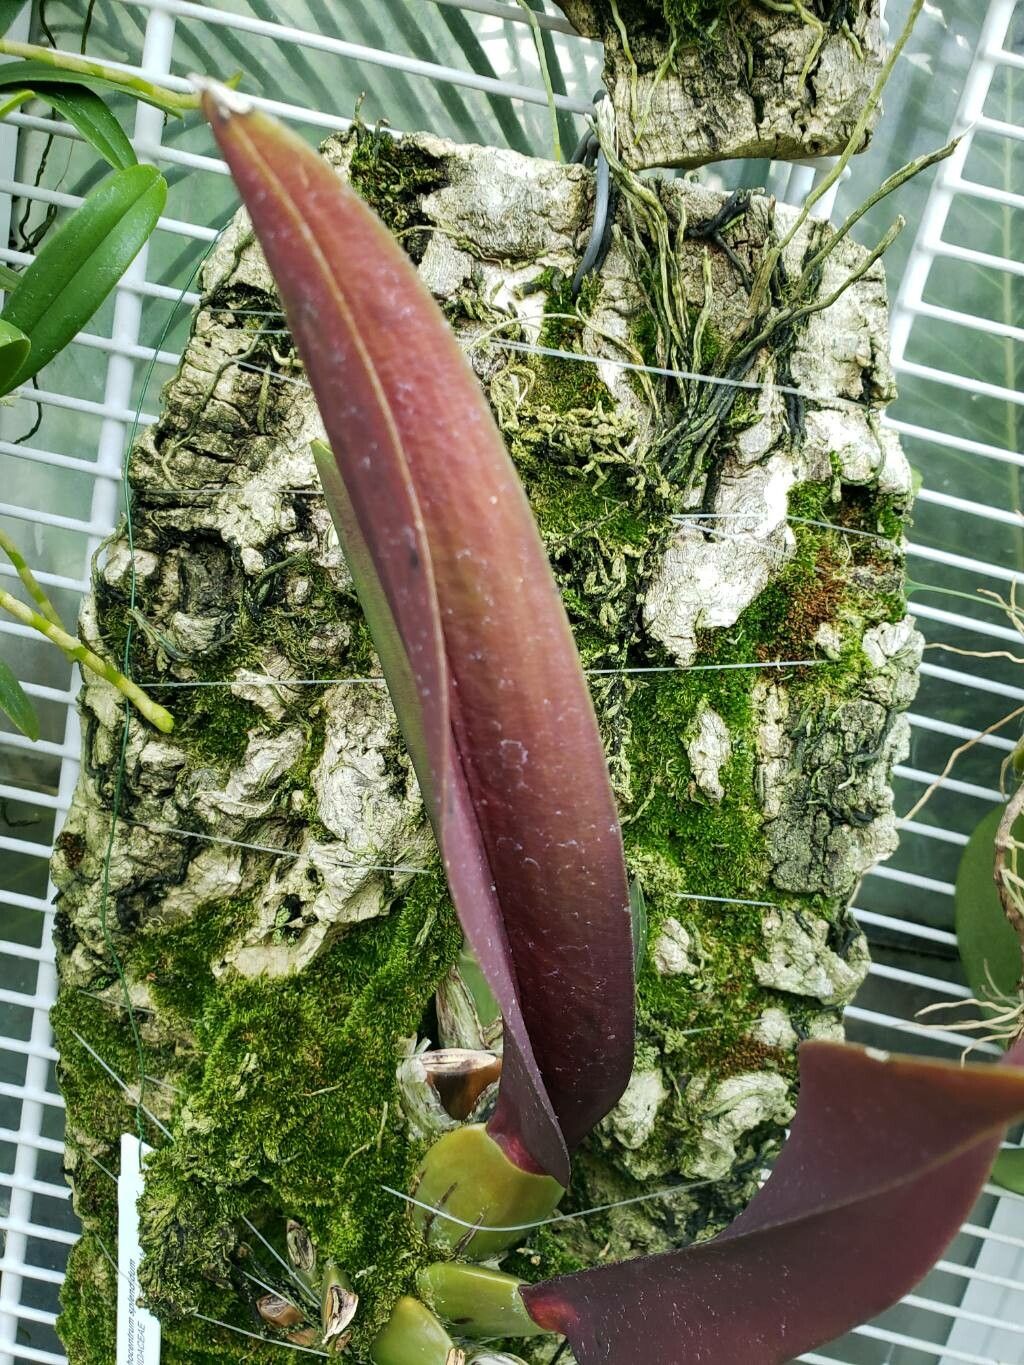
Oh, hello there! So happy you’re here to chat about Trichocentrum splendidum. It’s one of those orchids that just brings a smile to your face, isn’t it? With those lovely, often fragrant blooms, it’s a real gem. And the best part? You can actually make more of these beauties yourself! Propagating Trichocentrum splendidum isn’t something I’d call “beginner-level” in the orchid world, but with a little care and patience, it’s absolutely achievable and so rewarding. Seeing those tiny roots emerge and a new plant begin its journey is just pure magic.
The Best Time to Start
When it comes to Trichocentrum splendidum, my favorite time to start propagating is usually in the spring, as new growth is actively beginning. You’ll see those little shoots pushing out from the base, which tells you the plant has plenty of energy to spare for making new babies. This aligns perfectly with longer daylight hours and warmer temperatures, giving your new propagations the best start.
Supplies You’ll Need
Here’s what I always have on hand when I’m getting ready to propagate:
- Sharp, sterilized pruning shears or a clean knife: Sterilize with rubbing alcohol or a flame between cuts to prevent disease.
- A good quality orchid potting mix: I prefer a bark-based mix with good drainage. Some growers like adding sphagnum moss to retain a bit more humidity for young plants.
- Small pots or containers: Orchid-specific pots with good drainage are ideal. For babies, we don’t need anything too big.
- Rooting hormone (optional but helpful): A powder or gel can give those developing roots a nice boost.
- A spray bottle for misting: For keeping humidity levels up.
- Clear plastic bags or a propagation dome: To create a humid environment for cuttings.
- Labels and a permanent marker: To keep track of what you’ve done and when!
Propagation Methods
For Trichocentrum splendidum, the most successful method I’ve found is division. While stem cuttings are common for many plants, orchids like this one are best propagated by carefully separating existing clumps.
Division:
- Gently remove the orchid from its pot. You might need to loosen the root ball with your fingers or a blunt tool if it’s tightly packed.
- Inspect the plant. Look for where natural divisions occur. You’re looking for sections that have at least 2-3 healthy pseudobulbs and a decent root system attached.
- Carefully separate the divisions. Use your sterilized shears or knife to cut through the rhizome (the creeping stem that connects the pseudobulbs). You want to make sure each division has enough roots to support itself. If the roots are tangled, don’t be afraid to gently tease them apart.
- Trim away any dead or damaged roots.
- Allow the cut surfaces to callus over. This is crucial to prevent rot. Let the divided pieces sit in a dry, well-ventilated spot for a day or two until the cut edges are dry and firm to the touch.
- Pot up your new divisions. Place each division into its own pot with fresh orchid mix. The mix should be slightly damp, not soaking wet.
- Position them so the new growth points upwards, away from the center of the pot.
The “Secret Sauce” (Pro Tips)
Here are a couple of things that have made a big difference for me over the years:
- Don’t overpot! It’s tempting to give a new division lots of space, but smaller pots are better for young orchids. They help the medium dry out at a more appropriate rate, reducing the risk of root rot, which is a biggie with orchids.
- Bottom heat is your friend. If you can, placing your newly potted divisions on a seedling heat mat set to a gentle warmth (around 70-75°F or 21-24°C) can really encourage root development. It mimics the warm soil they’d find naturally.
Aftercare & Troubleshooting
Once your divisions are potted, the real waiting game begins. Keep them in bright, indirect light and mist them lightly when the surface of the potting mix begins to feel dry. Avoid letting the leaves get constantly wet, as this can encourage fungal issues. If you’re using a plastic bag or dome, open it for a little while each day to allow for air circulation.
The first signs of success will be new root growth emerging from the base of the pseudobulbs. You might also see a new shoot start to form.
Now, about troubleshooting. The biggest hurdle is often root rot. If you see mushy, black roots, or if the pseudobulbs start to shrivel and become soft, it’s a sign of too much moisture or inadequate drainage. If this happens, you may need to unpot the plant, trim away the rotted roots, let it air dry, and repot into a drier medium. Patience is key! Sometimes, a plant might just take a while to establish, so don’t despair if you don’t see rapid growth immediately.
A Encouraging Closing
Propagating orchids like Trichocentrum splendidum is a journey, and like any good journey, it requires patience. Don’t get discouraged if your first attempt isn’t perfect. Observe your plants, learn from them, and celebrate every tiny victory – especially those first brand-new roots! Happy propagating, and enjoy the beauty you’re creating!
Resource: