Hey Plant Lovers!
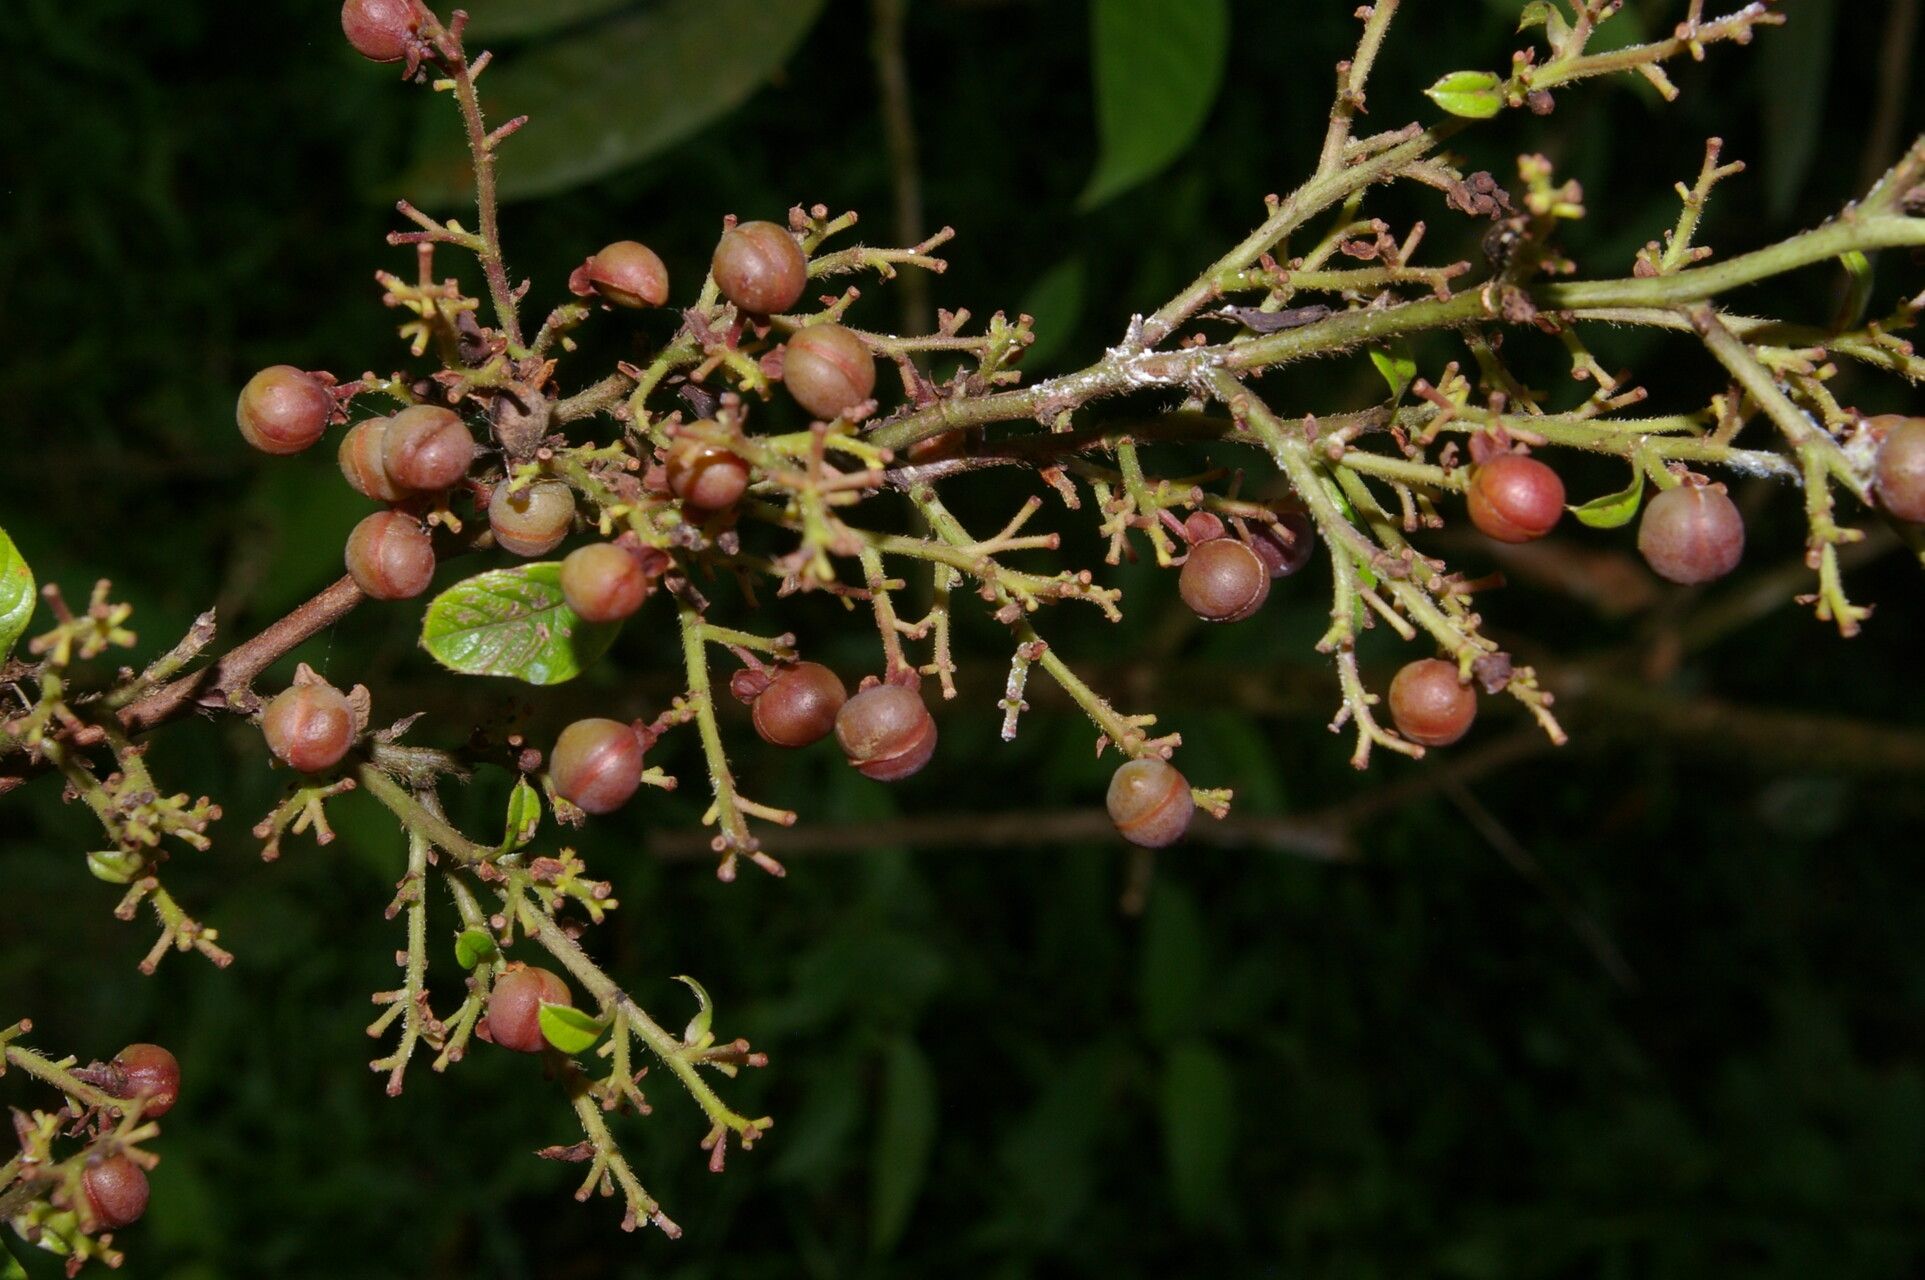
I’m so excited to chat with you today about a really special plant: Davilla nitida. You might know it by its common name, Chilean Jasmine, for its graceful, glossy leaves and the delightful, sweet scent of its delicate white flowers. It’s a real stunner, and honestly, one of those plants that just brings a smile to my face every time I see it.
Now, for those of you thinking about adding more of these beauties to your garden or sharing them with friends, propagating them is incredibly rewarding. It’s not the easiest plant to get going from scratch, but with a little know-how and patience, I promise it’s definitely achievable, even for those of you who are just dipping your toes into the wonderful world of propagation. Think of it as a gentle introduction to a slightly more advanced technique!
The Best Time to Start
Timing is everything, right? For Davilla nitida, your best bet for successful propagation is during the growing season, which typically falls in late spring to early summer. This is when the plant has plenty of energy and is actively producing new growth. You’re looking for healthy, semi-hardwood stems. These are stems that are no longer brand new and floppy but haven’t quite become woody and rigid. They’ll snap cleanly when bent.
Supplies You’ll Need
Gathering your tools beforehand makes the whole process so much smoother. Here’s what I always have on hand:
- Sharp Pruning Shears or a Craft Knife: Clean cuts are crucial for reducing stress on the plant and preventing disease.
- Rooting Hormone Powder: This is a game-changer. It encourages faster and stronger root development.
- Small Pots or Seedling Trays: Clean pots are a must!
- Well-Draining Potting Mix: I like a blend of perlite, peat moss, and a little compost. You can also find specialized seed starting or propagation mixes.
- Plastic Bags or a Propagator Lid: This creates a mini-greenhouse effect to keep humidity high.
- Watering Can with a Fine Rose: For gentle watering.
- Labels and a Marker: So you know what’s what!
Propagation Methods
Let’s get our hands dirty! I’ve found the most reliable method for Davilla nitida is stem cuttings. It’s tried and true.
- Take Your Cuttings: With clean shears, carefully select healthy stems from your established plant. Aim for cuttings that are about 4-6 inches long. Make your cut just below a leaf node – that’s the point where a leaf attaches to the stem. This is where future roots will emerge.
- Prepare the Cuttings: Gently remove the lower leaves from your cutting. You want to leave at least two sets of leaves at the top. If your remaining leaves are very large, you can even cut them in half horizontally to reduce water loss.
- Apply Rooting Hormone: Dip the cut end of each stem into your rooting hormone powder. Tap off any excess – you don’t need a thick coating.
- Potting Up: Fill your small pots or seedling trays with your well-draining potting mix. Make a small hole in the center of each pot with your finger or a pencil.
- Insert the Cuttings: Gently place the prepared cutting into the hole, ensuring the leaf nodes are buried in the soil. Firm the soil gently around the base of the cutting.
- Water and Cover: Water thoroughly but gently. Then, cover the pots with a plastic bag or propagator lid to maintain high humidity. Pop a few bamboo stakes in the pot if needed to stop the plastic from touching the leaves.
The “Secret Sauce” (Pro Tips)
Here’s where a little bit of experience really shines through. These are small things that can make a big difference:
- Bottom Heat is Your Friend: Davilla nitida loves a bit of warmth from below. If you have a heat mat designed for seedlings, placing your pots on it can significantly speed up root development. It mimics the soil temperature during the warmer months.
- Don’t Let Those Leaves Drip!: While high humidity is essential, standing water on the leaves can encourage fungal issues. If you see condensation dripping, it’s a good idea to air out your propagator for a little while each day. A gentle puff of air will do.
- Patience with the Pinch: After you see signs of new growth, wait a few more weeks before you attempt to check for roots. Sometimes, the plant sends up a new leaf before it’s even started to develop a robust root system. Gently tugging on the cutting – if there’s resistance, roots are likely forming!
Aftercare & Troubleshooting
Once you see those tiny roots peeking out from the drainage holes or the cutting is clearly rooted (it won’t wiggle when gently tugged), it’s time to move them into slightly larger pots with a good quality potting mix. Continue to keep them in bright, indirect light and keep the soil consistently moist but not waterlogged. Gradually introduce them to more direct light as they get stronger.
The most common issue you might encounter is rot. If your cutting turns black and mushy, it’s likely succumbed to rot, often due to too much moisture and not enough air circulation. Don’t be discouraged! It happens to the best of us. Just discard the affected cutting and try again, perhaps adjusting your watering routine or ensuring better drainage. Wilting can also be a sign of distress, either from too little water or if the roots haven’t yet formed to support the foliage.
A Word of Encouragement
Propagating plants is a journey, and every new plant you grow yourself is a triumph. Enjoy the process, learn from what happens, and don’t be afraid to experiment. With a little care and these tips, I have no doubt you’ll be nurturing your own Davilla nitida babies in no time! Happy gardening!
Resource:
https://identify.plantnet.org/k-world-flora/species/Davilla%20nitida%20(Vahl)%20Kubitzki/data