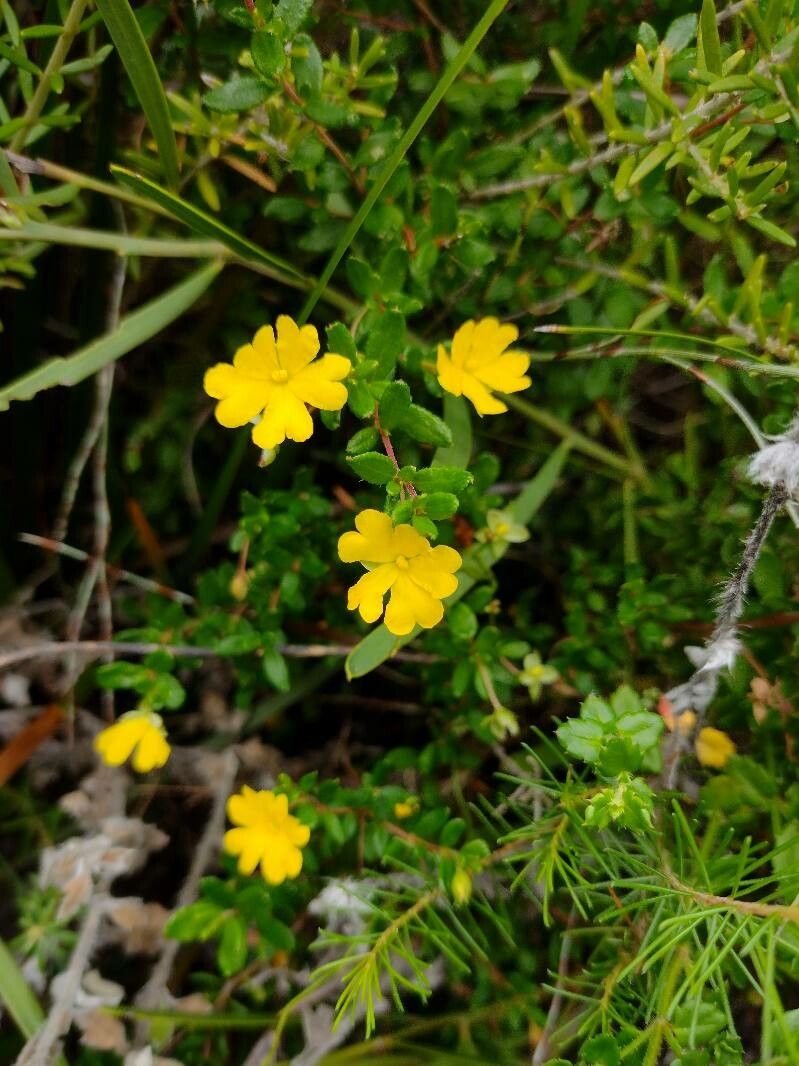
Oh, Hibbertia! I’m so glad we’re talking about this lovely plant. If you’ve ever seen one of these Australian beauties gracing a garden – with its cheerful, bright yellow flowers that just seem to shout sunshine – you know exactly what I mean. Hibbertia empetrifolia, with its neat, heath-like foliage, is a real charmer. And you know what’s even better? Being able to grow more of them yourself! It’s incredibly satisfying, like giving a gift to your future garden. I’d say Hibbertia empetrifolia is moderately easy to propagate. It’s not quite as foolproof as, say, a spider plant, but with a little care and the right timing, you’ll have plenty of new plants to share or tuck into new spots.
The Best Time to Start
For the most success, I always find that late spring to early summer is the sweet spot for propagating cuttings. Think about it: the plant is in its active growth phase, full of vigor. You’re essentially tapping into that energy. You want to take cuttings from healthy, new, but not too soft, growth. This is often called “semi-ripe” wood. If you wait too long, the wood can get a bit too hard, and if you go too early, it might be too fragile.
Supplies You’ll Need
Before you dive in, gather your goodies. Having everything ready makes the process so much smoother:
- Sharp pruning shears or a clean knife: For making clean cuts.
- Rooting hormone (optional but recommended): A powder or gel that helps cuttings develop roots faster.
- Small pots or seed trays: With drainage holes, of course!
- A good potting mix: I like a blend of equal parts perlite and peat moss or coco coir. This provides excellent drainage – a must for happy Hibbertia.
- A clear plastic bag or propagtor: To create a humid environment.
- Labels: So you don’t forget what’s what!
- A watering can with a fine rose: For gentle watering.
Propagation Methods
Stem cuttings are my go-to for Hibbertia empetrifolia. It’s reliable and gives you a good success rate.
- Take Your Cuttings: Find a healthy stem and use your sharp shears to take a cutting about 4-6 inches long. Make the cut just below a leaf node (where a leaf joins the stem). Remove the lower leaves, leaving just a few at the top.
- Prepare the Cutting: If you’re using rooting hormone, dip the cut end into it, tapping off any excess.
- Plant Your Cuttings: Fill your small pots with your well-draining potting mix. Make a small hole in the center of the soil with a pencil or your finger. Gently insert the cutting into the hole, making sure it’s firm enough to stand up. Firm the soil around the base of the cutting.
- Water Gently: Water thoroughly but gently until water drains from the bottom of the pot.
- Create Humidity: Cover the pot with a clear plastic bag or place it in a propagator. This traps humidity, which is crucial for preventing the cuttings from drying out before they form roots. Make sure the leaves aren’t touching the sides of the bag if possible.
- Find a Good Spot: Place the pots in a bright, warm location out of direct sunlight. A greenhouse or a sunny windowsill is perfect.
The “Secret Sauce”
Here are a couple of things that have made a real difference for me:
- Bottom Heat is Your Friend: If you have a heated propagator or can place your pots on a heat mat, do it! Hibbertia roots really appreciate that gentle warmth from below. It encourages root development significantly, especially if the ambient air temperature isn’t super warm.
- Don’t Overwater (but don’t let them dry out either!): This is a delicate balance. The soil should feel consistently moist, but never waterlogged. If you see your cuttings wilting severely, it’s usually a sign of being too dry. If you see signs of rot or mold, you’re likely overwatering. The plastic bag helps maintain that perfect mid-ground.
Aftercare & Troubleshooting
Once you see new growth appearing from the base of your cutting, or if you gently tug on it and feel a bit of resistance, it’s a good sign that roots have formed!
- Gradually Acclimate: Slowly remove the plastic bag over a few days to help the new plant adjust to normal humidity.
- Potting Up: Once your new Hibbertia cuttings are well-rooted and have a few sets of leaves, you can pot them up into slightly larger containers using a good quality potting mix.
- Watch for Rot: The most common enemy here is rot. If your cuttings turn black and mushy at the base, they’ve likely rotted. This is usually due to too much moisture and not enough air circulation. If you see this, discard the affected cuttings and try again, focusing on better drainage and making sure the soil isn’t constantly soggy. Sometimes, if you catch it early, you can trim away the rotted part and try to re-root, but it’s often a lost cause.
A Little Patience Goes a Long Way
Propagating plants is always a journey, and sometimes it takes a few tries to get it just right. Don’t be discouraged if everything doesn’t take. Celebrate the successes! Enjoy the process of nurturing these little plants from mere cuttings into future garden stars. Happy propagating!
Resource:
https://identify.plantnet.org/k-world-flora/species/Hibbertia%20empetrifolia%20(DC.)%20Hoogland/data