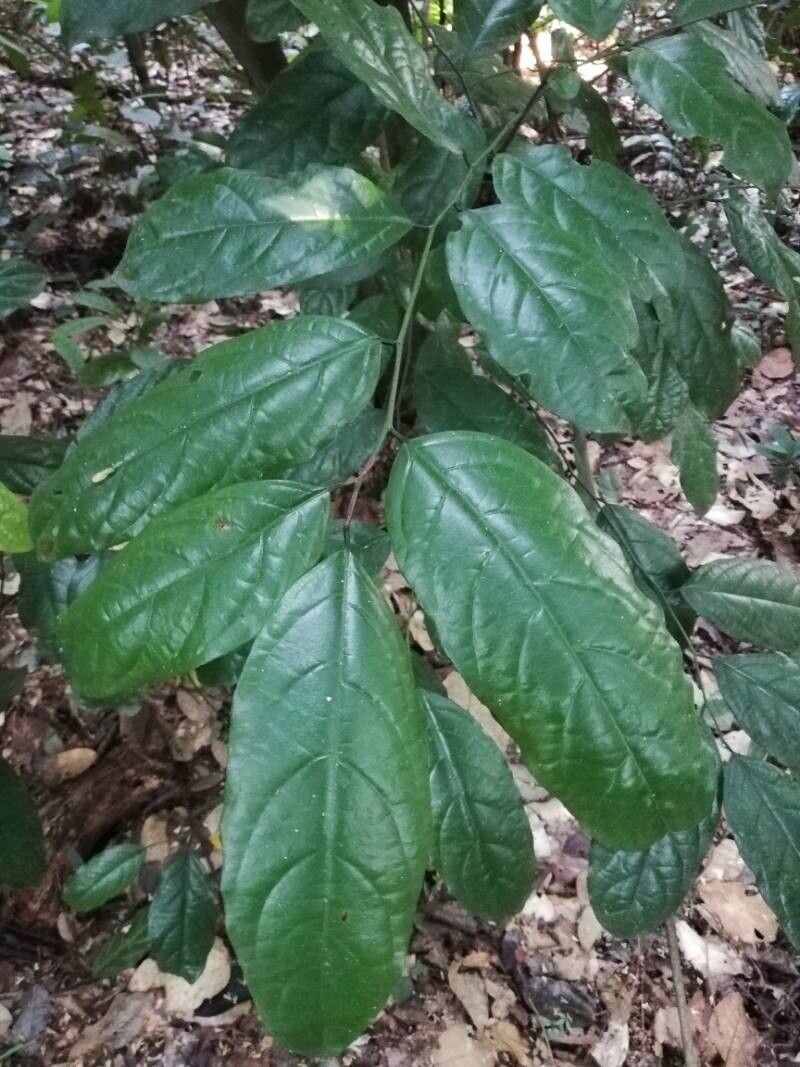
Hello fellow plant lovers! Today, we’re diving into the wonderful world of propa-gation with a plant that might be new to some of you: Microdesmis puberula. This beauty, often called “The African Shower Tree,” has these enchanting, delicate leaves and sometimes even produces lovely little blooms. For me, it’s the sheer joy of creating more of something I love that makes propagating so rewarding. Now, is it a walk in the park for absolute beginners? Honestly, it can be a little finicky, but with a few pointers, you’ll be well on your way.
The Best Time to Start
Timing is everything, isn’t it? For Microdesmis puberula, I find the late spring or early summer, when the plant is in its active growing phase, to be the absolute sweet spot. You want to be working with healthy, new growth that has a bit of flexibility to it. Avoid trying to propagate from woody, old stems or during the plant’s dormant period.
Supplies You’ll Need
Gathering your supplies beforehand makes the whole process smoother. Here’s what I usually have on hand:
- Sharp pruning shears or a clean, sharp knife: For making clean cuts.
- Rooting hormone powder or gel: This gives your cuttings a little extra boost.
- Well-draining potting mix: I love a blend of peat moss, perlite, and a touch of compost. For this plant, extra drainage is key.
- Small pots or containers: Clean ones, please! About 4-6 inches in diameter are usually perfect.
- Clear plastic bags or a propagation dome: To create a humid environment.
- Water: For misting and watering.
- Patience! (This is arguably the most important tool).
Propagation Methods
We’ll focus on a method that usually yields great results for Microdesmis puberula: stem cuttings.
- Select Your Cuttings: Look for healthy, non-flowering stems that are about 4-6 inches long. They should be flexible but not limp. Gently bend a stem; if it snaps cleanly, it’s likely good.
- Make the Cut: Using your sharp shears or knife, make a clean cut just below a leaf node. A leaf node is that slightly swollen joint where a leaf attaches to the stem. This is where the magic happens – it’s packed with growth hormones. Remove the lower leaves from the bottom two-thirds of the cutting, leaving just a few at the top. This prevents them from rotting when buried and reduces water loss.
- Apply Rooting Hormone: Dip the cut end of the stem into your rooting hormone, tapping off any excess. This greatly increases your chances of successful rooting.
- Plant Your Cuttings: Fill your small pots with your well-draining potting mix. Make a small hole in the center with your finger or a pencil.
- Insert and Firm: Gently insert the treated cutting into the hole, ensuring the leaf nodes are covered by the soil. Lightly firm the soil around the stem to ensure good contact.
- Water and Cover: Water the soil gently. Then, cover the entire pot with a clear plastic bag or mist the inside of your propagation dome. This creates a mini-greenhouse to keep the humidity high, which is crucial for cuttings to develop roots before they can take up water from the soil.
The “Secret Sauce” (Pro Tips)
Here are a few things I’ve learned over the years that really make a difference:
- Bottom Heat is Your Friend: If you can, place your pots on a gentle heat mat or in a warm spot in your home. This encourages root development from below, almost like an underground furnace!
- Don’t Drown Them: While high humidity is good, standing water at the base of your cuttings is an invitation for rot. Ensure your soil drains exceptionally well, and only water when the top inch of soil feels dry.
- Location, Location, Location: Place your cuttings in bright, indirect light. Direct sunlight will scorch the leaves and dry out your cuttings too quickly. A bright windowsill that doesn’t get direct sun, or under some grow lights, is ideal.
Aftercare & Troubleshooting
Once you start seeing new leaf growth appearing on your cuttings, that’s a fantastic sign that roots are forming! It typically takes anywhere from 4 to 8 weeks, sometimes a bit longer.
When you notice that new growth, you can gradually begin to acclimate your new plant to normal room humidity. First, open the plastic bag a little, then remove it for a few hours each day, slowly increasing the time until it’s fully out. Continue to water as needed, letting the soil dry slightly between waterings.
What about failures? The most common culprit is rot. If your cuttings turn black and mushy, or if they simply don’t show any signs of life after a long time and feel soft, it’s likely they’ve rotted. This usually happens due to too much moisture or not enough drainage. Sometimes, they just don’t take, and that’s okay too! Don’t be discouraged.
A Warm Encouragement
Propagating plants is a journey of patience and observation. There’s immense satisfaction in nurturing a tiny cutting into a healthy, thriving plant. Be patient with Microdesmis puberula, provide it with the right conditions, and celebrate every little bit of progress. Happy propagating!
Resource: