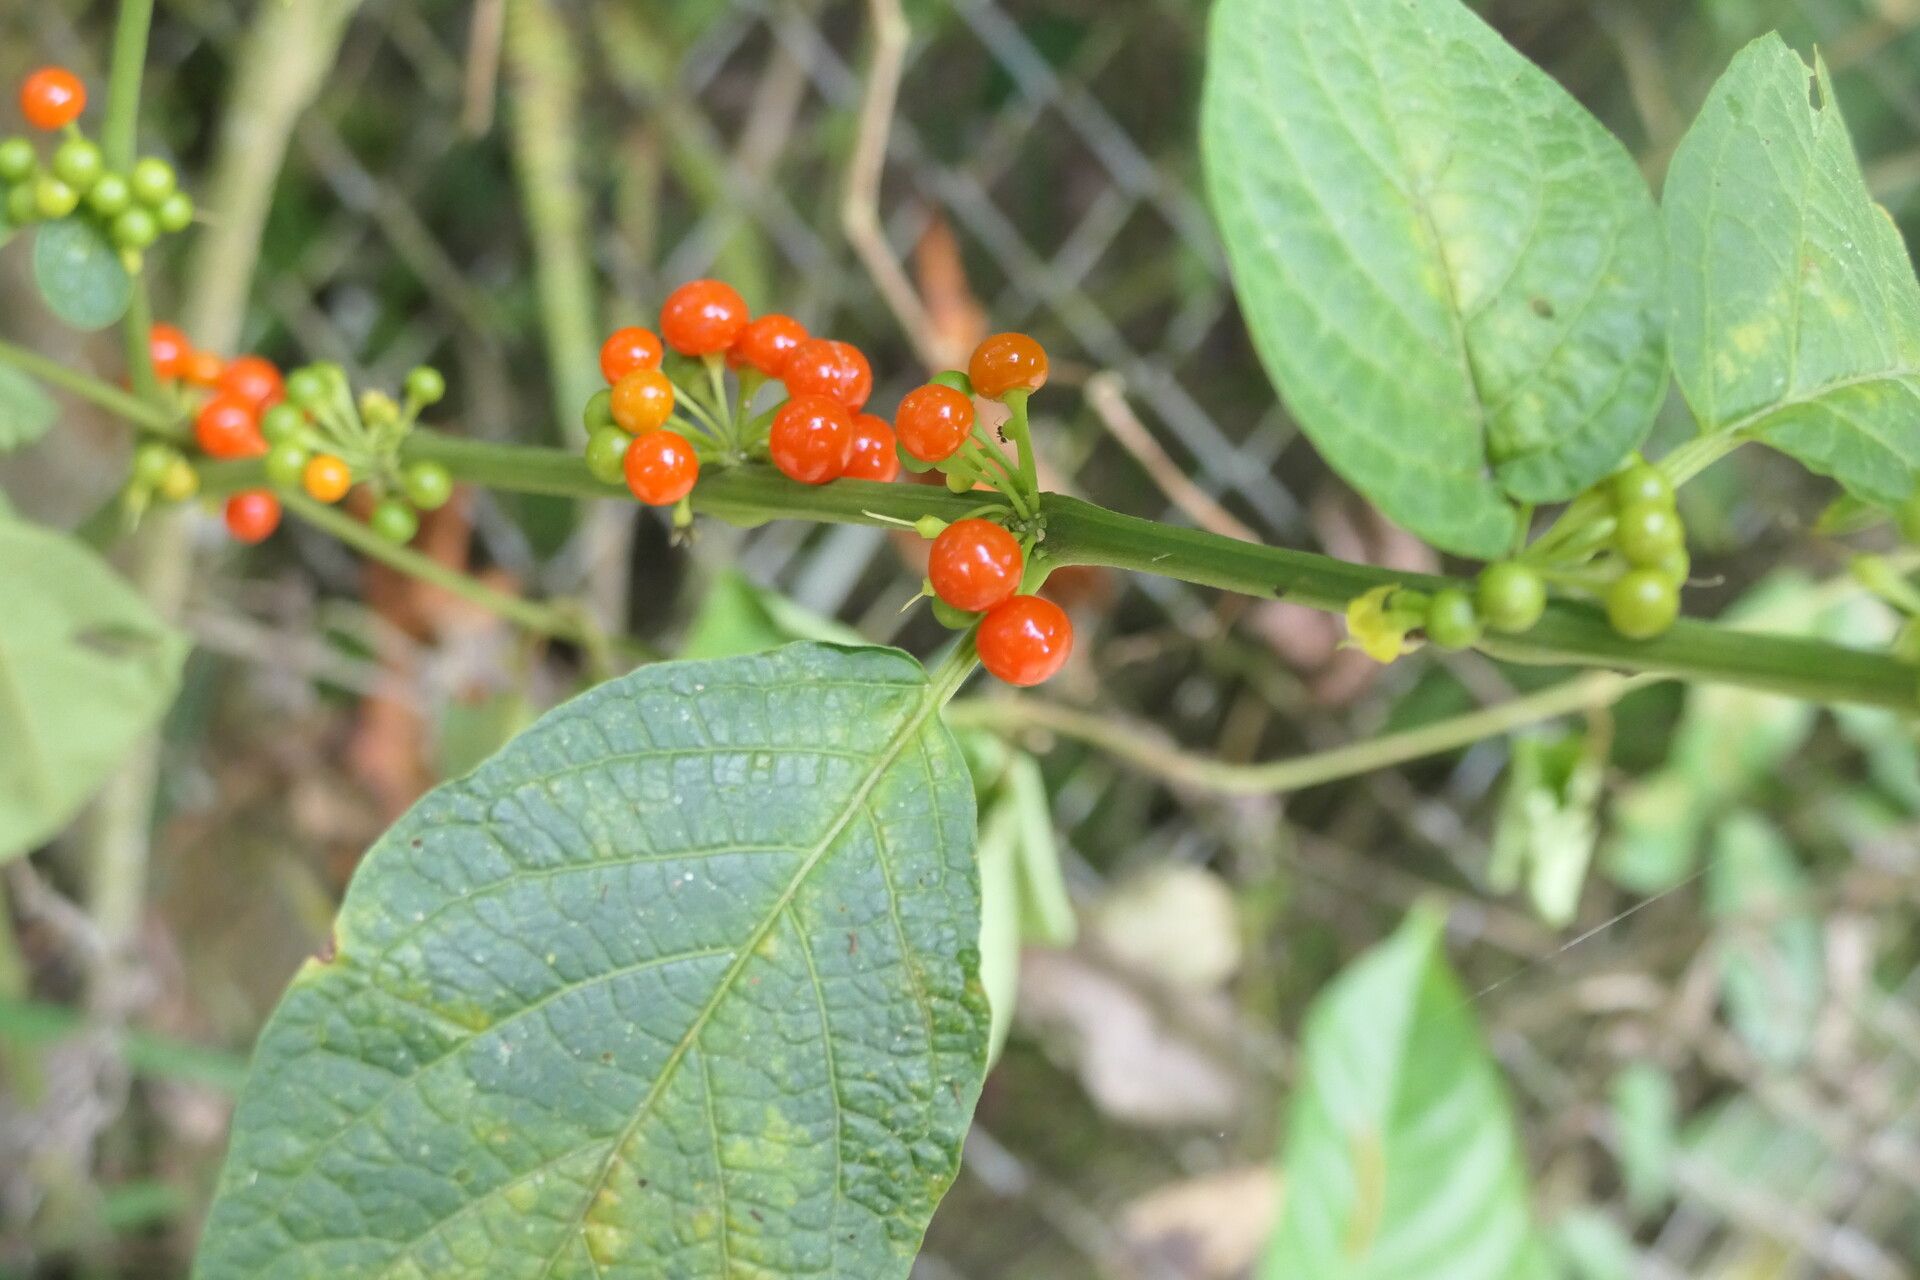
Oh, hello there! Come on in, grab a mug. We’ve got some lovely little Witheringia solanacea to talk about today. You know, the one with those delicate, bell-shaped flowers and those cheerful berries. It’s a real charmer in the garden, and honestly, getting your own little starts is incredibly satisfying.
Think of it as filling your garden with friends, all for the cost of a bit of your time and a few simple supplies. Now, is it a walk in the park for absolute beginners? I wouldn’t say it’s the easiest plant to propagate, but it’s certainly not an insurmountable challenge, especially with a little guidance. Follow along, and you’ll be surprised at how rewarding it can be.
The Best Time to Start
When it comes to coaxing new life from our plants, timing is everything. For Witheringia solanacea, I find that the late spring and early summer are your golden ticket. This is when the plant is in its most vigorous growth phase. The stems are nice and supple, packed with energy, making them prime candidates for rooting. Waiting until after the main flush of spring growth has really taken off is usually your best bet.
Supplies You’ll Need
Gathering your tools before you begin always makes the process smoother. Here’s what I like to have on hand:
- Sharp Pruning Shears or a Clean Knife: For making nice, clean cuts. Dull tools can damage the stem and invite disease.
- Rooting Hormone (Optional but Recommended): This stuff can really give your cuttings a boost.
- A Well-Draining Potting Mix: I usually blend about equal parts coarse perlite, peat moss or coco coir, and a little sterile potting soil. You want it airy so the new roots can breathe.
- Small Pots or Seed Trays: Clean ones are a must!
- Plastic Bags or a Propagator Lid: To create a humid environment.
- Watering Can with a Fine Rose: For gentle watering.
- Labels and a Marker: So you don’t forget what you planted where!
Propagation Methods
Witheringia solanacea is quite amenable to a couple of methods. I tend to favor stem cuttings, but division can work too, depending on the plant’s structure.
Stem Cuttings (My Favorite!)
This is usually my go-to for Witheringia. You’re essentially taking a piece of the parent plant and encouraging it to grow its own roots.
- Select Your Cuttings: Look for healthy, non-flowering stems from your mature plant. You want stems that are somewhat firm but still flexible – not old and woody, and not too soft and new. Aim for pieces about 4-6 inches long.
- Make the Cut: Using your clean shears, make a clean cut just below a leaf node. This is where the plant’s hormones are concentrated and roots are most likely to form.
- Prepare the Cutting: Gently remove the lower leaves, leaving just one or two at the very top for photosynthesis. If the leaves are large, you can even cut them in half to reduce water loss.
- Apply Rooting Hormone (If Using): Dip the cut end into your rooting hormone powder or gel. Tap off any excess.
- Plant the Cuttings: Fill your clean pots with your prepared, lightly moistened potting mix. Make a small hole with a pencil or your finger and insert the cutting, ensuring the leaf nodes you removed are below the soil surface. Gently firm the soil around the stem.
- Create a Humid Environment: Water the soil gently. Then, cover the pot with a plastic bag or a propagator lid. Make sure the leaves aren’t touching the plastic if possible. You can secure the bag with a rubber band.
- Provide the Right Conditions: Place the pots in a bright spot that receives indirect light. Avoid direct sun, which can scorch the delicate cuttings. Keep the soil consistently moist but not waterlogged.
Division
If your Witheringia plant has grown into a clump with multiple stems emerging from the base, you can divide it.
- Prepare the Plant: It’s best to do this in early spring before new growth really takes off. Water the plant thoroughly a day or two before you plan to divide.
- Remove from Pot: Gently ease the plant out of its pot.
- Separate the Roots: You can often gently pull apart the root ball with your hands. If it’s a bit stubborn, use a clean, sharp knife to cut through the roots, making sure each section has plenty of roots and at least one or two healthy shoots.
- Replant: Pot up each division into its own pot with fresh, well-draining potting mix. Water it in well.
The “Secret Sauce” (Pro Tips)
Now, here are a few little tricks I’ve picked up over the years that can really make a difference:
- The Power of Bottom Heat: If you have a heat mat, place your pots on it. This provides gentle warmth to the roots, encouraging them to sprout much faster. It’s like a little heated bed for your cuttings!
- Don’t Let Leaves Drench: When misting or watering, always try to avoid getting too much water directly on the leaves, especially for stem cuttings. Excess moisture on the foliage can lead to rot. Aim for the soil.
- The “Patience Test”: When you think your cuttings might be rooted, give them a very gentle tug. If you feel resistance, they’re likely starting to establish roots. Don’t yank!
Aftercare & Troubleshooting
Once you start seeing new growth, that’s a beautiful sign! It means roots are forming.
- Acclimatize: As new leaves emerge, you’ll need to gradually acclimatize your cuttings to lower humidity. This means slowly opening up the plastic bag or propagator lid over a week or two.
- Move to Larger Pots: Once the new plant is large enough to handle and has a decent root system (you can usually see roots peeking out of the drainage holes), it’s time to pot it up into a slightly larger pot.
- Common Problems: The most common issue you’ll face is rot. This usually happens if the soil is too wet and there’s not enough air circulation. If you see your cutting looking mushy or dark at the base, it’s probably a goner. You can sometimes salvage pieces if you catch it very early, but prevention is key! Also, watch out for shriveling leaves. This can be a sign of too much drying out.
A Little Encouragement
Propagating plants is a journey, and each little success is a cause for celebration. Don’t be discouraged if not every cutting takes. It happens to all of us! The most important thing is to be patient and enjoy the process. Watching those tiny roots emerge and new leaves unfurl is one of gardening’s greatest joys. Happy propagating!
Resource:
https://identify.plantnet.org/k-world-flora/species/Witheringia%20solanacea%20L’Hér./data