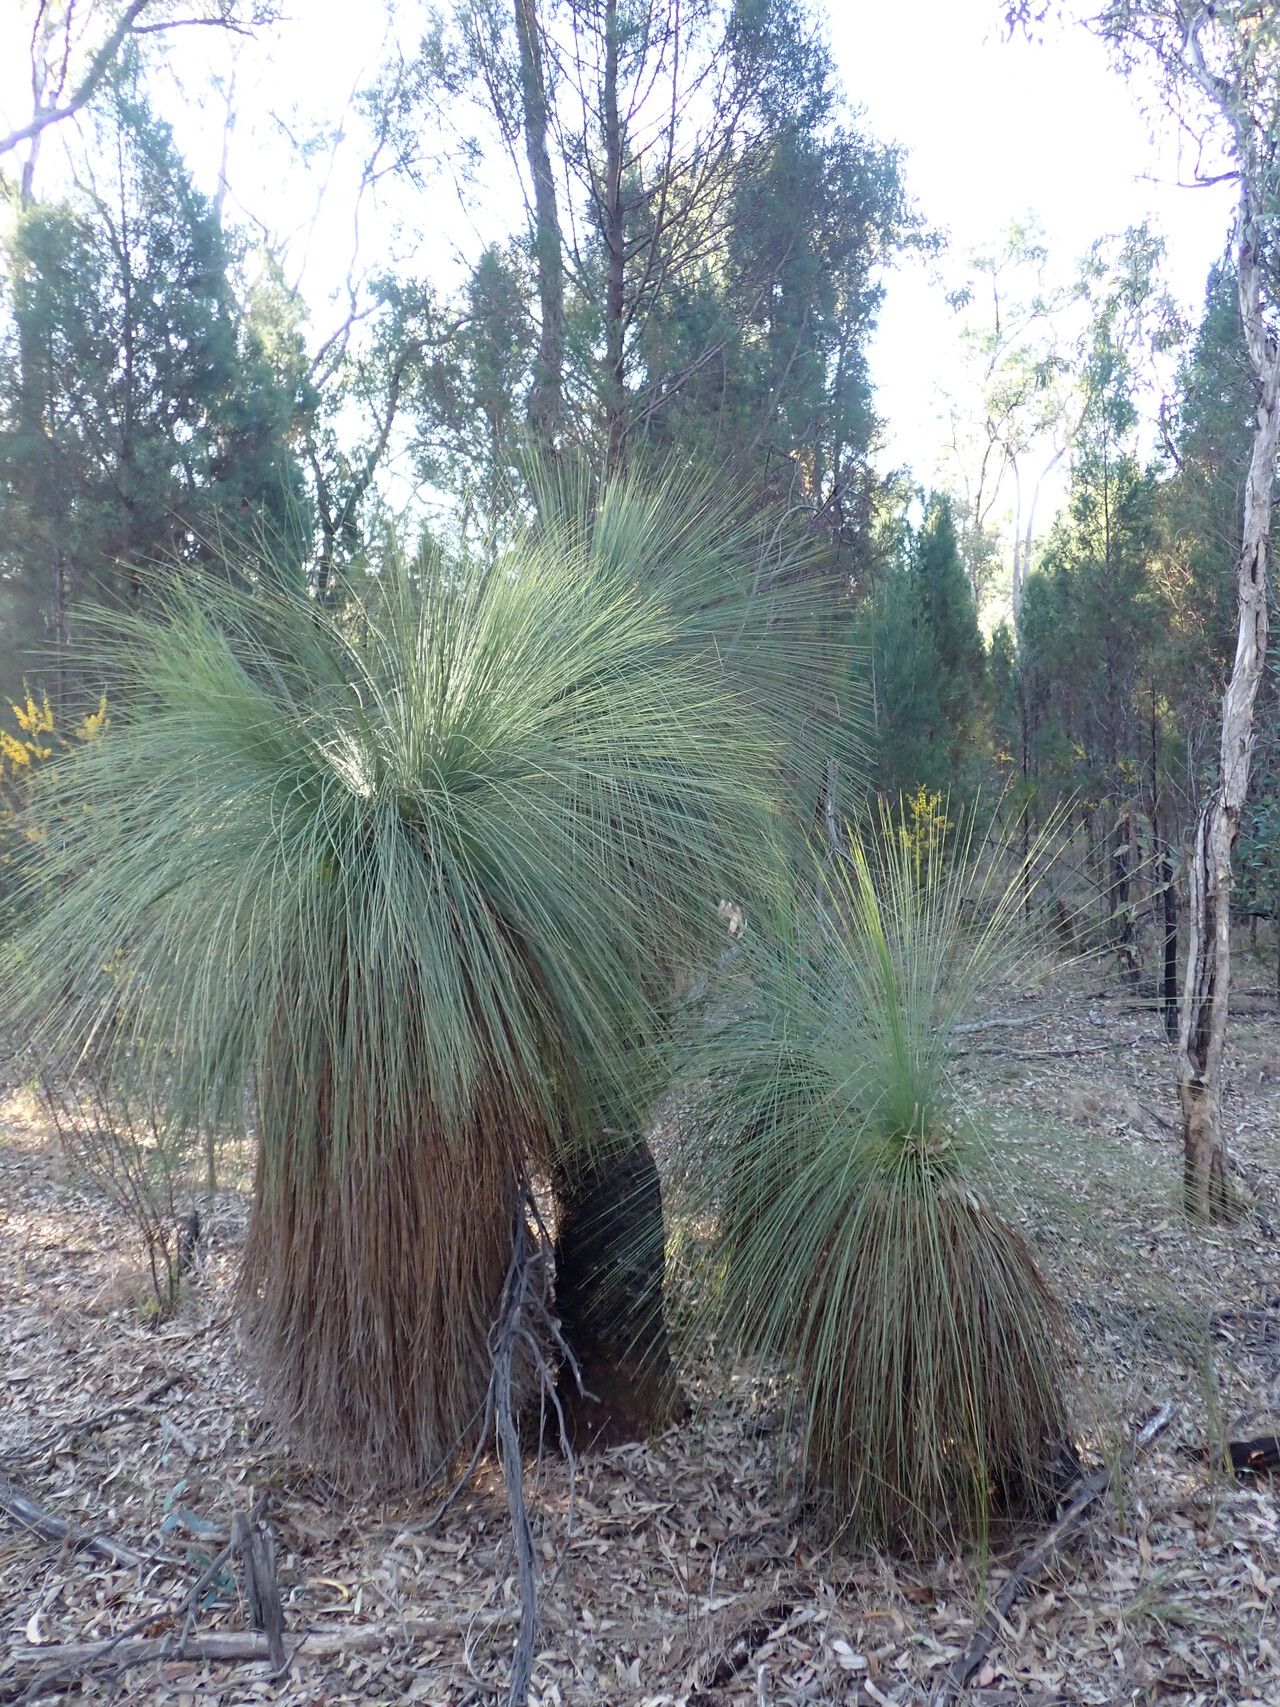
Hello fellow garden enthusiasts! Today, we’re diving into the wonderfully unique world of Xanthorrhoea johnsonii, more commonly known as the Grass Tree. If you’ve ever seen these architectural beauties gracing an Australian landscape, you’ll know their appeal. Their spiky crowns atop thick, woody trunks are simply captivating. Propagating them can feel like a special kind of magic, bringing a piece of that ancient allure into your own garden. Now, I won’t lie, Xanthorrhoea johnsonii can be a bit of a challenge for absolute beginners, but with a little patience and careful attention, it’s a deeply rewarding endeavor.
The Best Time to Start
For the highest chance of success with your Xanthorrhoea johnsonii propagation, aim for the late spring or early summer. This is when the plant is actively growing and has the energy reserves to put into developing new roots. Warmer temperatures also encourage faster root development.
Supplies You’ll Need
Before we get our hands dirty, let’s gather our tools and materials. You’ll want a few things to set yourself up for success:
- Sharp pruning shears or a clean, sharp knife: For making clean cuts.
- Rooting hormone powder (optional, but recommended): This can give your cuttings a helpful boost. Look for one formulated for woody cuttings.
- Well-draining potting mix: A gritty mix is crucial. I often use a blend of coarse sand, perlite, and a small amount of coco coir or peat moss. Avoid anything too heavy that will hold too much moisture.
- Small pots or propagation trays: With drainage holes, of course!
- Spray bottle: For misting.
- Plastic bags or a propagator: To create a humid environment.
- Gloves: Some Xanthorrhoea have sap that can be a bit sticky.
Propagation Methods: Division is Key
While you might see techniques for other plants, division is the most reliable method for propagating Xanthorrhoea johnsonii. They typically produce offsets, or “pups,” at the base of the parent plant.
- Locate the Offsets: Gently excavate around the base of your mature Xanthorrhoea. You’re looking for smaller, developing plants attached to the main stem. They’ll often have their own little crown of leaves.
- Carefully Separate: Using your sharp pruning shears or knife, carefully cut through the connecting woody tissue. Try to get a bit of the root system attached to the offset if possible. It’s okay if a little is left behind on the parent plant; the pup needs to be self-sufficient.
- Trim Excess Foliage: If the offset has a lot of long, floppy leaves, you can trim them back by about a third. This reduces water loss and encourages the plant to focus its energy on root development.
- Allow to Callus (Important!): This is a crucial step. Place the separated offsets in a warm, dry, and shaded spot for a few days to a week. You want the cut surface to dry out and form a protective callus. This prevents rot later on.
- Planting the Offset: Once callused, dip the cut end in rooting hormone powder (if using). Then, pot the offset into your well-draining potting mix. Don’t bury it too deeply; just make sure the base is firm in the soil.
- Create a Humid Environment: Water lightly, then cover the pot with a clear plastic bag or place it in a propagator. This will help maintain humidity while the roots establish. Make sure the leaves don’t touch the plastic, as this can encourage rot. Vent occasionally to prevent excessive condensation.
The “Secret Sauce” (Pro Tips)
Here are a few tricks I’ve learned over the years that really help:
- Bottom Heat is Your Friend: If you have access to a heat mat, placing your pots on one can significantly speed up root formation, especially if the ambient temperatures are cooler. It mimics the warmth of spring and summer.
- Don’t Rush the Watering: After planting, it’s tempting to water generously. Resist! Water just enough to moisten the soil, and then wait to water again until the soil starts to feel dry to the touch. Overwatering is the quickest way to kill a new Xanthorrhoea offset.
- Patience is a Virtue: These plants are slow growers. Don’t expect to see them thriving overnight. It can take several months for noticeable root development. Trust the process!
Aftercare & Troubleshooting
Once your Xanthorrhoea starts to show signs of new growth, usually a tiny new crown appearing, you’re on the right track! Slowly acclimatize the new plant to normal room humidity by gradually opening the plastic bag or propagator over a week or two. Continue to water sparingly, allowing the soil to dry out between waterings.
The most common problem you’ll face is rot. If you notice the stem turning mushy, black, or smelling foul, it’s a sure sign of rot, usually caused by too much moisture. Unfortunately, once rot sets in, it’s very difficult, if not impossible, to save the cutting. This is why the callusing step and careful watering are so vital. Other signs of struggle might be wilting leaves or no new growth after a long period. Don’t panic; sometimes it just takes them a really long time.
A Little Encouragement to Finish
Propagating Xanthorrhoea johnsonii is a journey, not a race. It requires a bit of patience and a gentle hand, but the reward of nurturing one of these iconic plants from its beginnings is immense. So, be patient, observe your cuttings closely, and enjoy the quiet satisfaction of watching your new Grass Tree take root. Happy gardening!
Resource:
https://identify.plantnet.org/k-world-flora/species/Xanthorrhoea%20johnsonii%20A.T.Lee/data