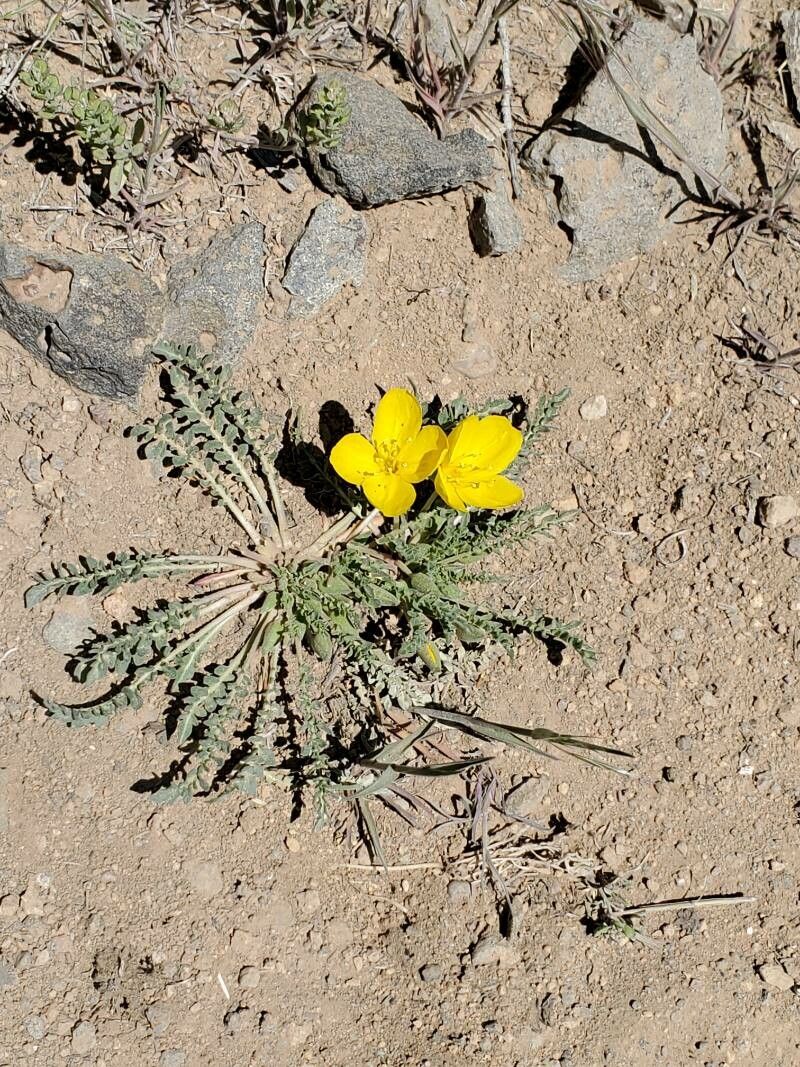
Hey there, fellow garden enthusiasts! I’m so excited to chat with you today about a plant that truly brings a smile to my face: Oenothera primiveris, or Evening Primrose. If you’ve ever seen those gorgeous, sun-yellow blossoms unfurl as the day cools, you know exactly what I mean. They have this wonderful, almost magical way of brightening up a garden.
Propagating these beauties is incredibly rewarding. It’s like giving the gift of a garden friend to yourself, and even to others! And if you’re wondering about your skill level, I’m happy to report that Oenothera primiveris is a fantastic plant for beginners to try propagating. You’ll likely have great success!
The Best Time to Start
Generally, the late spring or early summer is your golden window for propagating Evening Primrose. Wait until the plant has finished its main flush of blooms and is actively growing. You’ll see new, healthy shoots emerging, and that’s when they’re full of youthful vigor, ready to take root.
Supplies You’ll Need
Here’s a little list of what you’ll want to have on hand:
- Sharp, clean pruning shears or a sharp knife: To make clean cuts.
- Small pots or trays: With drainage holes, of course!
- Well-draining potting mix: I like a blend of regular potting soil with a good amount of perlite or coarse sand mixed in. This is crucial to prevent waterlogging.
- Rooting hormone (optional, but helpful): A powder or gel can give your cuttings a nice boost.
- Watering can or spray bottle: For gentle watering.
- Plastic bag or small propagator: To create a humid environment.
Propagation Methods
Tonight, we’ll focus on the easiest and most reliable ways to get new Evening Primrose plants:
Stem Cuttings
This is my go-to method for Oenothera primiveris.
- Take your cuttings: Select a healthy, non-flowering stem that’s about 4-6 inches long. Using your clean shears, make a cut just below a leaf node (the point where a leaf attaches to the stem). Removed any lower leaves. You want to have about 2-3 leaf nodes remaining on the cutting.
- Prepare the cutting: If you’re using rooting hormone, dip the cut end into the powder or gel. Gently tap off any excess.
- Pot them up: Fill your small pots with your well-draining mix. Make a small hole in the center with your finger or a pencil.
- Insert the cuttings: Gently place the prepared cutting into the hole, ensuring at least one leaf node is buried beneath the soil surface. Firm the soil gently around the stem.
- Water and cover: Water the potting mix thoroughly but gently. Now, cover the pot with a clear plastic bag or place it in a propagator. This creates a mini-greenhouse effect, keeping the humidity high, which is vital for successful rooting.
Division
If your Evening Primrose has grown into a nice clump, division is a simple and effective way to get more plants.
- Dig up the plant: In the spring or fall, carefully dig up the entire plant, trying to get as much of the root ball as possible.
- Separate the divisions: Gently shake off some of the excess soil. You should be able to see natural divisions in the root ball and stems. Use your hands or a clean trowel to carefully pull or cut the clump apart into several smaller sections. Make sure each division has healthy roots and at least a few good stems.
- Replant: Immediately replant the divisions in well-prepared soil, either in the ground or in pots, just as you would a mature plant. Water them in well.
The “Secret Sauce” (Pro Tips)
Here are a couple of things I’ve learned that really help:
- Don’t let the leaves touch the water (if water propagating): While stem cuttings are best in soil for this particular plant, if you ever experiment with water propagation for other plants, remember this! Leaves sitting in water will rot, not root. Keep them above the waterline. For my Oenothera primiveris soil cuttings, this translates to ensuring the soil is moist, not waterlogged.
- Bottom warmth is your friend: Evening Primrose cuttings love a bit of warmth from below. If you have a heat mat designed for seedlings, pop your pots on it. It genuinely speeds up root development. If you don’t have one, a sunny windowsill that isn’t getting scorched will do.
Aftercare & Troubleshooting
Once roots have formed (and you can gently tug on a cutting to feel resistance, or you might see new leaf growth), it’s time for a little TLC.
- Gradually acclimatize: Slowly introduce your new plants to the open air by removing the plastic bag for increasing periods each day. This helps them adjust to lower humidity.
- Consistent moisture: Keep the soil consistently moist but not soggy. Overwatering is the quickest way to invite rot, which will show up as mushy, discolored stems.
- Light: Once rooted, they’ll appreciate bright, indirect light. As they get stronger, you can move them to a sunnier spot.
A Little Encouraging Word
Don’t fret if your first attempt isn’t a showstopper! Gardening is all about learning and adapting. Be patient with your new little plants, give them a bit of loving care, and I have a feeling you’ll be enjoying the cheerful blooms of your own propagated Evening Primrose in no time. Happy gardening!
Resource:
https://identify.plantnet.org/k-world-flora/species/Oenothera%20primiveris%20A.Gray/data