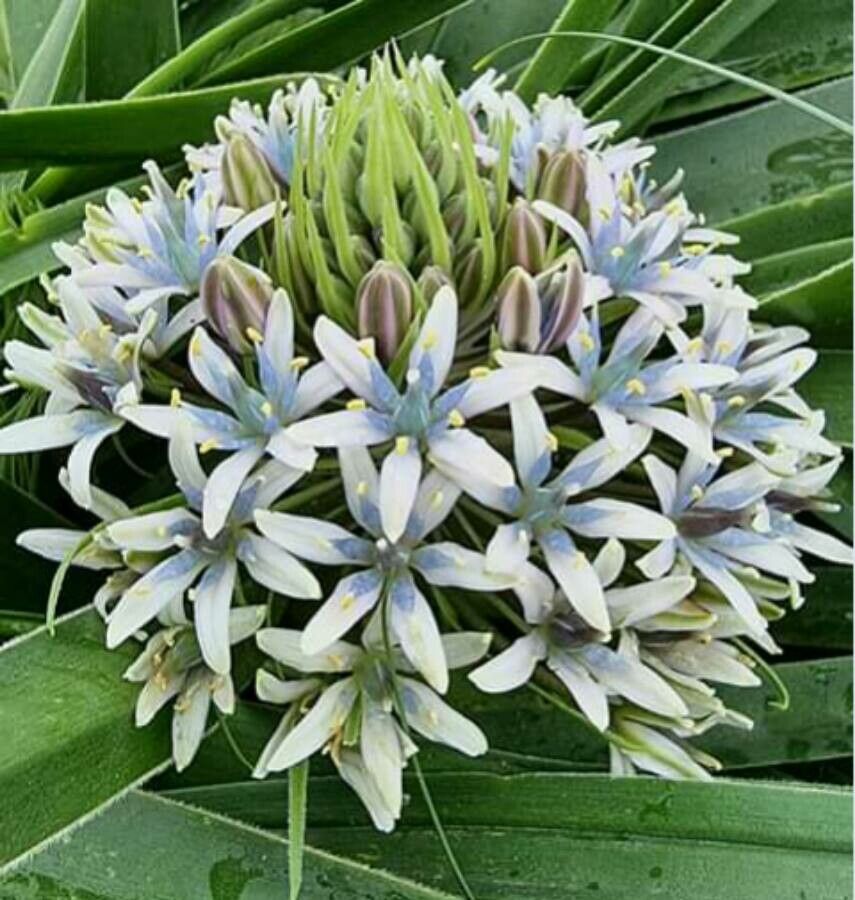
Oh, hello there! Grab a mug of your favorite brew, and let’s talk about a little gem that brings such joy to the garden: Scilla dimartinoi. If you’ve ever seen these delicate blue beauties gracing a shady nook or naturalized in a woodland setting, you’ve probably fallen a little bit in love. And the best part? You can easily multiply that magic yourself! For newcomers to the gardening scene, I’d say Scilla dimartinoi is a wonderfully welcoming plant to start with when it comes to propagation. It’s forgiving and shows you its progress quite clearly.
The Best Time to Start Your Scilla Journey
The absolute sweet spot for propagating Scilla dimartinoi is right after they finish blooming. This usually happens in late spring or early summer. The plant has just put all its energy into those lovely flowers, and now it’s gearing up for its vegetative growth phase. This is when it’s most robust and ready to put energy into creating new roots. You can also divide them while they are dormant in the fall, but for the most vigorous results, aim for that post-bloom window.
Supplies You’ll Need for Propagation
Before we get our hands dirty, let’s gather our tools. You won’t need anything too fancy, thankfully!
- Small Pots or Trays: Terracotta pots are lovely, but plastic ones work perfectly well too. Make sure they have good drainage holes.
- Well-Draining Potting Mix: I like to use a blend of seedling starter mix with a good amount of perlite or coarse sand mixed in. This prevents waterlogging, which is a Scilla’s worst enemy.
- Sharp Pruning Shears or a Knife: Cleanliness is key here to prevent disease.
- Watering Can with a Fine Rose: Gentle watering is essential for delicate seedlings.
- Labels and a Marker: Don’t skip this! Trust me, you will forget what you planted where.
- Optional: Rooting Hormone: While not strictly necessary for Scilla dimartinoi, a dab can sometimes give an extra boost, especially if you’re feeling a bit nervous.
Propagation Methods: Let’s Get Growing!
Scilla dimartinoi is most easily propagated through division. These plants naturally form clumps, and separating them is straightforward and effective.
-
Gentle Excavation: Wait until the foliage has started to yellow and die back after flowering. This signals that the bulb is entering dormancy. Gently dig around the clump with your trowel or spade. You want to lift the entire root ball, being careful not to damage the bulbs.
-
Clean Off the Soil: Once you have the clump out, gently brush away as much of the soil as you can. You’ll see the main bulb and likely several smaller offsets or bulblets attached to it.
-
The Moment of Separation: This is the fun part! Carefully pull apart the offsets from the main bulb. If they are tightly attached, use your clean pruning shears or knife to make a clean cut. Each offset, even if it looks quite small, should have a small root or the potential to grow one.
-
Pot Them Up: Fill your small pots with your well-draining potting mix. Make a small divot in the center of the soil for each offset. Plant the bulblets so that the top of the bulb is just at or slightly below the soil surface. Don’t plant them too deep!
-
Water Gently: Give them a good, gentle watering. You want the soil to be moist but not soggy.
The “Secret Sauce”: Insider Tips for Success
Here are a few little tricks I’ve picked up over the years that will give your Scilla propagation a real edge.
- Don’t Crowd Your Offsets: When you’re planting the divided bulblets, give them a little bit of breathing room. Packing them too tightly can lead to competition for resources and increase the risk of fungal issues. Think of it as giving each new plant its own personal space to thrive.
- Embrace the Dormancy: This is crucial. If you try to divide and plant when the foliage is still bright green and actively growing, you’ll likely stress the plant and have lower success rates. Patience is truly a virtue here. Waiting until that natural dieback period is key to a happy transplant.
- A Little Shade Goes a Long Way: Once you’ve potted up your divisions, don’t stick them out in the full sun. Place them in a partially shaded spot. They’ll appreciate a bit of a reprieve while they settle in and establish their roots. I often place them under a larger shrub or on a porch that gets dappled light.
Aftercare & Troubleshooting: Nurturing Your New Arrivals
Once your Scilla divisions are potted, give them consistent, light watering. The soil should be kept slightly moist, but never waterlogged. Overwatering is the most common mistake and can lead to rot, which is the biggest sign of failure. You’ll know they’re happy when you start to see fresh green shoots emerge from the soil – usually within a few weeks, but sometimes it can take a bit longer if they’re still settling in.
If you see any yellowing or wilting that isn’t the natural dieback of the foliage from the previous season, it could be a sign of too much or too little water. Check the soil moisture carefully. If the bulbs feel soft or mushy, rot has likely set in. Unfortunately, there’s not much you can do once this happens, but don’t despair! Just try again next year.
A Little Patience, A Lot of Beauty
Propagating Scilla dimartinoi is a wonderfully rewarding process. It’s like giving the gift of future blooms to yourself and even to friends who admire your garden. Be patient with your new divisions; they might take a season to really impress you with their bloom power, but the joy of watching them grow from what were once tiny bulblets is truly special. Happy gardening!
Resource:
https://identify.plantnet.org/k-world-flora/species/Scilla%20dimartinoi%20Brullo%20&%20Pavone/data