Hello there, fellow plant enthusiasts! It’s so lovely to sit down with you today, coffee in hand, to talk about a plant that truly brings a smile to my face: the delightful Geranium donianum.
The Charm of Geranium donianum and Why You Should Propagate It
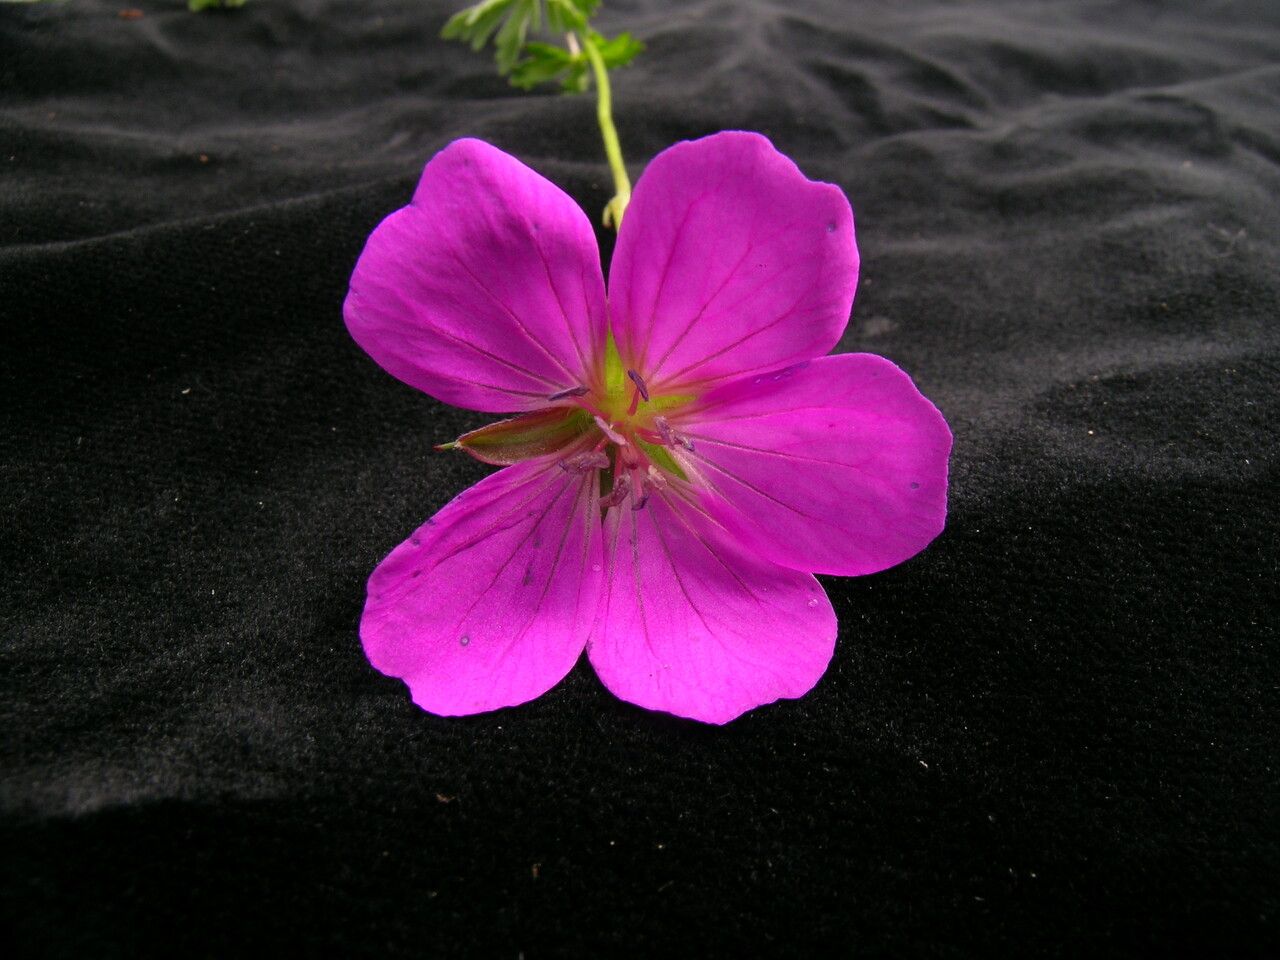
I’ve been growing these little beauties for two decades, and honestly, their delicate, often fragrant blooms and charming foliage never cease to amaze me. Geranium donianum brings this ethereal, almost wild charm to any garden, and multiplying them to share or fill out your own space is incredibly rewarding. For those of you just dipping your toes into the world of plant propagation, I’m happy to tell you that Geranium donianum is quite forgiving. You’ll find it a very accessible plant to practice your skills on!
The Best Time to Start is Spring!
When it comes to getting the best results, spring is absolutely your golden ticket. As the soil warms up and the plants themselves are bursting with new growth, they have the energy to dedicate to developing roots. Aim for a time when you’re seeing new, healthy shoots emerge from your established plant. Avoid propagating when the plant is stressed, maybe due to extreme heat or during its peak flowering time, as it can divert too much energy.
Supplies You’ll Need
Here’s your handy checklist to gather before we get our hands dirty:
- Sharp pruning shears or a clean knife: Essential for clean cuts, which helps prevent disease.
- Small pots or seed trays: Whatever you have that provides drainage.
- Well-draining potting mix: A good blend of peat moss or coco coir with perlite or coarse sand is perfect. You can even buy a “seed starting mix.”
- Rooting hormone (optional but recommended): For an extra boost, especially if you’re a beginner.
- Spray bottle: For gentle misting.
- Plastic bag or propagator lid: To create a humid microclimate.
Propagation Methods: Making More Geraniums!
Geranium donianum is a champ when it comes to propagation through stem cuttings. It’s straightforward and yields fantastic results.
- Select Your Material: On a healthy, non-flowering stem, look for a piece that has at least two or three sets of leaves. Gently pinch or cut this section from the parent plant, making the cut just below a leaf node (where a leaf attaches to the stem).
- Prepare the Cuttings: Remove the lower leaves, leaving just the top one or two. If the remaining leaves are very large, you can cut them in half horizontally to reduce water loss. If you’re using rooting hormone, dip the cut end into it now, tapping off any excess.
- Plant Them Up: Fill your small pots with damp potting mix. Make a small hole with a pencil or your finger and gently insert the cutting, ensuring the leaf nodes are buried. Firm the soil gently around the stem.
- Create a Humid Environment: Water the soil lightly with your spray bottle. Then, cover the pots with a plastic bag (make sure it doesn’t touch the leaves if possible!) or place them in a propagator. This humidity is key!
The “Secret Sauce” (Pro Tips from My Garden)
- Don’t Douse Them: While humidity is important, don’t let the soil become waterlogged. Overwatering at this stage is the quickest way to invite rot. I like to check the soil moisture daily and only mist when the surface feels dry.
- Bottom Heat is Your Friend: If you have an old heating mat that you use for seedlings, consider placing your pots on it. Gentle bottom heat can significantly speed up root development. Just be sure it’s not too hot – lukewarm is perfect.
- Patience with the Leaves: Sometimes, the leaves might look a bit sad or droopy initially. This is normal as the cutting works to establish itself. Resist the urge to overwater and trust the process. They often perk up once roots begin to form.
Aftercare & Troubleshooting
Once roots have formed (you’ll usually see new leaf growth as a good sign, or you can gently tug the cutting and feel resistance), it’s time to introduce them to the world!
- Acclimatize: Gradually remove the plastic covering over a few days to allow the new plant to adjust to normal humidity.
- Potting Up: Once you have a good root system, you can pot them into slightly larger containers with fresh, regular potting mix. Keep them in a bright spot, but out of direct, scorching sun for a week or two.
- Common Issues: The biggest culprit for failure is rot. If your cuttings turn mushy, black, or simply don’t root and start to collapse, it’s usually a sign of too much moisture and not enough air circulation. Sometimes, pests like fungus gnats can be an issue if the soil stays too damp; a gentle drying out of the top layer can help.
Happy Propagating!
So there you have it – a simple way to multiply your beloved Geranium donianum. Remember, gardening is a journey, and propagation is a wonderful part of that. Be patient with yourself and your little green babies. Enjoy the process of coaxing new life from a single stem, and soon you’ll have a garden bursting with these delightful blooms! Happy growing!
Resource:
https://identify.plantnet.org/k-world-flora/species/Geranium%20donianum%20Sweet/data