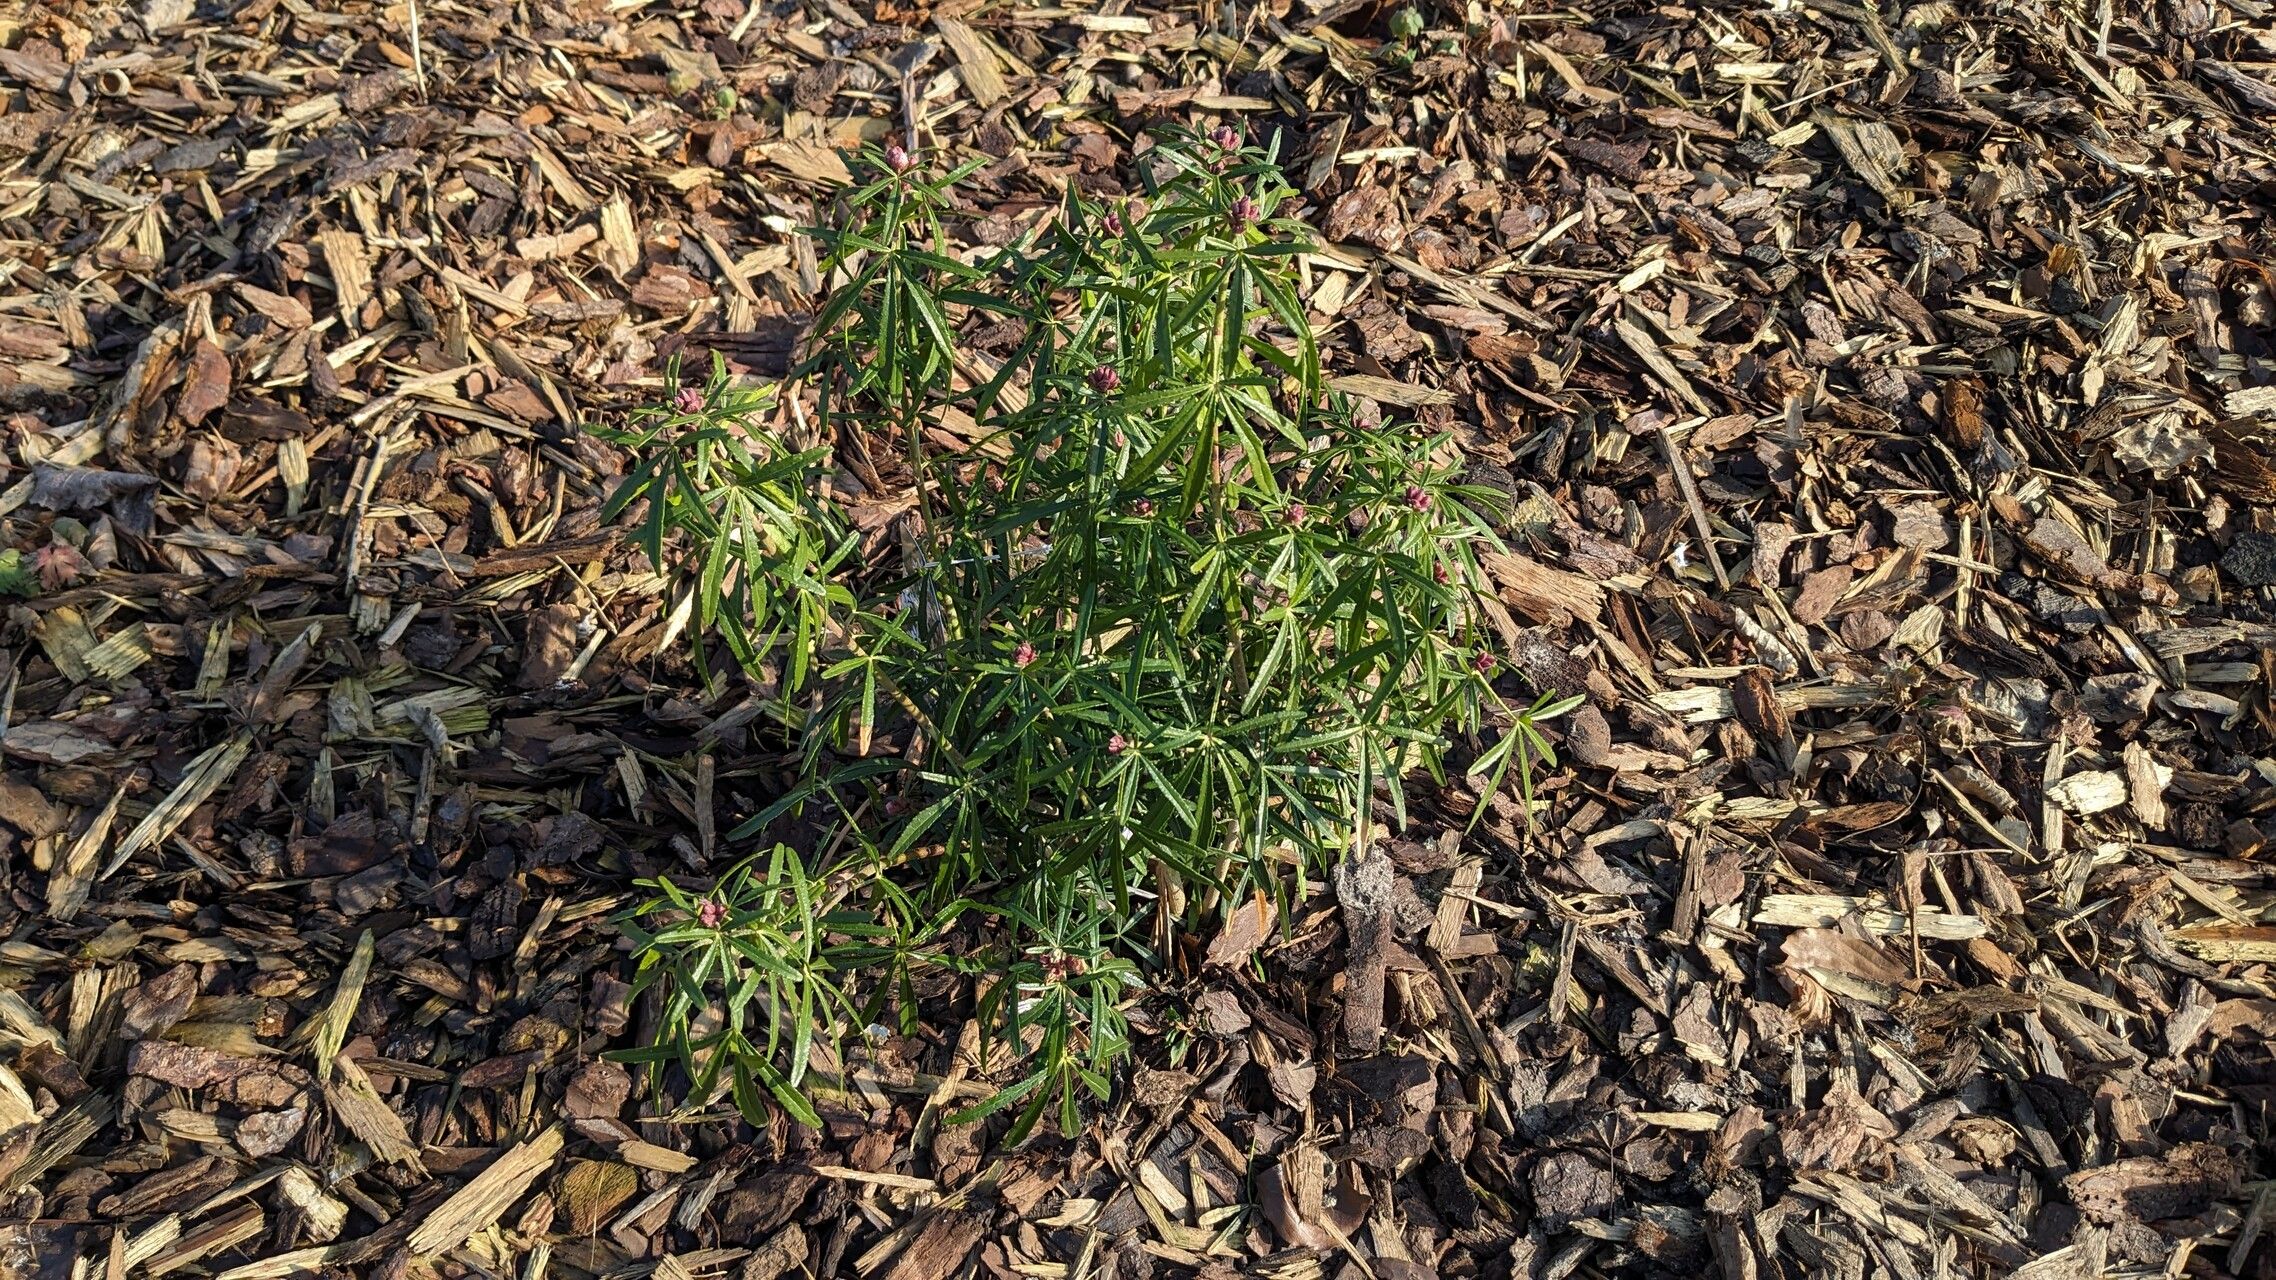
Hello there, fellow plant lovers! If you’ve ever admired the glossy, deep green leaves and the sweet, citrusy fragrance of a Choisya dumosa (sometimes called Mexican Mock Orange), you’re not alone. This beauty is a garden gem, offering year-round appeal with its attractive foliage and delightful spring blooms. And the best part? It’s surprisingly satisfying to create more of these lovely plants from your existing ones! For those of you just dipping your toes into the world of propagation, I’m happy to tell you that Choisya dumosa is a wonderfully accessible plant to start with. You’ll find yourself with a whole new collection before you know it.
The Best Time to Start
When it comes to getting the most bang for your propagation buck, I find that late spring to early summer is absolutely golden. This is when the plant is actively growing, and the new shoots have just started to mature a bit – they’re not too soft and floppy, but not too woody either. Think of them as being just right, like Goldilocks’ porridge. This growth stage gives them the best chance to develop roots quickly.
Supplies You’ll Need
Gathering your supplies before you begin makes the whole process so much smoother. Here’s what you’ll want to have on hand:
- Sharp Pruning Shears or a Craft Knife: For clean cuts, which are crucial.
- Rooting Hormone (Optional but Recommended): A little boost can really help things along. I prefer powder forms for ease of use.
- Potting Mix: A good, well-draining mix is key. I like to use a blend of perlite and peat moss or a specialized seed starting mix.
- Small Pots or Trays: Clean pots are a must to prevent disease.
- Plastic Bags or a Mini Greenhouse: To create a humid environment.
- Spray Bottle: For misting.
- Labels: To keep track of your efforts!
Propagation Methods: Stem Cuttings
This is my go-to method for Choisya, and it’s quite straightforward.
- Take Your Cuttings: Head out to your mature Choisya plant. Look for those non-flowering, semi-hardwood shoots I mentioned. You want to take cuttings that are about 4-6 inches long. Make a clean cut just below a leaf node (the spot where a leaf attaches to the stem).
- Prepare the Cuttings: Gently remove the lower leaves from your cuttings, leaving only the top 2-3 leaves. This stops them from rotting when buried in the soil. If your leaves are quite large, you can even cut them in half to reduce water loss.
- Dip in Rooting Hormone (Optional): If you’re using rooting hormone, dip the cut end of each stem into the powder, tapping off any excess.
- Plant Your Cuttings: Fill your small pots or trays with your prepared potting mix. Make a pilot hole with a pencil or your finger, then insert the cutting, firming the soil gently around it.
- Water and Cover: Water the soil thoroughly but gently. Then, cover the pots with a plastic bag or place them in a mini greenhouse. This traps humidity, which is vital for cuttings to root. Ensure the leaves aren’t touching the plastic if possible by propping it up a bit.
The “Secret Sauce” (Pro Tips)
Here are a couple of little tricks that have served me well over the years. They’re not complicated, but they make a difference!
- Cleanliness is Next to Godliness: Seriously, sterilize your pruners before you start, and make sure your pots are sparkling clean. Fungal infections can be the enemy of new cuttings, and a bit of sanitation goes a long way to prevent them.
- Bottom Heat is Your Friend: If you have a propagator with a heating mat, or even just a warm windowsill that gets consistent warmth, providing bottom heat can significantly speed up root formation. It encourages the roots to grow more vigorously.
Aftercare & Troubleshooting
Once your cuttings are planted, they need a little attention. Keep them in a bright spot, but out of direct, harsh sunlight. Misting them occasionally can help maintain humidity, but the plastic cover should do most of the work.
You’ll know your Choisya cuttings are rooting when you see new leaf growth. This usually takes anywhere from 4-8 weeks, sometimes longer. Gently tugging on a cutting is not a good test here; you’ll likely disturb any developing roots. Instead, watch for that tell-tale sign of new life.
The most common issue you might encounter is rot. If you see your cuttings turn mushy or develop black spots, it’s usually a sign of too much moisture and not enough air circulation. In this case, you might need to remove the affected cuttings and ensure your soil is draining well, and perhaps increase ventilation slightly.
Happy Propagating!
There you have it! Propagating Choisya dumosa is a rewarding journey, and with a little patience, you’ll soon be enjoying your own little clonal army of these fragrant, beautiful shrubs. Don’t get discouraged if you have a few failures along the way – it’s all part of the learning process. Just celebrate your successes and keep those hands in the dirt!
Resource: