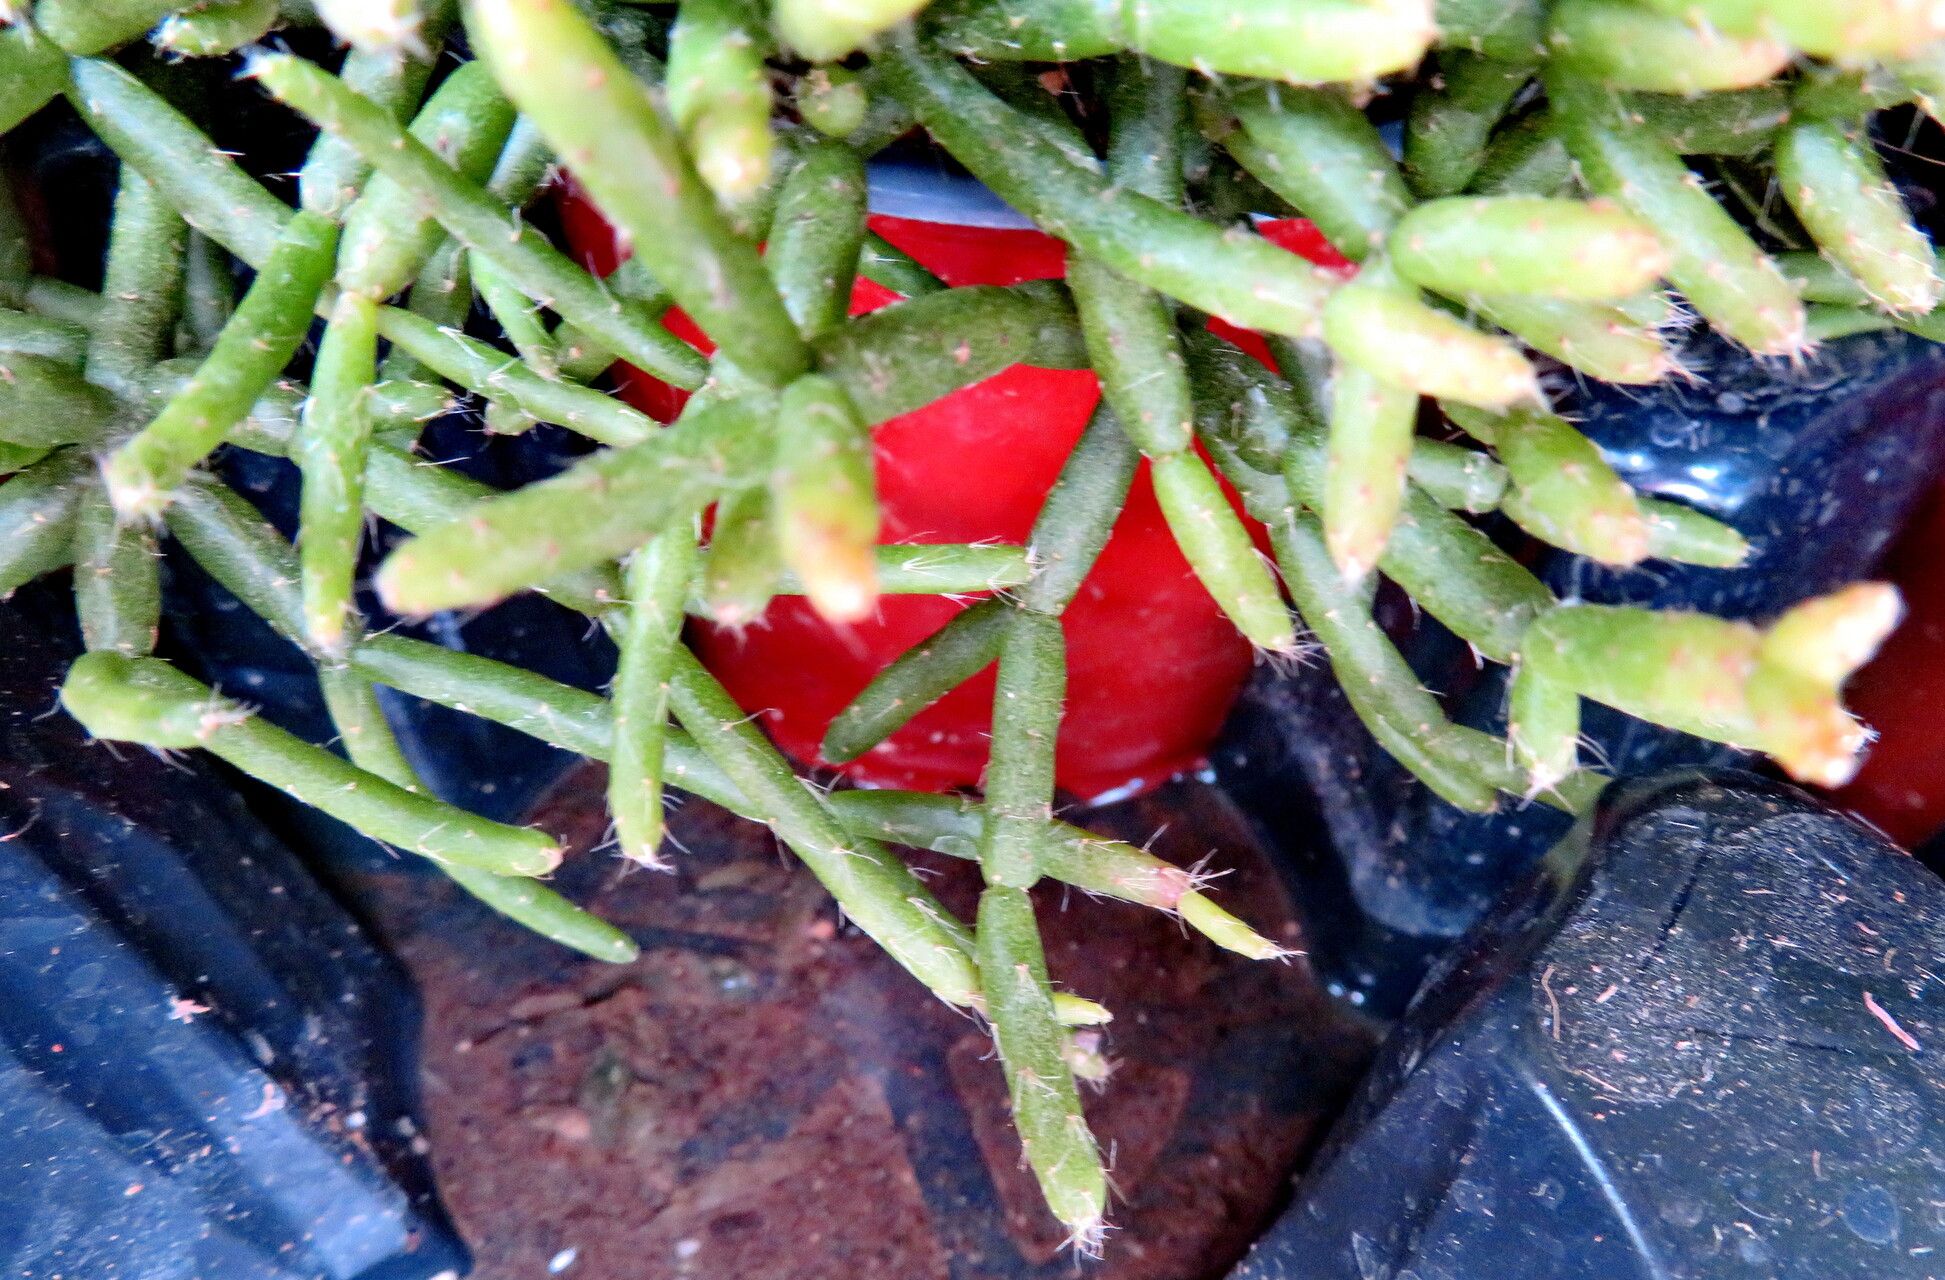
Hello there, fellow plant lover! If you’ve ever admired the wispy, cascading beauty of a Rhipsalis burchellii, you’re not alone. Those trailing stems adorned with tiny, almost ethereal flowers are just delightful. And guess what? Getting more of these beauties for yourself is surprisingly achievable! Propagating them has always been a favorite pastime of mine, a little bit of magic that lets you multiply the joy. While not as tricky as some of the more finicky jungle dwellers, Rhipsalis burchellii is a wonderfully rewarding plant for beginners to try their hand at propagation. You’ll be amazed at how easily you can grow a whole new cascade of this lovely plant.
The Best Time to Start
For Rhipsalis burchellii, spring and early summer are your golden ticket. This is when the plant is actively growing and has the most energy to put into developing new roots. You’ll want to take cuttings from healthy, mature stems that are firm and not too soft or floppy. Think of it as harvesting from a thriving garden – the vitality is just there.
Supplies You’ll Need
Gathering your tools before you begin makes the whole process smooth sailing. Here’s what I usually have on hand:
- Sharp, clean pruning shears or a sharp knife: This is crucial for making clean cuts to prevent disease.
- Well-draining potting mix: A blend for cacti and succulents works perfectly, or you can mix your own with equal parts perlite and peat moss or coco coir. Good drainage is paramount!
- Small pots or seedling trays: Anything that can hold your cuttings and retain a bit of moisture.
- Rooting hormone (optional but recommended): This can give your cuttings an extra boost in developing roots.
- Watering can or spray bottle: For gently moistening the soil.
- Labels and a marker: So you don’t forget what you planted where!
Propagation Methods
Let’s get our hands dirty! The most straightforward way to propagate Rhipsalis burchellii is through stem cuttings.
- Take Your Cuttings: Using your clean shears or knife, select a healthy stem and make a cut. You’ll want pieces that are at least 4-6 inches long. Don’t be afraid to take a few – sometimes not every single one takes, and it’s always good to have backups!
- Prepare the Cuttings: Gently remove any leaves from the bottom inch or so of each cutting. This prevents them from rotting when they are in the soil or water.
- Callousing (Important Step!): This is a key step for success! Let your cuttings air dry for a day or two, or even a bit longer. You want the cut end to form a dry callus. This “scab” helps prevent rot when you plant them.
- Rooting Hormone (Optional): If you’re using rooting hormone, dip the calloused end of the cutting into it. Tap off any excess.
- Planting Your Cuttings: Fill your small pots with your well-draining potting mix. Make a small hole in the center with your finger or a pencil. Gently insert the calloused end of the cutting into the hole, ensuring it’s snug. Firm the soil gently around the base. You can place several cuttings in one pot, just make sure they have a little space between them.
Water Propagation Option: Some folks love water propagation for Rhipsalis. After callousing, simply place the cuttings in a jar of water, making sure no leaves are submerged. You’ll want to change the water every few days. Once roots are about an inch long, you can then plant them in soil.
The “Secret Sauce” (Pro Tips)
Over the years, I’ve learned a few little tricks that make a big difference.
- Bottom Heat is Your Friend: If you have a heat mat, placing your pots on it can significantly speed up root development. These tropical beauties love a little warmth from below.
- Don’t Overwater! This is probably the most common mistake. Your cuttings need moisture, but not soggy feet. Let the soil dry out slightly between waterings. It’s better to err on the side of too dry than too wet when propagating.
- Humidity Helps: While you don’t want them sitting in a puddle, a bit of humidity can be beneficial, especially in drier climates. You can achieve this by lightly misting the air around the cuttings or placing the pots in a clear plastic bag with a few air holes, but be sure to open it daily for ventilation to prevent mold.
Aftercare & Troubleshooting
Once your cuttings have been in the soil for a few weeks, give them a gentle tug. If you feel resistance, congratulations! Roots are forming!
- Watering: Continue to water sparingly, only when the top inch or so of soil feels dry.
- Light: Place your new plants in bright, indirect light. Avoid direct sun, which can scorch their delicate new growth.
- Repotting: Once the plant is visibly growing and well-rooted, you can transplant it into a slightly larger pot if needed.
The most common sign of trouble is rot. If a cutting turns mushy, black, or develops a foul smell, it’s a sign of too much moisture and potentially a lack of callousing. Unfortunately, a rotted cutting is usually a lost cause, but remember, you have backups! Try to figure out what went wrong – was the soil too wet? Was the cut not allowed to callus properly? Learning from these little setbacks is part of the gardener’s journey.
A Welcoming Future
Propagating Rhipsalis burchellii really is a wonderful way to connect with your plants and expand your collection. Be patient; root development can take time, sometimes weeks or even months. But the thrill when you see that first new growth emerge is just immense, isn’t it? Enjoy the process, learn from each step, and before you know it, you’ll have a whole jungle of these charming plants to share and admire. Happy propagating!
Resource:
https://identify.plantnet.org/k-world-flora/species/Rhipsalis%20burchellii%20Britton%20&%20Rose/data