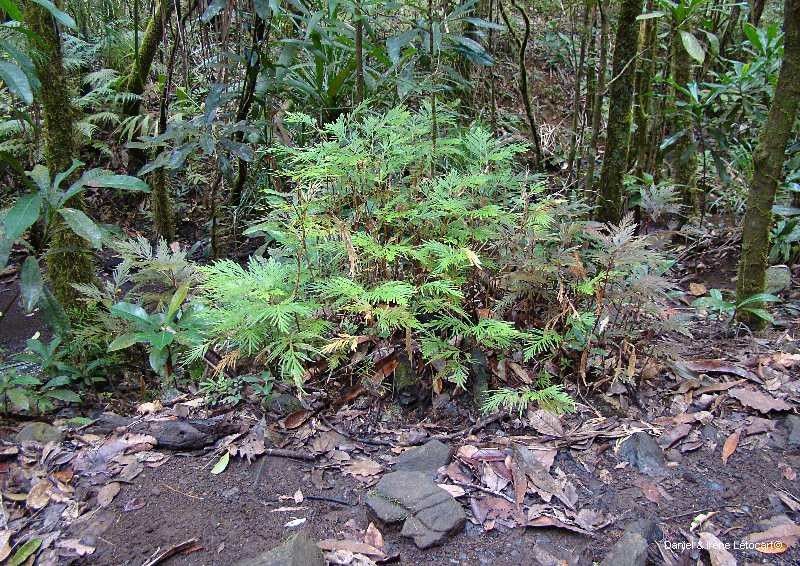
Oh, hello there! Come on in, make yourself comfortable. I’ve got a fresh cup of coffee brewing. Today, we’re going to chat about a truly captivating plant: Selaginella megastachya. If you’ve ever admired those intricate, almost fern-like trails, you know what I mean. They bring such a unique texture and vibrancy to any shaded corner, whether it’s in a terrarium or a damp garden spot. And the best part? You can easily create more of these little wonders yourself! It’s incredibly rewarding to watch a tiny cutting transform into a lush plant. For those just starting out, Selaginella megastachya is surprisingly forgiving, making it a fantastic choice for a first propagation adventure.
The Best Time to Start
When it comes to most tropical plants like our Selaginella, spring and early summer are your golden ticket. This is when the plant is actively growing, full of energy, and ready to bounce back. You’ll find the cuttings are more vigorous and have a much better chance of rooting quickly. Avoid trying to propagate during dormancy or when the plant is stressed, like during a harsh heatwave.
Supplies You’ll Need
Gathering your tools before you begin makes the whole process run so much smoother. Here’s what you’ll want on hand:
- Sharp pruning shears or a clean knife: For making precise cuts.
- Well-draining potting mix: A blend of peat moss, perlite, and a bit of coco coir works wonderfully. You want something that holds moisture but doesn’t get waterlogged.
- Small pots or seedling trays: With drainage holes, of course!
- Rooting hormone (optional but helpful): Especially for cuttings.
- A spray bottle filled with water: For misting.
- A clear plastic bag or a propagation dome: To create a humid environment.
- Worm castings or a balanced liquid fertilizer (diluted): For later.
Propagation Methods
There are a couple of tried-and-true ways to multiply your Selaginella megastachya. I find stem cuttings to be the most reliable, so let’s start there.
Stem Cuttings
- Take your cuttings: Gently select healthy, non-flowering stems that are at least a few inches long. Using your clean shears, make a clean cut just below a leaf node. A leaf node is where a leaf meets the stem; this is where new roots will emerge.
- Prepare the cuttings: Carefully remove the lower leaves from the bottom inch or so of the cutting. If you’re using rooting hormone, dip the cut end into the powder or gel, tapping off any excess.
- Planting: Fill your small pots or trays with your prepared potting mix. You can make a small hole with your finger or a pencil. Gently insert the cut end of the cutting into the hole, ensuring at least one leaf node is buried. Firm the soil gently around the stem.
- Create humidity: Lightly water the soil until it’s moist but not soggy. Then, cover the pot with a clear plastic bag or a propagation dome. This creates a microclimate that keeps the cuttings from drying out.
Water Propagation
While I prefer soil propagation for Selaginella megastachya, you can try water to see how it goes.
- Prepare your cuttings: Follow steps 1 and 2 from the stem cutting method.
- Place in water: Put the cuttings in a small glass or jar filled with clean, room-temperature water. Make sure the leaf nodes you removed are submerged, but try to keep the remaining leaves out of the water.
- Change water regularly: Change the water every few days to keep it fresh and prevent bacterial growth.
The “Secret Sauce” (Pro Tips)
Here are a few things I’ve learned over the years that can really boost your success:
- Warmth is key: Selaginella megastachya loves a bit of warmth. If your room is a bit chilly, consider placing your cuttings on a heat mat designed for seedlings. This gentle bottom heat encourages faster root development.
- Don’t let them dry out, but don’t drown them: This is a delicate balance. Check the moisture of the soil daily by gently poking your finger in. If the top inch feels dry, give it a light mist or a gentle watering. The humidity from the bag should help a lot.
- Substrate matters: For Selaginella, a lighter, airier soil mix is crucial. If your mix is too heavy, the delicate root systems can struggle. I like adding a good amount of perlite or pumice to my base mix.
Aftercare & Troubleshooting
Once you start seeing tiny roots peeking out of the drainage holes or new growth on your cuttings, congratulations! You’re on your way.
- Gradually reduce humidity: As the new plant establishes, slowly start to acclimate it to lower humidity by opening the plastic bag or dome for longer periods each day.
- Light feeding: Once you see significant new growth, you can start feeding with a weakly diluted liquid fertilizer or a sprinkle of worm castings once a month.
- Signs of trouble: The most common issue is rot, which usually happens when the soil is too wet and there’s not enough air circulation. If you notice your cutting becoming mushy or blackening, sadly, it’s likely too late for that particular one. Yellowing leaves can sometimes indicate too much direct sun, or perhaps the soil is too dry or too wet. Just observe and adjust.
Keep Growing!
Propagating plants is a rewarding journey that teaches us so much about patience and the resilience of nature. Don’t be discouraged if a few cuttings don’t make it – that’s part of the learning process for all of us! Enjoy the satisfaction of creating new life. Happy propagating!
Resource:
https://identify.plantnet.org/k-world-flora/species/Selaginella%20megastachya%20Baker/data