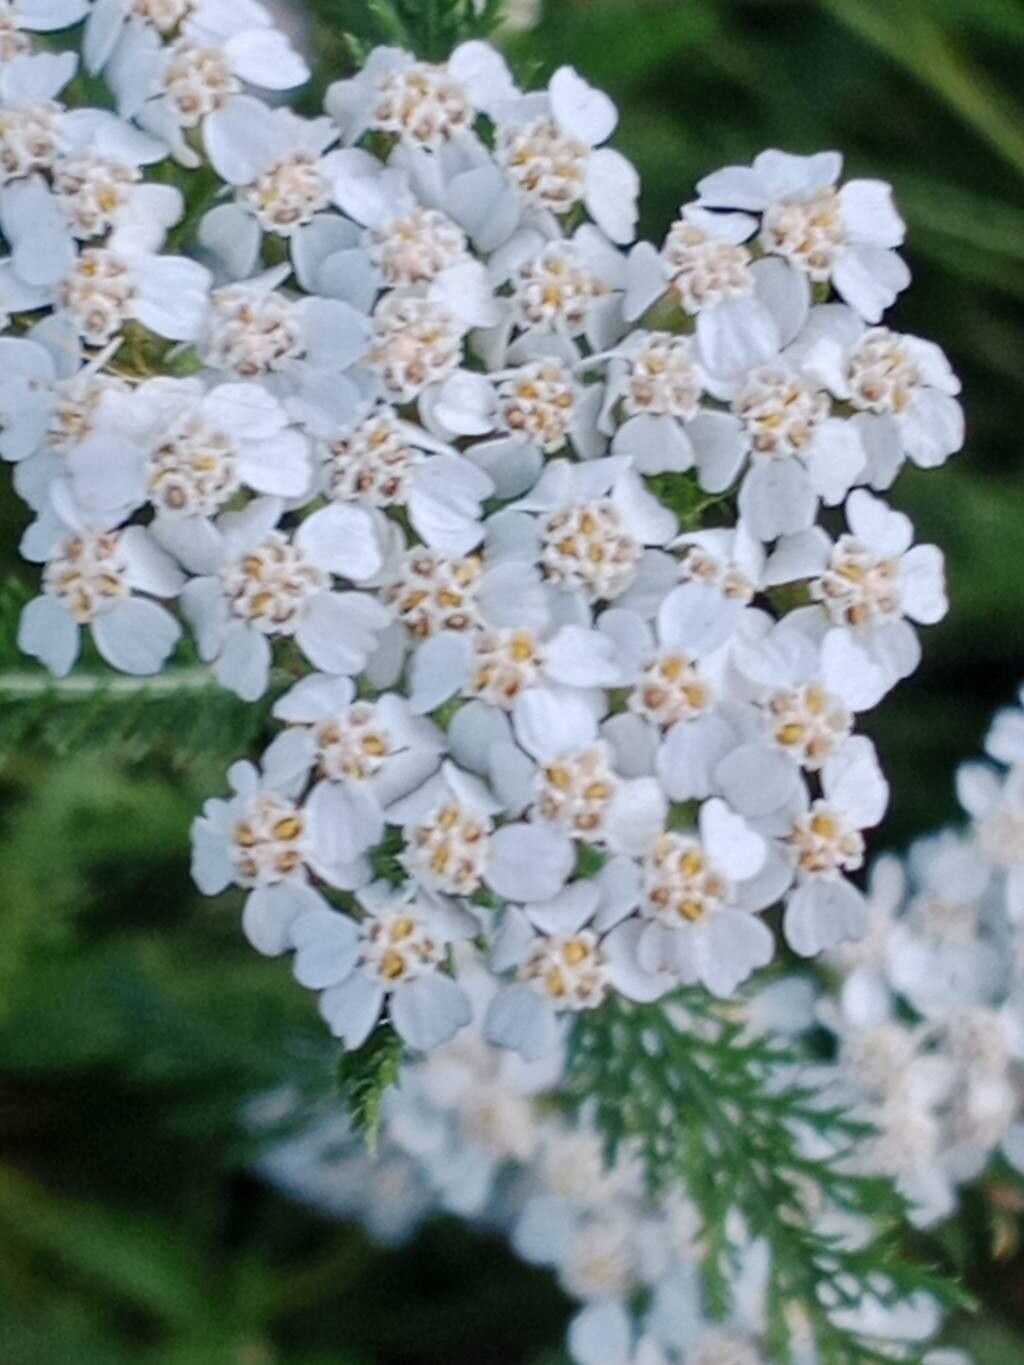
Hello hello, fellow garden enthusiasts! It’s so lovely to connect with you again here. Today, we’re diving into the wonderful world of yarrow, specifically Achillea millefolium. If you’re like me, you adore its feathery foliage and those beautiful, flat-topped flower clusters that dance in the breeze. Yarrow is a garden workhorse – tough, drought-tolerant, and a magnet for pollinators. And the best part? It’s wonderfully easy to propagate, making it a fantastic project for even the newest gardener. Sharing this resilient beauty with friends is such a joy, isn’t it?
The Best Time to Start
For yarrow, the sweet spot for propagation is generally late spring to early summer, right as the plant is in a good flush of growth. You’re looking for healthy, non-flowering stems. Alternatively, early spring is also a great time for division, as the plant is just waking up and has plenty of energy to recover.
Supplies You’ll Need
Here’s what you’ll want to gather to set yourself up for success:
- Sharp pruning shears or a clean knife: For making clean cuts.
- Rooting hormone (optional but recommended): A little boost never hurts!
- Seed starting mix or a well-draining potting mix: Something airy is key.
- Small pots or trays: Cleaned thoroughly, of course.
- Watering can with a fine rose or a spray bottle: Gentle watering is important.
- Plastic bags or a propagation dome: To keep humidity up.
- Labels: So you don’t forget what you planted where!
Propagation Methods
Yarrow is quite obliging, offering a couple of straightforward ways to get new plants.
Stem Cuttings
This is my favorite method for yarrow. It’s quick and you can get quite a few starts from a single healthy plant.
- Take your cuttings: In late spring or early summer, select healthy, non-flowering stems. Using your sharp shears or knife, cut stems that are about 4-6 inches long. Make the cut just below a leaf node (where a leaf attaches to the stem).
- Prepare the cuttings: Gently remove the lower leaves from the stem, leaving only the top few. This prevents them from rotting in the soil. If you’re using rooting hormone, dip the cut end into the powder, tapping off any excess.
- Plant the cuttings: Fill your pots with your well-draining mix. Make small holes with a pencil or your finger. Carefully insert the cuttings into the holes, ensuring the nodes where you removed the leaves are below the soil surface. Gently firm the soil around the stem.
- Create a humid environment: Water the soil lightly. Then, cover the pots with a plastic bag or a propagation lid. This creates a mini greenhouse, keeping the humidity high, which is crucial for root development.
Division
This is best done in early spring or early fall. It’s a fantastic way to rejuvenate an overgrown clump of yarrow and get new plants at the same time.
- Dig up the plant: Gently excavate the entire clump of yarrow from the ground.
- Examine the root ball: Gently shake off excess soil so you can see the divisions.
- Separate the divisions: You can often gently pull apart sections of the root ball by hand. If it’s a bit tough, use your trowel or a clean knife to slice through the roots and stems, ensuring each division has healthy roots and at least a few shoots.
- Replant: Plant each division into your garden or in pots filled with good soil. Make sure they are planted at the same depth they were growing before. Water them in well.
The “Secret Sauce”
Here are a couple of tricks I’ve picked up over the years that really help with yarrow propagation:
- Bottom Heat is Your Friend: While not strictly necessary for yarrow, placing your pots on a gentle heat mat can significantly speed up root development, especially for stem cuttings. A subtle warmth encourages those roots to get going.
- Don’t Overwater, Even in Humidity: It’s a balancing act. You need humidity, but soggy soil is the enemy. If you see condensation beading heavily on the inside of your plastic cover, open it up for a few hours to let it air out and prevent mold or rot.
Aftercare & Troubleshooting
Once your cuttings have rooted (you can usually tell by gently tugging – if there’s resistance, roots are forming!), it’s time for a little more involved care.
Gently remove the plastic cover or dome, gradually acclimatizing your new plants to the drier air. Continue to water them when the top inch of soil feels dry. Once they are well-established and have new growth, you can transplant them into larger pots or their permanent garden spots.
What if things go wrong? The most common issue is rot. This usually happens from overwatering or poor drainage. If you see stem cuttings wilting and turning mushy, or if the soil stays soggy for days, it’s a sign of trouble. Sadly, rotted cuttings are usually beyond saving. Discard infected material and check your watering and soil conditions for your next batch.
Keep Growing!
There you have it – a simple guide to multiplying your yarrow. Patience is key in gardening, and propagating plants is no different. Take joy in the process, celebrate your successes, and don’t be discouraged by the occasional setback. Happy propagating, and enjoy all the beauty your new yarrow plants will bring!
Resource:
https://identify.plantnet.org/k-world-flora/species/Achillea%20millefolium%20L./data