Hello there, fellow plant lovers! I’m so delighted to share a little bit of my garden wisdom with you today. We’re going to talk about a plant that truly captures my heart: the gorgeous Aeonium aureum.
Your Golden Opportunity with Aeonium Aureum
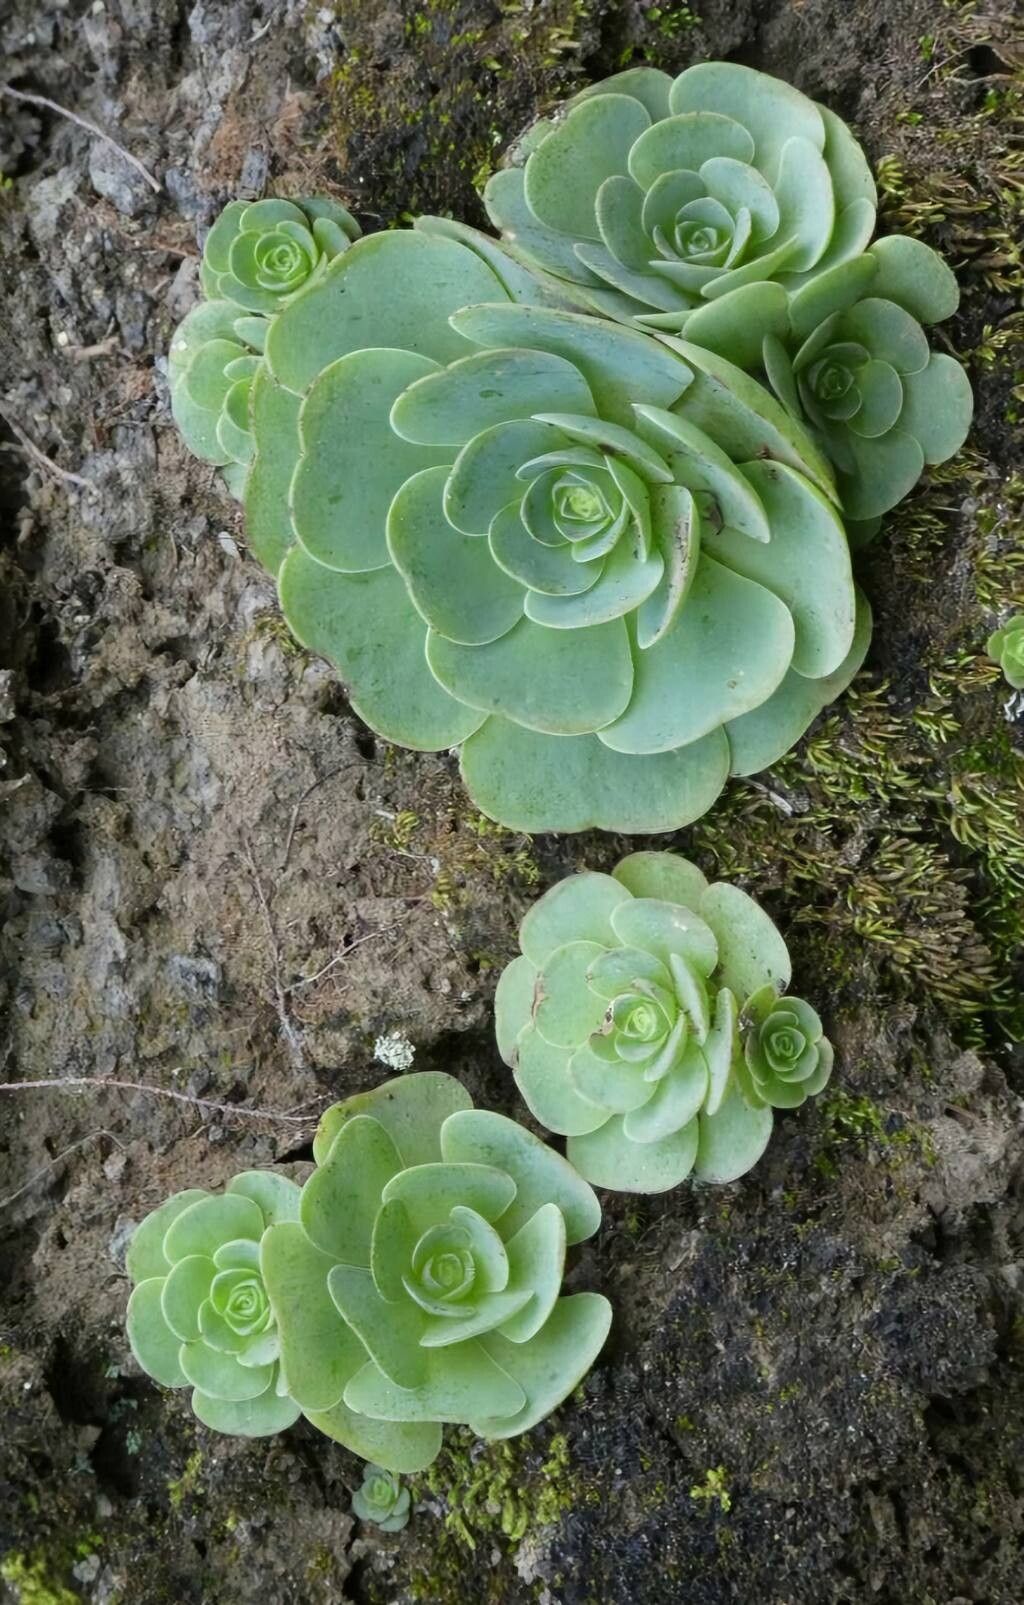
There’s something incredibly captivating about Aeonium aureum, isn’t there? Its rosettes gleam with a beautiful golden hue, especially when kissed by the sun. It’s like bottling sunshine! And the best part? This beauty is surprisingly forgiving, making it a wonderful choice even if you’re just starting your propagation journey. Learning to propagate these is a fantastic way to multiply your happiness and share the sunshine with friends.
When Your Aeonium is Ready to Share
The magic truly happens when your Aeonium is in its prime growing season. For most Aeoniums, including our golden friend, this is spring and early summer. You’ll see them actively producing new growth, and the stems will be firm and ready for a little adventure. Trying to propagate in the heat of summer or the cold of winter can be a bit of a gamble, so aiming for that sweet spot of active growth is key.
Gathering Your Propagation Toolkit
Before we dive in, let’s make sure you have everything you need for a smooth planting operation. Here’s my go-to list:
- Sharp, clean pruning shears or a sterile knife: Essential for making clean cuts.
- Well-draining potting mix: A cactus or succulent mix is perfect. You can also create your own by blending potting soil with perlite or pumice (about a 50/50 ratio).
- Small pots or propagation trays: Anything that can hold your cuttings and the soil.
- Rooting hormone (optional but helpful): This can give your cuttings a little extra boost.
- A spray bottle: For gentle watering.
- A sunny, bright spot: But avoid direct, harsh sunlight initially.
Bringing New Aeoniums to Life: My Favorite Methods
Aeoniums are wonderfully versatile, and I find two methods work particularly well.
1. Stem Cuttings: The most reliable method
This is my tried-and-true technique. Grab your clean shears.
- Find a healthy stem: Look for a stem that’s a few inches long and has several leaves.
- Make a clean cut: Slice right through the stem, just below a leaf node (where a leaf attaches to the stem).
- Remove lower leaves: Gently pull off the bottom couple of leaves. This exposes the part of the stem that will go into the soil and helps prevent rot.
- Let it callus: This is a CRUCIAL step for succulents. Place your cuttings in a dry, airy spot for 2-5 days. You’ll see a dry, protective layer form over the cut end. This prevents the fleshy stem from rotting when it hits moisture.
- Plant it up: Once callused, gently insert the cut end of the stem into your prepared potting mix. If you’re using rooting hormone, dip the callused end into it just before planting.
- Water sparingly: Water the soil very lightly, just enough to moisten it. Don’t drench it!
2. Water Propagation: A visual treat
This method is fun because you can watch the roots grow!
- Prepare your cutting: Follow steps 1-3 from the stem cutting method.
- Place in water: Pop your cutting into a small jar or glass of water. Make sure only the cut end is submerged. The leaves should stay dry.
- Find a bright spot: Place the jar in a bright location, away from direct sun.
- Change water regularly: Refresh the water every few days to keep it clean and prevent any funky smells.
- Watch the magic happen: You’ll start to see tiny roots emerge from the cut end. Once the roots are about an inch long, it’s time to plant!
- Planting after rooting: Carefully transplant your rooted cutting into a pot filled with succulent mix. Water lightly.
My “Secret Sauce” for Stellar Success
Over the years, I’ve learned a few tricks that seem to make all the difference.
- The “Air Dry” is non-negotiable: Seriously, don’t skip the callusing step for stem cuttings. It’s the best defense against rot, which is the number one enemy of succulent propagation. I often leave mine out for a full week if the air is dry.
- Bottom heat makes a difference: If you’re in a cooler climate or have had trouble with cuttings not rooting, consider using a gentle bottom heat mat. This little bit of warmth encourages root development and can speed things up considerably. Just place your pots or trays on top of it for a few hours a day.
Nurturing Your Little Green Thumbs
Once your cuttings have developed roots (you might even see a new rosette forming!), it’s time for a little more attention.
- Gradual transition: If you propagated in water, let the soil be slightly moist after planting for the first week. Then, you can start treating them like mature Aeoniums.
- Bright light is key: Gradually introduce your new plants to more light. A bright, sunny windowsill is usually perfect. Remember, the golden color deepens with plenty of sunshine!
- Watering: Let the soil dry out completely between waterings. This is the golden rule for all succulents. Overwatering is the quickest way to a soggy, sad end.
- Troubleshooting: The most common issue is rot. If you see mushy stems or leaves turning black and falling off, it’s likely rot. This usually means it’s been too wet. If it’s caught early, you might be able to salvage a healthy part of the stem and start the process again. If a cutting just shrivels and shows no signs of life, it might not have had enough energy or the conditions weren’t right. Don’t fret, just try again!
Keep Planting, Keep Growing!
Propagating Aeonium aureum is such a rewarding experience. It requires a little patience, a little observation, and a whole lot of love. Don’t get discouraged if your first attempt isn’t perfect. Every cutting is a learning opportunity. Enjoy the process of nurturing tiny new life, and soon you’ll have a whole collection of sunshine-filled rosettes to brighten your home and share with others. Happy planting!
Resource: