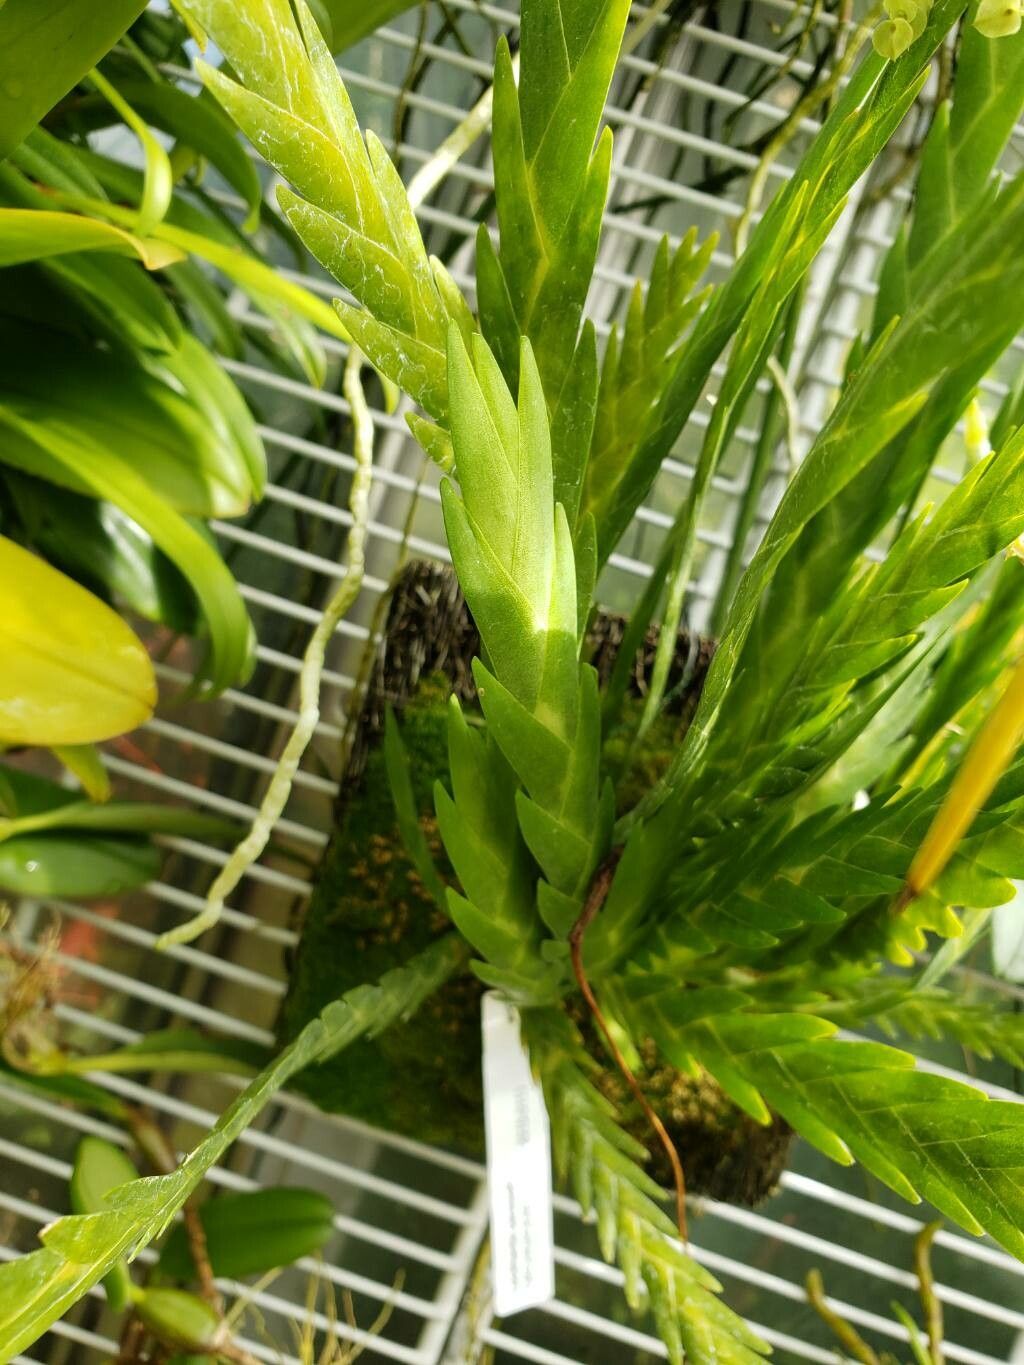
Hey there, fellow garden lovers! I’m so excited to chat with you today about one of my absolute favorite orchids: Lockhartia oerstedii. If you’ve ever seen these beauties, you know their charm. They have these neat, flattened stems that look like elegant little ribbons, topped with bright yellow, orchid-like flowers that are just a joy to behold. Plus, they have this wonderfully airy, cascading growth habit that makes them perfect for hanging baskets.
Now, you might be wondering if this is a tricky plant to multiply. Honestly, for beginners, Lockhartia oerstedii can be a little bit of a learning curve. It’s not as forgiving as some of the more common orchids, but don’t let that deter you! The reward of successfully coaxing a new plant from a piece of an established one is incredibly satisfying. It’s like magic, really, watching new life emerge.
The Best Time to Start
When it comes to getting new Lockhartia oerstedii plants going, I find that the late spring or early summer is your golden window. This is when the plant is really in a vigorous growth phase. It has plenty of energy stored up from its blooming season and is ready to put that energy into developing new roots and shoots. You can try it at other times, but you’ll likely see faster and more consistent results when you align your efforts with its natural growth spurt.
Supplies You’ll Need
Before we dive into the “how-to,” let’s make sure you’ve got your toolkit ready. Having the right stuff makes all the difference.
- Sharp, sterile pruning shears or a clean knife: This is crucial for making clean cuts and preventing the spread of disease.
- A good orchid bark mix: I like a mix that’s free-draining but still holds a little moisture. A blend of medium-grade orchid bark, perlite, and a touch of sphagnum moss usually works wonders for me.
- Rooting hormone (optional but recommended): This can give your cuttings a helpful boost. Look for one specifically for orchids or tropical plants.
- Small pots or seedling trays: Enough to hold your new cuttings.
- Labels and a permanent marker: So you don’t mix things up!
- Watering can with a fine rose: For gentle watering.
- A clean plastic bag or dome: To create a humid environment for your cuttings.
Propagation Methods
Lockhartia oerstedii is best propagated through division or by taking stem cuttings. It doesn’t readily produce keikis (baby plants) like some other orchids, so these two methods are your reliable routes.
Division
This is often the easiest method for Lockhartia oerstedii if your plant has become quite full and bushy.
- Gently remove the plant from its pot. You might need to coax it a little. If it’s really stuck, try running a thin knife or trowel around the inside edge of the pot.
- Inspect the root ball. Look for natural separation points where you can divide the plant into smaller sections. Each section should ideally have at least two or three pseudobulbs (the swollen stem bases) and a healthy root system.
- Using your sterile shears or knife, carefully cut through the rhizomes (the creeping stems) to separate the divisions.
- Remove any old, dead, or mushy roots.
- Pot each division into its own pot with your fresh orchid mix. Don’t pack the mix in too tightly.
- Water lightly after potting.
Stem Cuttings
This method is great for propagating healthy, leafy stems from an established plant.
- Choose a healthy stem that has at least 2-3 leaves.
- Using your sterile shears, make a clean cut just below a node (where a leaf attaches to the stem). Try to get a cutting that’s about 4-6 inches long.
- If you’re using rooting hormone, dip the cut end into the powder.
- Plant the cutting directly into a pot filled with your orchid bark mix. You want the base of the cutting to be nestled into the mix so it stays upright. The leaves should not be buried.
- Gently water to settle the mix around the cutting.
The “Secret Sauce” (Pro Tips)
Here are a few little tricks I’ve learned over the years that can really boost your success rate:
- Don’t let the leaves touch the water (for stem cuttings!). If you’re tempted to try water propagation (which I generally find less successful for Lockhartia oerstedii), make absolutely sure the cut end is submerged, but the leaves are kept dry. Waterlogged leaves are a fast track to rot.
- Bottom heat is your friend. Especially for stem cuttings, providing a little warmth from below can significantly encourage root development. A seedling heat mat works perfectly for this. Just place your pots on top of it.
- Humidity is key, but so is airflow. Newly propagated plants need high humidity to encourage root growth, but they also need good air circulation to prevent fungal issues. I like to tent a plastic bag loosely over my potted cuttings, making sure to open it for an hour or so every day to let fresh air in.
Aftercare & Troubleshooting
Once your Lockhartia oerstedii cuttings or divisions are potted, the real work of nurturing begins.
- Light: Place your new plants in bright, indirect light. Avoid direct sun, which can scorch their leaves.
- Watering: Keep the potting mix evenly moist but not waterlogged. This is probably the most important factor. Allow the surface to dry slightly between waterings.
- Humidity: Continue to provide that humid environment. Misting can help, but the plastic bag/dome method is more effective.
- Patience: Rooting can take time. Don’t be discouraged if you don’t see new growth immediately. It can take several weeks, or even a few months, for roots to establish. You’ll know roots are forming when you see new growth appearing at the base of the cutting or when the plant feels firmly anchored in the pot.
Now, what if things aren’t quite going to plan? The most common sign of failure is rot. If you see leaves turning yellow and mushy, or if the stem itself becomes soft and dark, it’s usually due to overwatering or poor air circulation. If this happens, remove the affected part immediately with your sterile tool and try to create a drier environment with more airflow. Sometimes, you just have to accept that not every attempt will be successful – it’s all part of the learning process!
So there you have it! Propagating Lockhartia oerstedii is a journey, but a wonderfully rewarding one. Be patient, keep an eye on those watering levels, and don’t be afraid to experiment a little. Before you know it, you’ll have a whole collection of these charming ribbon orchids to enjoy and share. Happy growing!
Resource:
https://identify.plantnet.org/k-world-flora/species/Lockhartia%20oerstedii%20Rchb.f./data