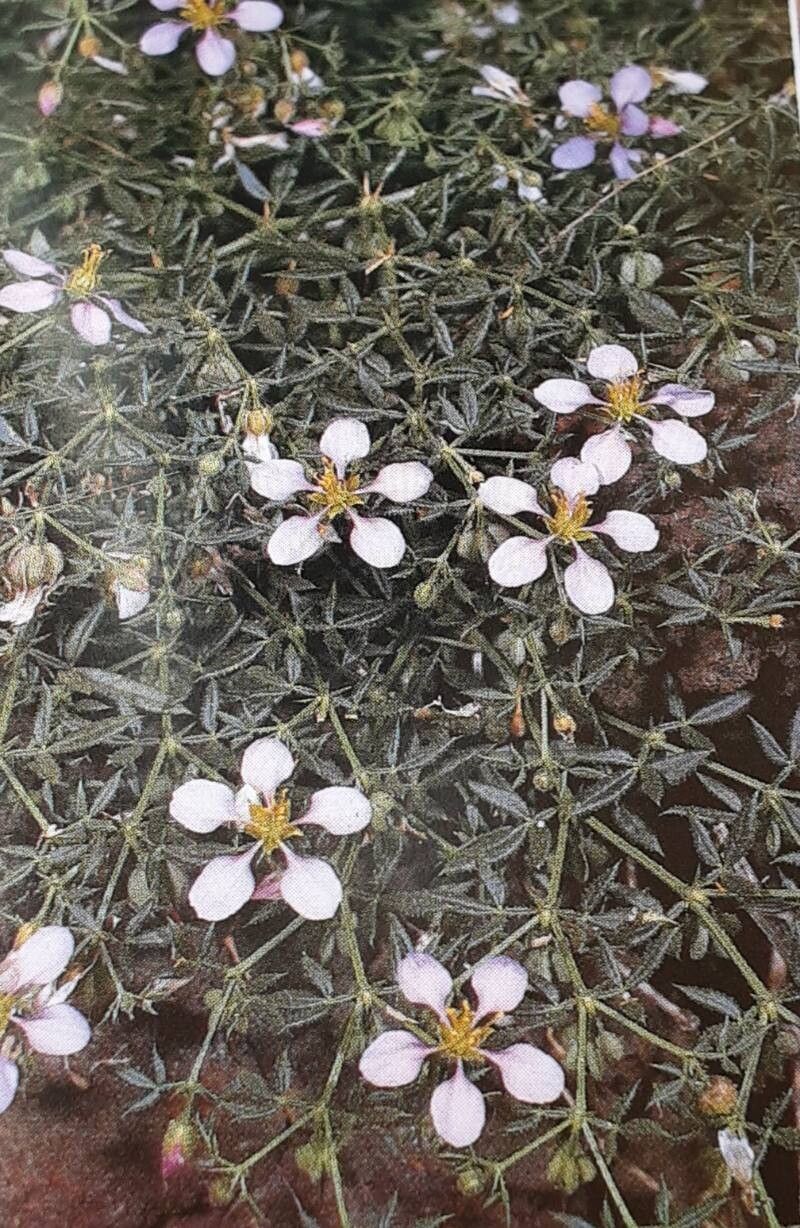
Well hello there, fellow plant enthusiast! I’m so glad you’re interested in Zygophyllum scabrum. This little desert native, with its fascinating, almost succulent-like grey foliage and its tenacity in tough conditions, is a real charmer. And the best part? Bringing more of these beauties into your life through propagation is an incredibly satisfying endeavor. Don’t let its unique looks fool you; while Zygophyllum scabrum isn’t as common as a pothos at the local nursery, propagating it is quite achievable, even for those of you just starting your green journey.
The Best Time to Start
For the absolute best success rate, spring is your golden season to propagate Zygophyllum scabrum. As the days get longer and the temperatures start to climb steadily, the plant is buzzing with energy and ready to grow. You’ll want to take cuttings from healthy, vigorous stems that are actively growing, not from woody or older sections. Think of it as snatching a bit of its youthful enthusiasm.
Supplies You’ll Need
Here’s what you’ll want to have on hand before you get started:
- Sharp pruning shears or a clean, sharp knife: For making clean cuts.
- Small pots or trays: With drainage holes, of course!
- A well-draining potting mix: I like a blend of equal parts cactus/succulent mix and perlite. This ensures no soggy bottoms.
- Rooting hormone (optional but helpful): A powder or gel can give your cuttings a nice boost.
- A watering can with a fine rose: For gentle watering.
- Plastic bags or a propagator: To create a humid environment.
- A spray bottle filled with water: For misting.
Propagation Methods
Zygophyllum scabrum is most reliably propagated from stem cuttings. It’s a straightforward process that usually yields great results.
-
Take Your Cuttings: With your clean shears, select a healthy, non-flowering stem. Make a clean cut just below a leaf node. Aim for cuttings that are about 4-6 inches long. Remove the lower leaves, leaving just a couple of sets at the top.
-
Prepare the Cuttings: If you’re using rooting hormone, dip the cut end into the powder or gel. Tap off any excess. This step isn’t absolutely critical for Zygophyllum scabrum, but it can speed things along.
-
Plant the Cuttings: Fill your small pots with your prepared well-draining mix. Make a small hole in the center of the soil with your finger or a pencil. Gently insert the cut end of the Zygophyllum scabrum cutting into the hole, ensuring at least one leaf node is buried. Firm the soil gently around the base.
-
Provide Humidity: Water the soil lightly. Then, to create a humid microclimate, you can either cover the pot with a clear plastic bag, propped up with a stick so it doesn’t touch the leaves, or place the pots inside a propagator.
-
Place in Bright, Indirect Light: Find a spot for your new charges that gets bright, indirect sunlight. Avoid direct sun, which can scorch those delicate cuttings.
The “Secret Sauce” (Pro Tips)
Now for a couple of little tricks I’ve picked up over the years that might just give you that extra edge:
- Don’t Overwater! This is probably the most critical point with any succulent-like plant, and Zygophyllum scabrum is no exception. Let the soil dry out slightly between waterings. It’s far better to underwater than to overwater, as rot is the quickest way to lose a cutting.
- Bottom Heat is Your Friend: If you can, place your pots on a gentle heated propagation mat. This provides a consistent, warm bottom temperature that really encourages root development. It’s like giving those roots a cozy warm hug to get them going.
Aftercare & Troubleshooting
Once your cuttings have been planted, patience is key. It can take anywhere from 2 to 6 weeks for new roots to develop. You can gently tug on a cutting; if you feel resistance, congratulations, you have roots! At this point, you can gradually remove the plastic bag or propagator lid to acclimate the new plant to normal room humidity. Continue to water sparingly, allowing the soil to dry out between waterings.
The most common sign of failure is rot. If you see your cutting turning black or mushy, it’s usually a sign of too much moisture. Unfortunately, once rot sets in, it’s very difficult to save the cutting. It’s a good reminder to always err on the side of caution with watering. Yellowing leaves can sometimes indicate insufficient light, while wilting might mean it’s just a bit thirsty, but distinguish between wilting and rot.
Happy Propagating!
So there you have it! Propagating Zygophyllum scabrum is a rewarding journey. Don’t be discouraged if your first attempt isn’t perfect; every gardener has had their share of failed cuttings. It’s all part of the learning process. Enjoy the anticipation, celebrate every tiny root, and soon you’ll have a whole collection of these delightful grey-leafed wonders to enjoy, and perhaps even share with other plant-loving friends! Happy planting!
Resource: