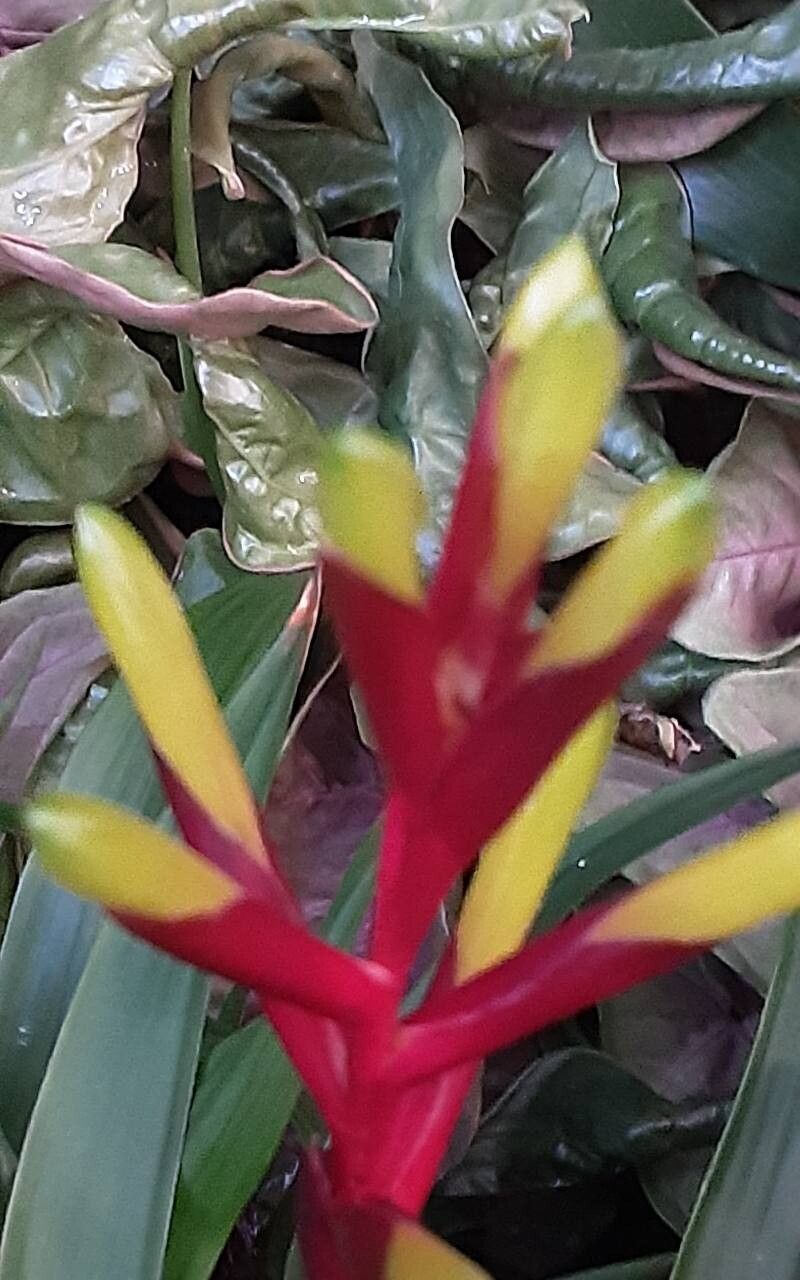
Hello, fellow plant lovers! It’s wonderful to have you here. Today, we’re diving into the vibrant world of Guzmania, specifically Guzmania dissitiflora. If you’ve ever seen these beauties with their fiery bracts, you know they bring instant cheer to any space. They remind me of little explosions of tropical color!
Propagating them is truly a rewarding endeavor. It’s like nurturing a tiny spark of that stunning color to grow into its own magnificent display. Now, I won’t sugarcoat it. Guzmania can be a tad more challenging to propagate than, say, a pothos, but with a little patience and the right approach, you’ll be amazed at what you can achieve.
The Best Time to Start
The sweet spot for propagating Guzmania is generally spring or early summer. This is when the mother plant is actively growing and has the most energy to spare. Look for well-established plants that have produced pups – those little baby plants that emerge from the base. Your chances of success are significantly higher when you’re working with healthy, vigorous material.
Supplies You’ll Need
Here’s what you’ll want to have on hand:
- Sharp, clean pruning shears or a sharp knife: For making clean cuts.
- Potting mix: A fast-draining blend is crucial. I like to use a mix of equal parts orchid bark, perlite, and peat moss. This provides excellent aeration.
- Small pots or containers: Terracotta pots are great because they allow the soil to breathe.
- Rooting hormone (optional but recommended): A powder or gel can give your new cuttings a helpful boost.
- Spray bottle: For misting.
- Clear plastic bag or propagation dome: To create a humid environment.
- Bottom heat source (optional): A seedling heat mat can speed up root development.
Propagation Methods: Division is Key
For Guzmania dissitiflora, the primary and most successful method of propagation is by dividing the pups. Flowering bromeliads like Guzmania typically produce offsets, or “pups,” after they bloom. The mother plant will usually decline after flowering, making these pups your new stars.
Here’s how to go about it:
- Wait for pups to develop: You’re looking for pups that are at least one-third the size of the mother plant and have started to form their own tiny leaves. They should also show signs of developing their own roots.
- Gently remove the mother plant from its pot: Carefully slide the entire plant out. You might need to loosen the soil around the edges.
- Locate the pups and their roots: Examine where the pup attaches to the mother plant. You’ll see where its roots emerge.
- Separate the pup: Using your sharp, clean shears or knife, carefully cut the pup away from the mother plant. Try to make the cut as close to the mother plant’s base as possible, ensuring you get as many of the pup’s own roots as you can. If the pup is stubborn, you can gently tease it apart with your fingers, but be careful not to damage the roots.
- Allow the cut to callus: Let the separated pup sit in a dry, well-ventilated spot for a few hours, or even overnight. This allows the cut surface to dry and form a callus, which helps prevent rot.
- Potting up: Prepare your small pot with your specialized, well-draining potting mix.
- Plant the pup: Use your finger to make a small hole in the center of the potting mix. Gently place the callused end of the pup into the hole, ensuring the roots are spread out. Firm the soil gently around the base. The base of the pup should be just at soil level.
- Water lightly: Give the newly potted pup a light watering. You don’t want to waterlog the soil.
- Create a humid environment: Place the potted pup into a clear plastic bag or cover it with a propagation dome. Ensure the leaves do not touch the sides of the bag or dome if possible, as this can encourage rot. If using a bag, you can prop it up with a stick.
The “Secret Sauce”
Here are a couple of tricks I’ve learned over the years that can make a big difference:
- Don’t be afraid of the sharp tool: A clean cut is essential. Ragged edges are more prone to disease and decay. Sterilize your pruners or knife with rubbing alcohol between cuts, especially if you’re working with multiple plants.
- Bottom heat is your friend: If you have a seedling heat mat, place the potted pups on it. This gentle warmth from below encourages root development and can significantly speed up the process, especially in cooler environments. Aim for a soil temperature around 70-75°F (21-24°C).
Aftercare & Troubleshooting
Once your pup is potted, place it in a location with bright, indirect light. Avoid direct sun, which can scorch its delicate leaves. Misting the leaves a few times a week can help maintain humidity, especially if you’re not using a plastic bag.
You’ll know your pup has rooted when you start to see new leaf growth. This can take anywhere from 4 weeks to a few months. Be patient!
The most common issue you’ll encounter is rot. Signs of rot include a mushy stem base or leaves turning black and wilting even though the soil isn’t bone dry. If you see this, act quickly. Trim away any rotted parts with your sterilized tool, reapply rooting hormone if you have it, and repot into fresh, dry potting mix. Ensure your watering is consistent but not excessive.
Keep Growing!
Propagating Guzmania can be a bit of a waiting game, but the satisfaction of seeing those tiny pups develop into mature plants is immense. Don’t get discouraged if your first attempt isn’t a roaring success. Every gardener learns from both their triumphs and their challenges. Embrace the process, enjoy the journey, and soon you’ll have a whole family of these gorgeous tropical gems! Happy growing!
Resource:
https://identify.plantnet.org/k-world-flora/species/Guzmania%20dissitiflora%20(André)%20L.B.Sm./data