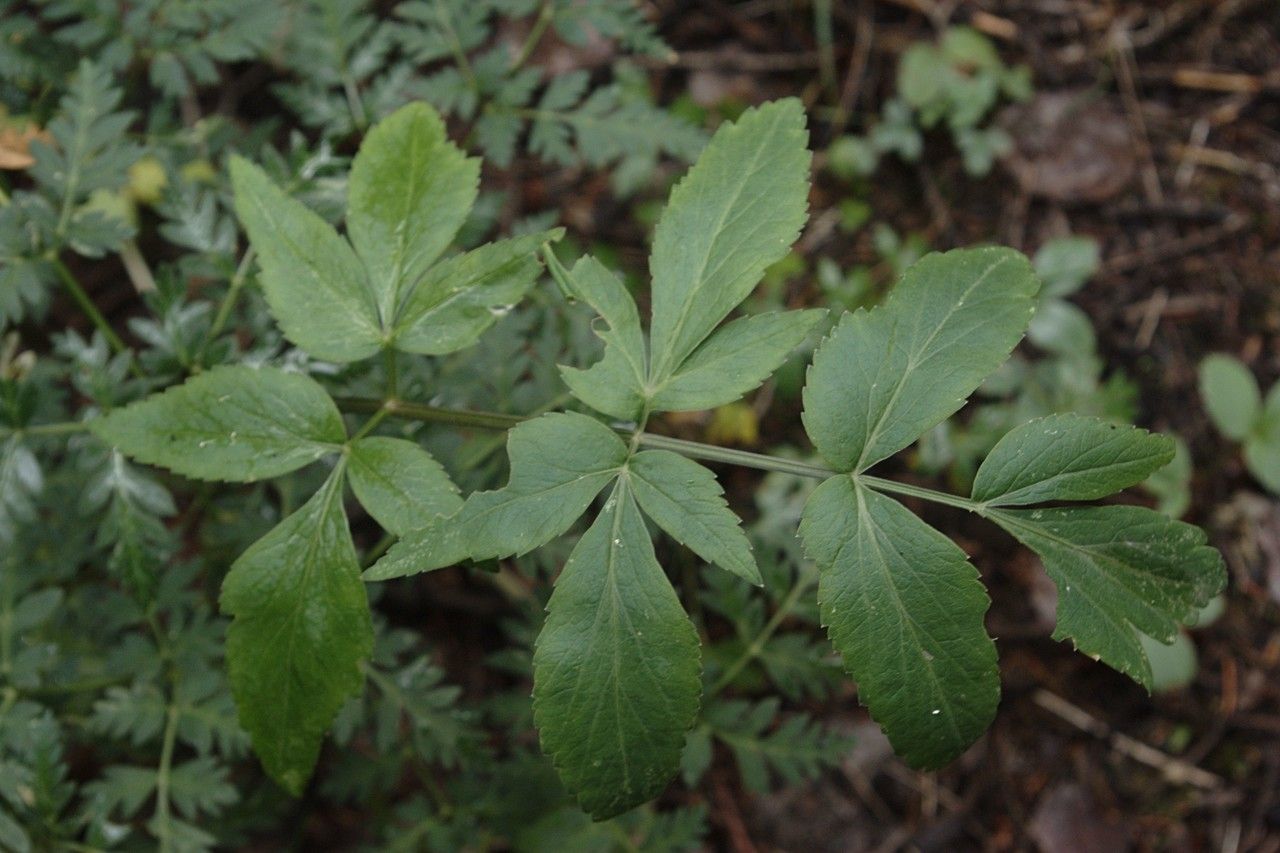
Oh, Angelica pinnata! What a lovely plant to focus on. I’ve always adored its feathery foliage and the delicate, umbel-shaped flowers that attract all sorts of beneficial insects to the garden. It has a certain wild charm, doesn’t it? Propagating it is a wonderful way to share its beauty, or simply to fill your own garden beds with more of this delightful herb. For those of you just dipping your toes into the world of plant propagation, I’d say Angelica pinnata is moderately easy – not quite a foolproof beginner plant, but definitely achievable with a little understanding. You’ll be rewarded with healthy new plants that carry all the same wonderful characteristics as the parent.
The Best Time to Start
For Angelica pinnata, the sweet spot for propagation is generally when the plant is actively growing, but not under too much stress. I find late spring or early summer to be ideal. This is when the plant has built up good reserves of energy after winter, and the days are getting longer and warmer, which encourages quicker root development. If you’re looking at division, that can also be done in early spring as soon as the soil is workable, or in early autumn after the hottest weather has passed.
Supplies You’ll Need
Gathering your supplies beforehand makes the whole process much smoother. Here’s what you’ll want to have on hand:
- Sharp pruning shears or a clean knife: For making clean cuts.
- Rooting hormone (powder or gel): This isn’t strictly necessary for Angelica, but it can give your cuttings a helpful boost.
- Well-draining potting mix: A good blend of peat moss, perlite, and a bit of compost works wonders. You can also use a seed-starting mix.
- Small pots or trays: With drainage holes, of course!
- Watering can or spray bottle: For gentle watering.
- A clear plastic bag or propagation dome: To create a humid environment.
- Optional: Bottom heat mat: This can significantly speed up root formation, especially if your house tends to be on the cooler side.
Propagation Methods
Angelica pinnata can be propagated in a couple of ways. I usually have the best luck with stem cuttings, but division is also very effective.
Stem Cuttings:
- Select your parent plant: Look for a healthy, vigorous plant.
- Take the cuttings: In late spring or early summer, use your clean shears to cut healthy stems that are about 4-6 inches long. Make the cut just below a leaf node (where a leaf attaches to the stem). Remove the lower leaves, leaving just a couple at the top.
- Apply rooting hormone: If you’re using it, dip the cut end of the stem into the rooting hormone, tapping off any excess.
- Plant the cuttings: Fill your pots or trays with the well-draining potting mix and moisten it. Make a hole with your finger or a pencil and gently insert the cut end of the stem. Firm the soil around it.
- Create humidity: Water gently and then cover the pot loosely with a clear plastic bag or propagation dome. This traps moisture and prevents the cuttings from drying out too quickly. Place the pot in a bright spot but out of direct sunlight.
Division:
- Dig up the plant: In early spring or autumn, carefully dig up the entire Angelica plant.
- Separate the divisions: Gently tease apart the root ball. Most established plants will naturally have several crowns or sections. Use your hands or a clean knife to separate them, ensuring each division has roots and at least one viable bud or shoot.
- Replant immediately: Dig new holes for your divisions in their desired garden location or in pots. Make sure the soil is well-drained. Plant them at the same depth they were growing before. Water them in well.
The “Secret Sauce” (Pro Tips)
Here are a couple of things I’ve learned over the years that make a big difference:
- Humidity is key for cuttings! That clear plastic bag or dome isn’t just for show. It creates a mini-greenhouse, which is crucial for stem cuttings because they don’t have roots yet to absorb water. If they can’t get water from the soil, they’ll dry out fast. Make sure there’s good airflow though, you don’t want it too damp and inviting to mold.
- Bottom heat is a game-changer for cuttings. If you can provide a little warmth from below (using that mat I mentioned earlier), it mimics spring soil temperatures and really encourages roots to form much more quickly and reliably. It’s worth the investment if you plan on propagating a lot!
Aftercare & Troubleshooting
Once your cuttings have rooted (you’ll know because you’ll feel a gentle resistance when you tug lightly on a stem, or you might even see new tiny leaves appearing), you can slowly acclimatize them to normal conditions. Gradually remove the plastic bag over a few days. Continue to keep the soil consistently moist but not waterlogged. Water divisions thoroughly after planting and keep them watered during dry spells.
Watch out for rot. If your cuttings turn mushy and black, or if you see mold on the soil surface, it’s usually a sign of too much moisture and not enough ventilation. Discard any rotted cuttings and perhaps try again with drier soil and better airflow. If your divisions look wilted but aren’t mushy, it might just be transplant shock, so keep them well-watered and give them time to settle in.
Happy Propagating!
Propagating Angelica pinnata is a lovely way to connect with your plants and expand your garden. Don’t be discouraged if your first attempt isn’t perfect. Gardening is all about learning and experimenting. Be patient, observe your plants closely, and most importantly, enjoy the process of bringing new life into your garden. Happy growing!
Resource:
https://identify.plantnet.org/k-world-flora/species/Angelica%20pinnata%20S.Watson/data