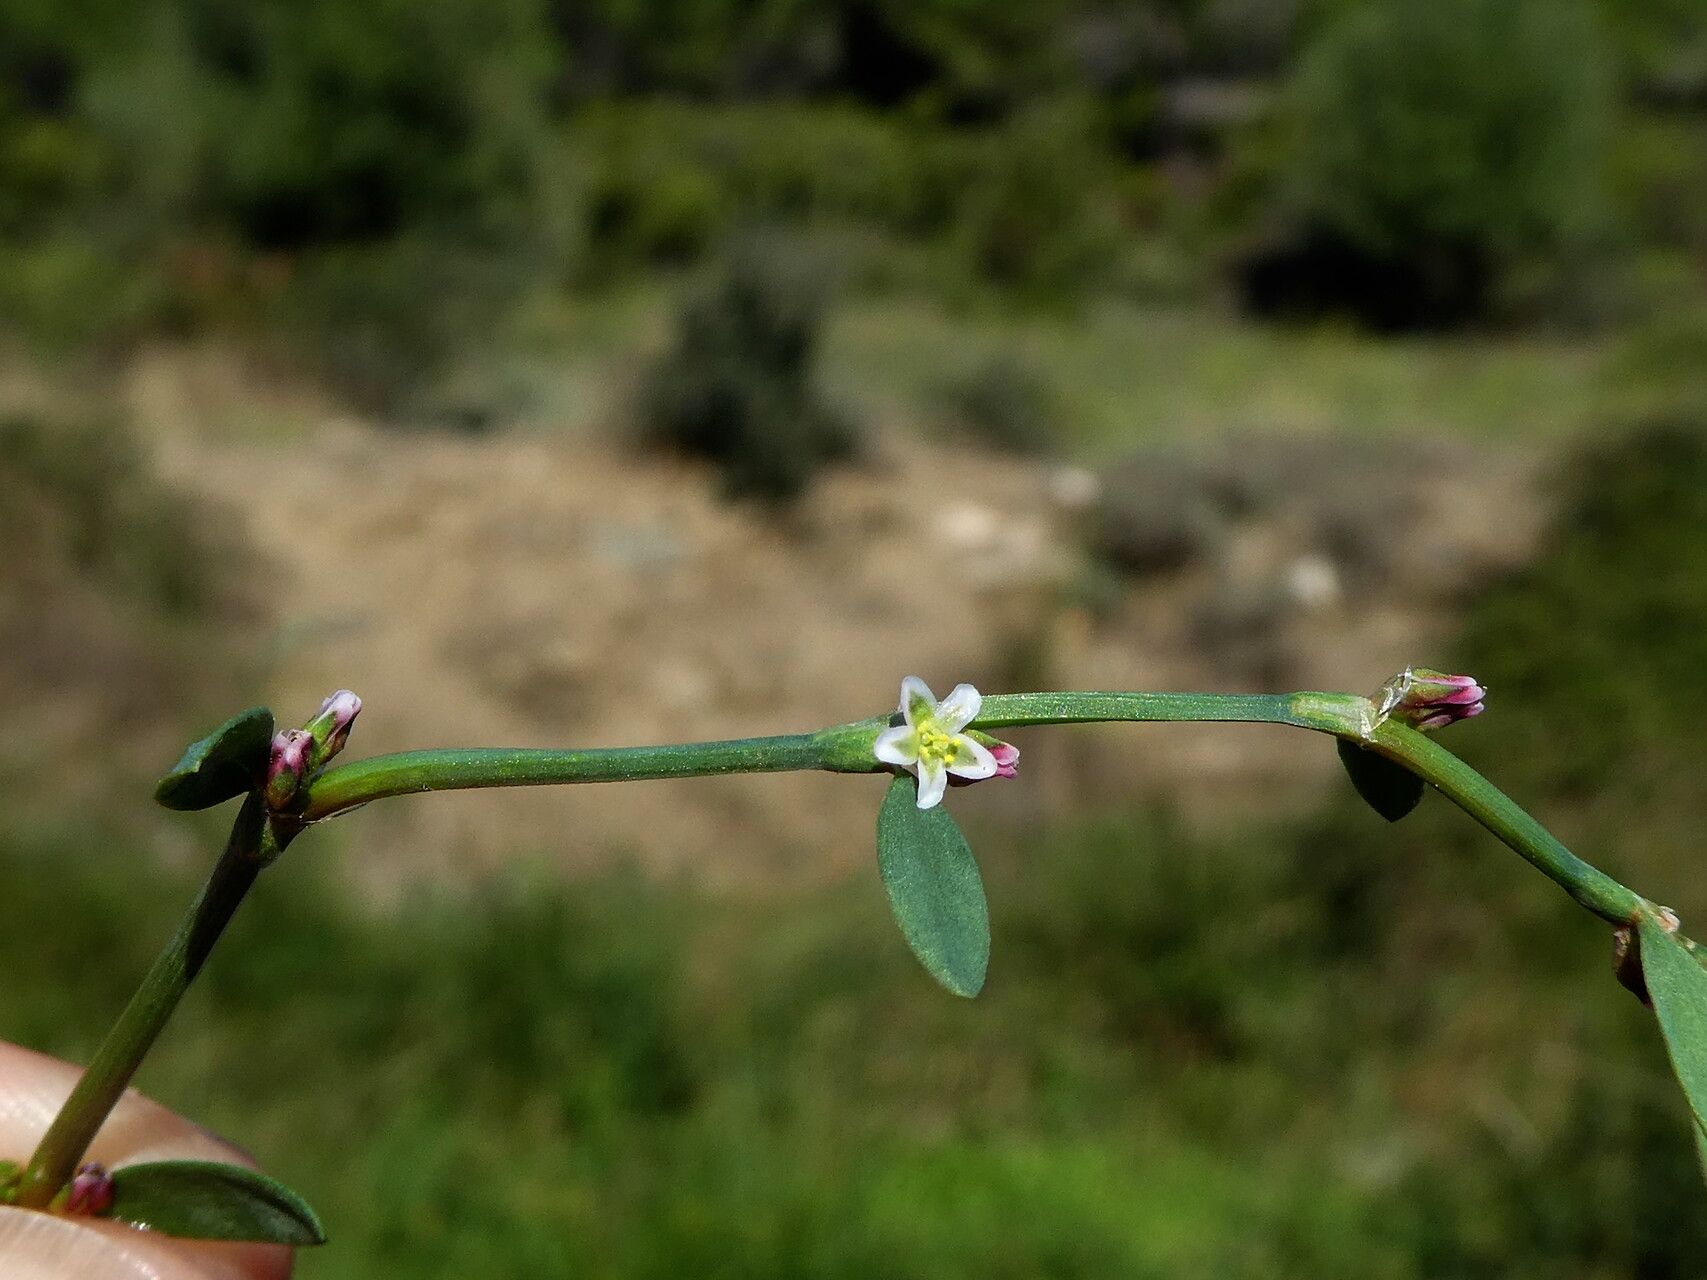
Oh, hello there! It’s so lovely to have you join me today. We’re going to chat about a truly wonderful plant: Polygonum bellardii. You might know it by another name, but its charm is undeniable. This vigorous grower, often seen with its delightful pink or white flower spikes arching gracefully, brings such joy to any garden. Propagating it yourself? Well, that’s a special kind of garden magic, and I’m thrilled to guide you through it. Don’t worry if you’re new to this; Polygonum bellardii is wonderfully amenable, making it a fantastic choice for beginners.
The Best Time to Start
Timing, as they say, is everything in the garden, and propagation is no different. The absolute best time to take cuttings or divide your Polygonum bellardii is in the late spring or early summer. This is when the plant is actively growing and has plenty of youthful energy. You’re looking for stems that are pliable but not floppy, a stage we often call “softwood” cuttings. Trying to propagate when the plant is dormant just won’t give it the boost it needs to get those roots going.
Supplies You’ll Need
Gathering your tools before you begin will make the whole process much smoother. Here’s what I like to have on hand:
- Sharp pruning shears or a clean craft knife: For making those precise cuts.
- Small pots or seed trays: Clean ones are key to preventing disease.
- A good quality potting mix: I favor a mix that drains well. A blend of peat moss or coir, perlite, and a little compost works beautifully.
- Rooting hormone (optional but recommended): This little helper gives cuttings an extra kickstart.
- A watering can with a fine rose: For gentle watering.
- Plastic bags or a propagator: To create a humid environment.
- Labels: Don’t forget to label your precious babies!
Propagation Methods
Let’s dig into how we can create new life from your existing Polygonum bellardii.
Stem Cuttings
This is my favorite method for this plant. It’s straightforward and very effective.
- Select your stem: Look for a healthy, non-flowering stem that’s about 4-6 inches long. Make a clean cut just below a leaf node (that’s where a leaf meets the stem).
- Prepare the cutting: Gently remove the leaves from the lower half of the stem. We want to avoid leaves touching the soil or water, as this can lead to rot. Leave just a couple of leaves at the tip. If the remaining leaves are quite large, I like to cut them in half horizontally to reduce water loss through transpiration.
- Rooting hormone (if using): Dip the cut end of the stem into your rooting hormone powder. Tap off any excess.
- Planting: Fill your pots with your prepared potting mix. Make a hole in the center with your finger or a pencil. Gently insert the cutting into the hole, ensuring the nodes are buried in the soil.
- Water and cover: Water thoroughly but gently. Then, cover the pot with a plastic bag to create a mini greenhouse effect, or place it inside a propagator. Ensure the leaves aren’t pressing against the plastic.
Water Propagation
If you’re feeling adventurous or just love watching roots develop, water propagation can be very satisfying.
- Prepare the cutting: Follow steps 1 and 2 above for selecting and preparing your stem.
- Place in water: Find a clean glass or jar and fill it with fresh, room-temperature water. Submerge the lower, leafless portion of the stem in the water. Make sure no leaves are submerged.
- Location: Place the jar in a bright spot, but out of direct sunlight.
- Water changes: Change the water every few days to keep it fresh and prevent bacterial growth.
Division
For larger, well-established plants, dividing the root ball is a quick and easy way to get new plants.
- Dig up the plant: In the spring, carefully dig up your Polygonum bellardii. Try to disturb the roots as little as possible.
- Examine the root ball: Gently shake off excess soil. You’ll likely see a clump of roots.
- Divide: Using your hands or a clean spade, gently pull or cut the root ball into sections. Each section should have a good amount of roots and some healthy shoots.
- Replant: Replant the divisions immediately into their new locations or into pots filled with fresh potting mix. Water them in well.
The “Secret Sauce” (Pro Tips)
Now, a few little tricks that have served me well over the years:
- Bottom Heat is Your Friend: For stem cuttings, a little bit of warmth from below can work wonders. A heated propagator or a heat mat placed under your pots can significantly speed up root formation. It mimics that nice, warm soil temperature that encourages new root growth.
- Don’t Overwater the Soil: While humidity is crucial for cuttings in pots, soggy soil is the enemy. It leads to rot. You want the soil to be consistently moist but not waterlogged. Stick your finger in – if it feels dry an inch down, it’s time to water.
- Patience with Water Cuttings: When propagating in water, don’t be tempted to pull the cutting out too soon. Wait until you see healthy, robust roots, at least an inch or two long, before you attempt to pot them up. This gives them a much better chance of survival.
Aftercare & Troubleshooting
Once you start seeing signs of life – new shoots or the beginnings of roots – it’s time to transition your young plants.
- For Cuttings: Once roots have formed (you might feel a gentle tug when you lightly pull on the cutting, or see roots peeking through drainage holes), it’s time to acclimate them to less humid conditions. Gradually remove the plastic cover or open ventilation on your propagator over a few days. Continue to keep the soil consistently moist.
- For Divisions: Treat them as you would newly planted perennials. Ensure they have adequate water, especially during dry spells.
The most common issue you’ll encounter is rot. If a cutting turns black and mushy, or becomes floppy and discolored, it’s likely due to too much moisture or fungal infection. Make sure your soil drains well and that you’re not overwatering. Sometimes, despite your best efforts, a cutting just won’t take. Don’t be discouraged! It happens to all of us. Just try again with a fresh cutting and maybe adjust your technique slightly.
A Encouraging Closing
There you have it! Propagating Polygonum bellardii is a rewarding journey, and the satisfaction of watching a tiny cutting develop into a thriving plant is truly special. Remember to be patient, observe your cuttings closely, and most importantly, enjoy the process. Happy gardening, my friends!
Resource:
https://identify.plantnet.org/k-world-flora/species/Polygonum%20bellardii%20All./data