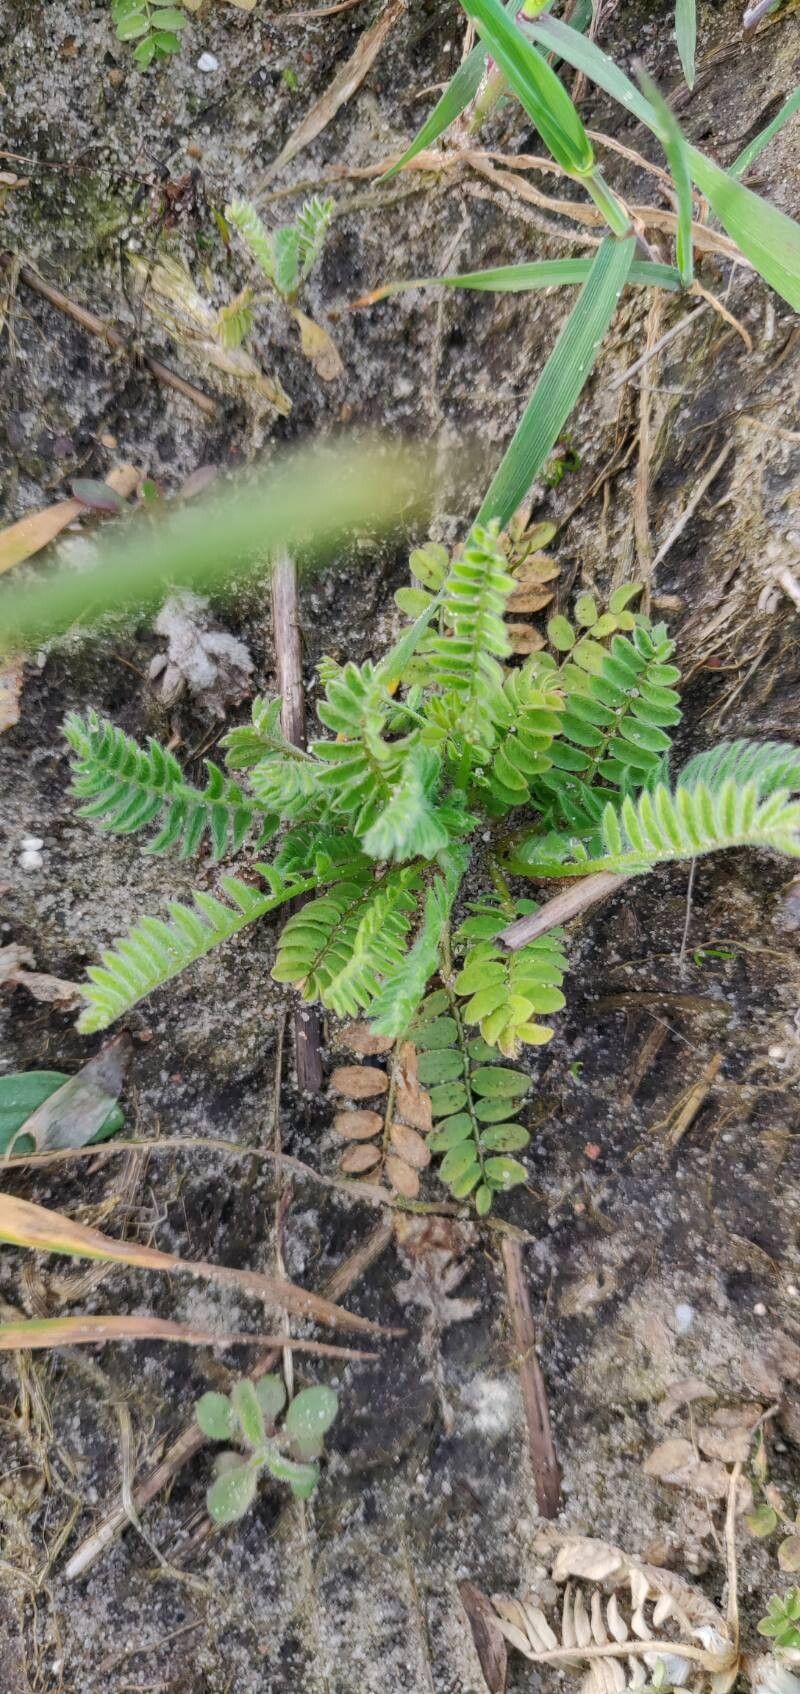
Hello there, fellow plant lovers! It’s so lovely to have you here. Today, we’re going to dive into the delightful world of propagating Ornithopus sativus. You might know it by its charming common name, Bird’s Foot Trefoil, or perhaps as a delightful little groundcover that brings a touch of wild beauty to your garden. I’ve always been captivated by its delicate, pea-like flowers and the way it sprawls happily, creating a lush, green carpet. Growing new plants from your established favorites is one of the most incredibly satisfying aspects of gardening, and I’m thrilled to share how we can coax some new life from our Ornithopus sativus. Good news: if you’re just starting out on your propagation journey, this is a wonderfully welcoming plant to begin with!
The Best Time to Start
When it comes to getting the best results with Ornithopus sativus, spring is your best friend. Specifically, I like to aim for late spring, after the last threat of frost has passed and things are really starting to warm up. This is when the plant is actively growing and has the most energy to dedicate to developing new roots. You’ll find it much easier to get cuttings to take and seeds to sprout when the days are getting longer and warmer.
Supplies You’ll Need
Before we get our hands dirty, let’s gather our tools. Having everything ready makes the process so much smoother.
- Sterile Pruning Shears or a Sharp Knife: For clean cuts that reduce the risk of disease.
- Rooting Hormone (Optional but Recommended): This can give your cuttings a helpful boost. Look for one specifically for softwood or herbaceous cuttings.
- Small Pots or Seed Trays: Clean pots are crucial to prevent fungal issues.
- Seed Starting Mix or a Well-Draining Potting Mix: A light, airy mix is essential. You can make your own by combining equal parts peat moss or coco coir, perlite, and a little coarse sand.
- Watering Can with a Fine Rose: For gentle watering that won’t disturb delicate seedlings or cuttings.
- Plastic Bag or Humidity Dome: To create a humid environment for cuttings.
- Labels and a Pen: To keep track of what you’ve planted and when.
Propagation Methods
Ornithopus sativus is quite versatile, and you can have success with a couple of different methods.
Growing from Seed
This is perhaps the most straightforward way to get started, and it’s very rewarding to watch these little plants emerge from tiny seeds.
- Collect Seeds: If you have an established plant, you can collect the seed pods once they have dried and turned brown on the plant. Gently crush the pods to reveal the small, hard seeds inside.
- Prepare the Soil: Fill your seed tray or small pots with your well-draining seed starting mix. Moisten the soil thoroughly but ensure it’s not waterlogged.
- Sow the Seeds: Sow the seeds about ¼ inch deep. Ornithopus sativus seeds can be a little slow to germinate, and some gardeners find it helpful to soak the seeds in warm water for 12-24 hours before sowing. This can help to soften their hard outer coat and encourage germination.
- Provide Conditions: Cover the tray or pots with a clear plastic bag or a humidity dome to maintain moisture. Place them in a warm spot with indirect sunlight.
- Germination: Be patient! Germination can take anywhere from 10 days to several weeks. Once you see sprouts, remove the plastic covering.
- Thinning and Transplanting: As the seedlings grow and develop their first true leaves, thin them out so they have about 2-3 inches of space between them. Once they are large enough to handle (usually a few inches tall), you can transplant them into their own individual pots or directly into your garden if the danger of frost has passed.
Stem Cuttings
This method is great if you want to replicate a specific plant you admire.
- Take Cuttings: In late spring or early summer, select healthy, non-flowering stems from your mature Ornithopus sativus. Using your sterilized pruning shears, take cuttings that are about 3-4 inches long. Make a clean cut just below a leaf node (where a leaf attaches to the stem).
- Prepare the Cuttings: Gently remove the lower leaves from the cutting, leaving just the top set of leaves. This prevents them from rotting when they’re in the soil. If you’re using rooting hormone, dip the cut end of the stem into the powder, tapping off any excess.
- Plant the Cuttings: Fill your small pots with your well-draining potting mix. Make a small hole in the center of the soil with your finger or a pencil. Insert the cut end of the stem into the hole, ensuring that at least one leaf node is below the soil surface. Gently firm the soil around the cutting.
- Create a Humid Environment: Water the soil gently. Then, cover the pot with a clear plastic bag or place it inside a larger clear plastic bag. Seal it up to create a mini-greenhouse effect.
- Provide Conditions: Place the pots in a bright spot that receives indirect sunlight. Avoid direct sun, which can scorch the young cuttings.
- Rooting: Give it time! It can take 4-6 weeks for the cuttings to develop a good root system. You can gently tug on a cutting to feel for resistance, or if you’re using clear pots, you might see roots forming. Once roots have formed, you can remove the plastic cover gradually over a few days to acclimate the new plants to normal humidity.
The “Secret Sauce” (Pro Tips)
Here are a few things I’ve learned over the years that can really make a difference:
- Temperature Matters for Cuttings: While indirect light is good, many cuttings, especially herbaceous ones like Ornithopus sativus, benefit from a little gentle bottom heat. If you have it, placing your pots on a seedling heat mat set to a low temperature can significantly speed up root development. Just be sure not to overheat them!
- Watering is Key, But Don’t Drown Them: When propagating from seeds or cuttings, consistency is crucial. You want the soil to remain moist, but never soggy. Overwatering is the quickest way to invite fungal diseases like damping-off, which can be devastating to young plants. I like to check the soil moisture by feeling it with my finger. If the top inch feels dry, it’s time for a gentle watering.
- Cleanliness is Next to Godliness (in the Garden): I can’t stress this enough! Always use clean pots, clean tools, and fresh potting mix. Fungi and bacteria love to set up shop in old, dirty containers, and they can easily take down your precious new plants before they even have a chance to get established. A quick wash with soap and water, or even a soak in a diluted bleach solution, can make all the difference.
Aftercare & Troubleshooting
Once you see signs of happy roots developing, it’s time to start treating your new plants like the little independents they are.
If you’ve grown from seed and thinned them, you’re essentially in the aftercare phase already. Continue to water consistently and provide good light. When transplanting cuttings that have rooted, treat them gently. Use the same well-draining potting mix. Water them in, and continue to keep the soil consistently moist. As they grow stronger, you can gradually introduce them to more direct sunlight.
What if things go wrong? The most common culprit is rot. You’ll see stems turning mushy and black at the soil line, or the whole cutting might just collapse. This is almost always a sign of overwatering and poor drainage. If you spot this, try to increase airflow, reduce watering frequency, and ensure your potting mix is very free-draining. Another issue is cuttings that simply refuse to root. This can happen if the cuttings are too old, too young, or if the conditions aren’t quite right (too cold, too dry, or too much direct sun). Don’t be discouraged if a few don’t make it!
Happy Growing!
Don’t worry if it seems like a lot at first. Gardening is all about learning and experimenting, and propagation is a wonderful way to deepen your connection with your plants. Be patient with your new Ornithopus sativus starts. Celebrate every new leaf, every tiny root, and know that you’re nurturing new life. Enjoy the process, and soon you’ll have an abundance of these charming plants spreading their beauty! Happy propagating!
Resource:
https://identify.plantnet.org/k-world-flora/species/Ornithopus%20sativus%20Brot./data