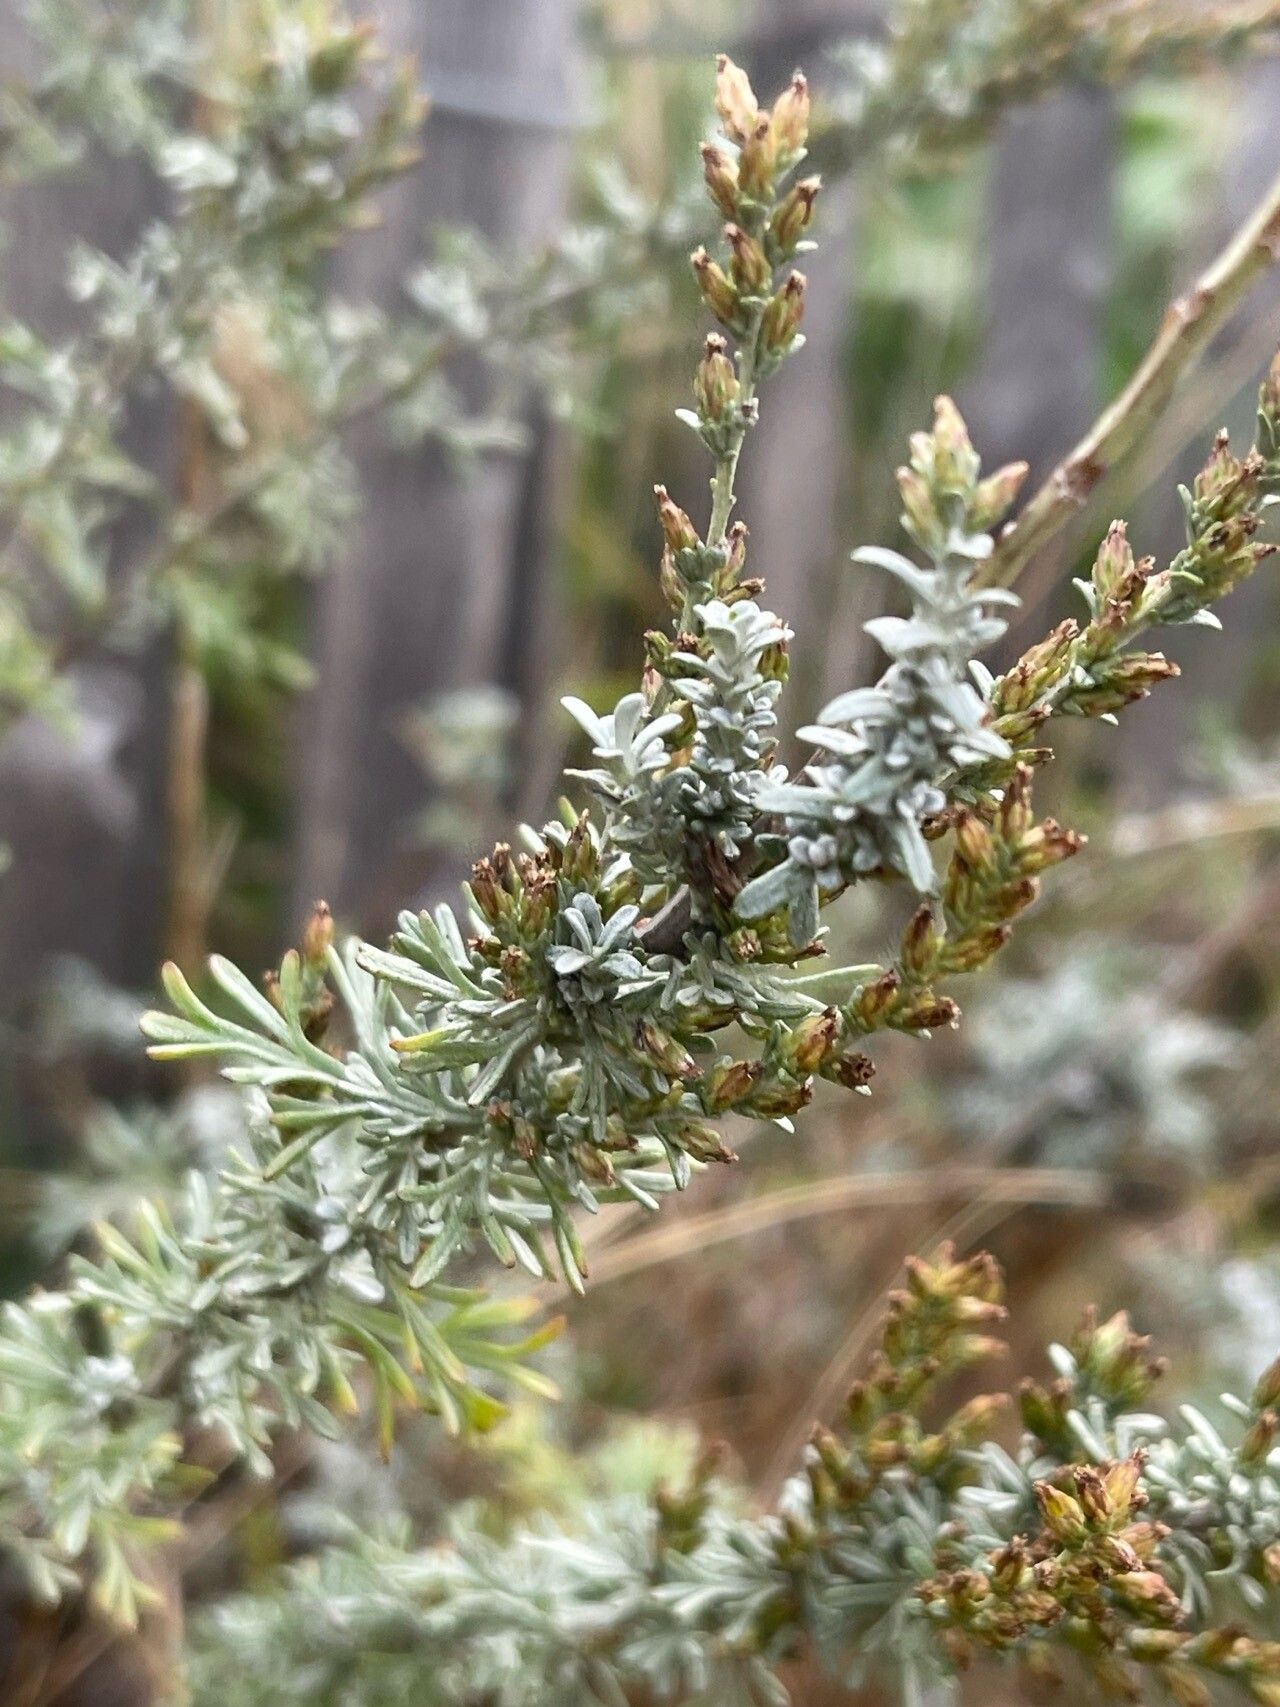
Ah, Artemisia caerulescens! Isn’t she a beauty? That silvery-blue foliage, it just glows in the garden, doesn’t it? It adds such a touch of elegance to borders and containers alike. If you’ve ever admired its understated charm and thought, “I wish I had more of that!” then you’re in for a treat. Propagating this little gem is a wonderfully rewarding endeavor, and I’m happy to guide you through it. In my experience, it’s generally quite forgiving, making it a great plant for even those new to the propagation game.
The Best Time to Start
For the highest success rate with Artemisia caerulescens, I always aim for late spring to early summer. What I’m looking for is fresh, new growth that isn’t yet woody. Think about that soft, pliable growth you see emerging after the plant has really woken up for the season. This is the prime time when the plant’s energy is focused on new development, making it much more receptive to rooting.
Supplies You’ll Need
Gathering your supplies beforehand makes the whole process so much smoother. Here’s what I recommend having on hand:
- Sharp, clean pruning shears or a sharp knife: For making clean cuts.
- Rooting hormone (optional but helpful): A powder or gel can give your cuttings an extra boost.
- Well-draining potting mix: A good blend of peat moss, perlite, and a bit of sand works wonders. You can find pre-made succulent or cactus mixes too, which are often excellent.
- Small pots or seed trays: With drainage holes, of course!
- Plastic bags or a propagation dome: To create a humid environment for your cuttings.
- Water: For moistening the soil and for water propagation.
- Labels: To keep track of what you’ve propagated and when!
Propagation Methods
Artemisia caerulescens is quite versatile, and I find that stem cuttings and water propagation are usually the easiest and most successful routes.
Stem Cuttings
This is my go-to method for many of my favorite silver-foliaged plants.
- Take Your Cuttings: On a nice day, using those sharp pruning shears, carefully select and cut several healthy stems from your parent plant. Aim for pieces about 4-6 inches long. Make your cuts just below a leaf node (where the leaves attach to the stem).
- Prepare the Cuttings: Gently remove the lower leaves from each cutting, leaving just the top few. This prevents them from rotting in the soil. If you’re using rooting hormone, dip the cut end into the powder or gel now.
- Plant Them Up: Fill your small pots with your prepared, moistened potting mix. Make a small hole in the center of the soil with your finger or a pencil.
- Insert the Cuttings: Firmly but gently insert the cut end of each cutting into the hole. Press the soil around the base of the cutting to ensure good contact.
- Provide Humidity: Water the soil lightly. Then, cover the pots with a plastic bag or a propagation dome. This creates a mini-greenhouse, keeping the humidity high, which is crucial for preventing the cuttings from drying out. Place them in a bright spot, but avoid direct sunlight, which can scorch the delicate cuttings.
Water Propagation
This is a visually satisfying method, and Artemisia caerulescens usually takes to it readily.
- Prepare the Cuttings: Similar to stem cuttings, take 4-6 inch cuttings from healthy growth. Remove the lower leaves so that only the top few remain.
- Place in Water: Fill a small jar or glass with clean water. Place the prepared cuttings into the water, ensuring that the leaf nodes where you removed the leaves will be submerged. Crucially, make sure no leaves are touching the water. If they are, trim them off. Submerged leaves will rot and can hinder root development.
- Find the Right Spot: Place the container in a bright location, out of direct sun.
- Change the Water: Change the water every few days to keep it fresh and free of algae.
The “Secret Sauce” (Pro Tips)
Over the years, I’ve learned a few things that can really make a difference.
- Bottom Heat is Your Friend: For stem cuttings, if possible, place your pots on a heat mat designed for seedlings and cuttings. This gentle warmth from below encourages faster root development and significantly boosts your success rate, especially if your room temperatures are a bit cooler.
- Don’t Rush the Transplant: When propagating in water, you’ll see roots form, which is exciting! However, I find it best to wait until those roots are at least an inch long before transplanting them into soil. This gives them a stronger start.
- Mist Freely (Initially): Even with a plastic bag, a gentle misting of the cuttings with plain water once a day can provide an extra layer of humidity. Just a light spritz is all they need.
Aftercare & Troubleshooting
Once you start seeing signs of new growth or roots forming (which you might see through the drainage holes of your pots or as you gently lift a cutting), congratulations!
- For Cuttings in Soil: Gradually acclimate your new plant to normal room conditions by slowly opening the plastic bag over a few days. Once they are rooted, you can begin watering them as you would a mature Artemisia, ensuring the soil dries out slightly between waterings.
- For Cuttings in Water: Carefully plant the rooted cuttings into pots filled with your well-draining mix. Water them in gently. Keep the soil consistently moist for the first week or two as they establish.
The most common problem you might encounter is rot. If you see your cuttings turning mushy or black, it’s usually a sign of too much moisture and not enough air circulation. Ensure your soil is draining well and that you’re not overwatering. If you notice rot, it’s best to discard the affected cutting and try again, making sure your conditions are drier next time. Wilting can indicate they’re too dry, so check the soil moisture.
A Encouraging Closing
Propagating plants is a journey, and sometimes, not every attempt is a roaring success. But with Artemisia caerulescens, you’re likely to find it a wonderfully rewarding experience. Be patient, enjoy the process of nurturing these tiny new starts, and soon you’ll have plenty of your favorite silvery-blue beauties to share with friends or fill every corner of your garden. Happy propagating!
Resource:
https://identify.plantnet.org/k-world-flora/species/Artemisia%20caerulescens%20L./data