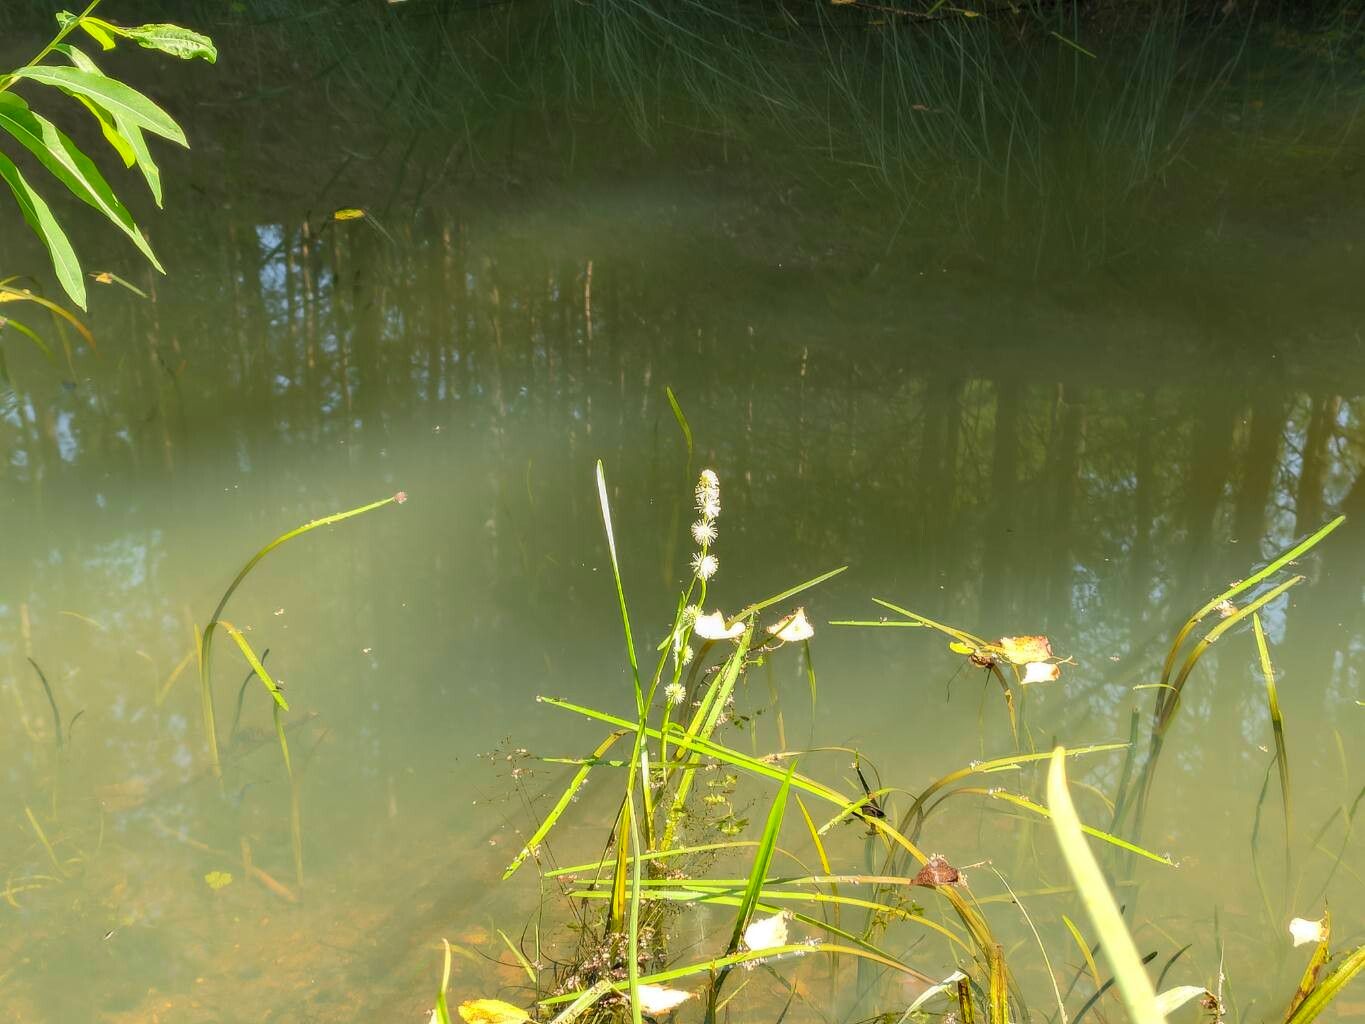
Hello fellow plant enthusiasts! If you’ve ever been captivated by the graceful beauty of water plants, then you’ve likely encountered Sparganium emersum, also known as the emergent bur-reed. Its upright, sword-like leaves and fascinating, globe-like flower heads add a wonderfully natural touch to ponds, water features, and even bog gardens. Propagating your own Sparganium is a deeply rewarding experience, allowing you to expand your aquatic haven or share this unique beauty with friends. While it might sound a touch technical, I promise you, with a little guidance, it’s quite achievable for most gardeners, even those just starting their aquatic plant journey.
The Best Time to Start
For the most robust success, I always recommend dividing your Sparganium emersum in early spring. This is just as the plant is waking up from its winter dormancy and before it puts a lot of energy into new leaf and flower production. You’ll see fresh green shoots appearing, and the plant will be primed to recover quickly and establish itself in its new home.
Supplies You’ll Need
Gathering the right tools makes the whole process smoother. Here’s what I typically have on hand:
- Sharp, clean pruning shears or a strong knife: For making clean cuts.
- Gloves: Aquatic plants can sometimes have a bit of a slime coat, and some people have sensitive skin.
- A bucket or shallow tray: To hold your divisions and prevent them from drying out.
- Appropriate planting medium: For potted plants, a heavy, clay-rich loam is ideal. Avoid anything too peaty or sandy that will wash away. If planting directly into a pond liner or bed, you might not need a separate medium.
- Pots (if you’re starting them separately): Choose pots with drainage holes, though for water plants, you may want pots that are somewhat sealed if you’re trying to keep them contained.
- A wheelbarrow or sturdy container: If you have a large clump to move.
Propagation Methods: Division is Key!
Now, let’s get down to business. For Sparganium emersum, the most straightforward and reliable method of propagation is division. This plant grows from rhizomes, which are essentially underground stems that send up new shoots.
- Access the Plant: Gently remove your Sparganium emersum from its pond or container. If it’s in a pond, you might need to carefully reach down and lift the clump. If it’s in a pot, try to ease it out. Be prepared for it to be a bit muddy!
- Clean Gently: Rinse off excess mud from the root ball and rhizomes. This allows you to see the structure of the plant more clearly and identify where the natural divisions are.
- Locate Divisions: Look for where natural breaks occur in the rhizome. You’ll see where one growth point is clearly separate from another, often with its own cluster of roots.
- Make the Cut: Using your sharp shears or knife, carefully cut through the rhizome. Aim to make a clean cut that separates a section with at least one healthy shoot and a good root system. Don’t be afraid to be decisive; a clean cut is better than tearing. You can often snap apart smaller divisions if the rhizome is soft enough.
- Inspect and Trim: Remove any dead or damaged leaves or roots. Any piece of rhizome with at least one bud or shoot and some roots has a good chance of survival.
- Potting or Replanting:
- For potted plants: Plant your divisions into pots filled with your heavy loam. Ensure the rhizome is planted just below the surface of the soil. You can secure them with a little gravel if you’re worried about them floating.
- For direct pond planting: You can often gently push the divisions back into the pond substrate or a prepared bog area.
The “Secret Sauce” (Pro Tips)
Over the years, I’ve picked up a few tricks that really seem to help these water dwellers thrive.
- Firstly, don’t let the rhizome dry out at all during the division process. Keep it moist in that bucket of water or a damp towel. They are water plants, after all; dehydration is their biggest enemy outside of the pond!
- Secondly, when replanting, ensure the tip of the rhizome where the new shoots emerge is just at or slightly below the soil surface. Burying it too deep can lead to rot, while leaving it too exposed can cause it to dry out.
- Finally, if you’re planting in a pond that’s prone to disturbance (ducks, strong currents), consider placing a layer of gravel or small stones over the top of the planted division. This helps anchor it firmly in place while the roots establish.
Aftercare & Troubleshooting
Once your Sparganium divisions are planted, give them a little peace.
- Keep the soil consistently moist, or ensure they are submerged at the correct level for their needs. If they are in pots, you can submerge the pots in a tray of water.
- Avoid fertilizing them immediately. They’re recovering and establishing. Let them settle in for a few weeks before considering any gentle feeding if necessary.
- The most common problem you might encounter is rot. This usually happens if the rhizome is planted too deep, in poorly draining soil, or if the water levels aren’t right. You’ll see the leaves turn yellow and mushy, and the plant won’t show any signs of growth. Unfortunately, if rot sets in, the division is likely lost.
- Another sign of stress can be wilting leaves, which, as we discussed, is often a sign of dehydration. Get them back into water quickly!
A Encouraging Closing
Propagating Sparganium emersum is all about patience and observation. Don’t get discouraged if your first attempt isn’t perfect. Gardening is a journey, and watching these emergent beauties take hold and flourish from your own efforts is incredibly satisfying. Enjoy the process, and soon you’ll have a flourishing aquatic display to be proud of! Happy planting!
Resource:
https://identify.plantnet.org/k-world-flora/species/Sparganium%20emersum%20Rehmann/data